Introduction
Infigo Designer supports the usage of barcodes in templates which can either be a fixed value or vary depending on the data entered whilst in the editor.
How to create a barcode field
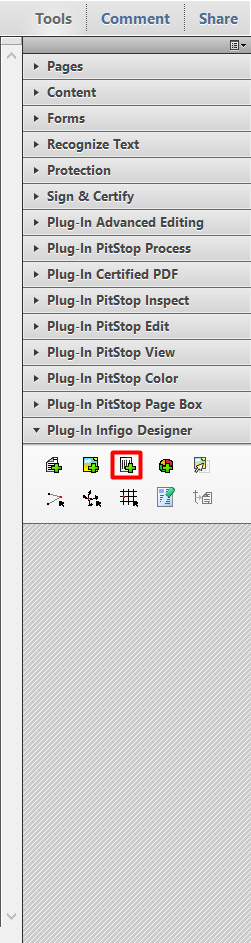
Creating a barcode field is as easy as creating any other field in Infigo Designer. Simply open up your PDF, expand the Tools menu (this location may vary depending on your version of Acrobat), expand the Plug-In Infigo Designer sub-menu, and select the Add barcode field to PDF tool.
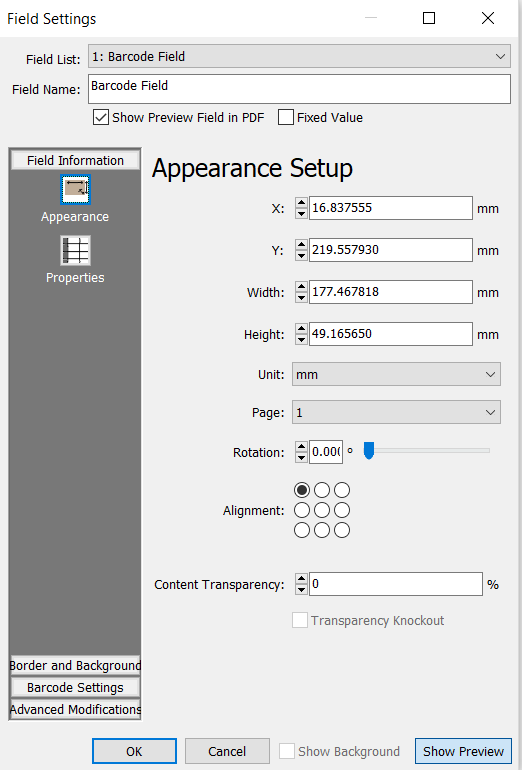
This tool will turn your mouse cursor into a crosshair which you can use to draw out the dimensions of your barcode field (as with any other field, you can control these more specifically in the "Appearance" section of the field settings).
Once you've named you field, simply click "OK" and your barcode field will be created, though at this point it will also be empty.
Configuring your barcode field
Basic Configuration
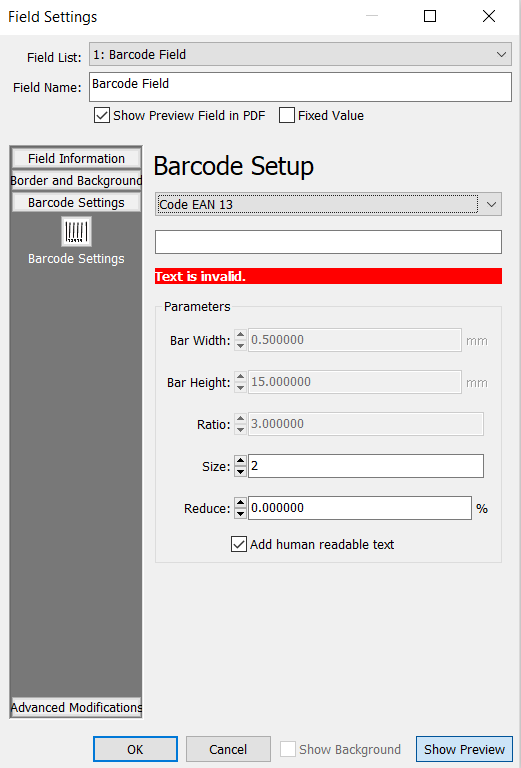
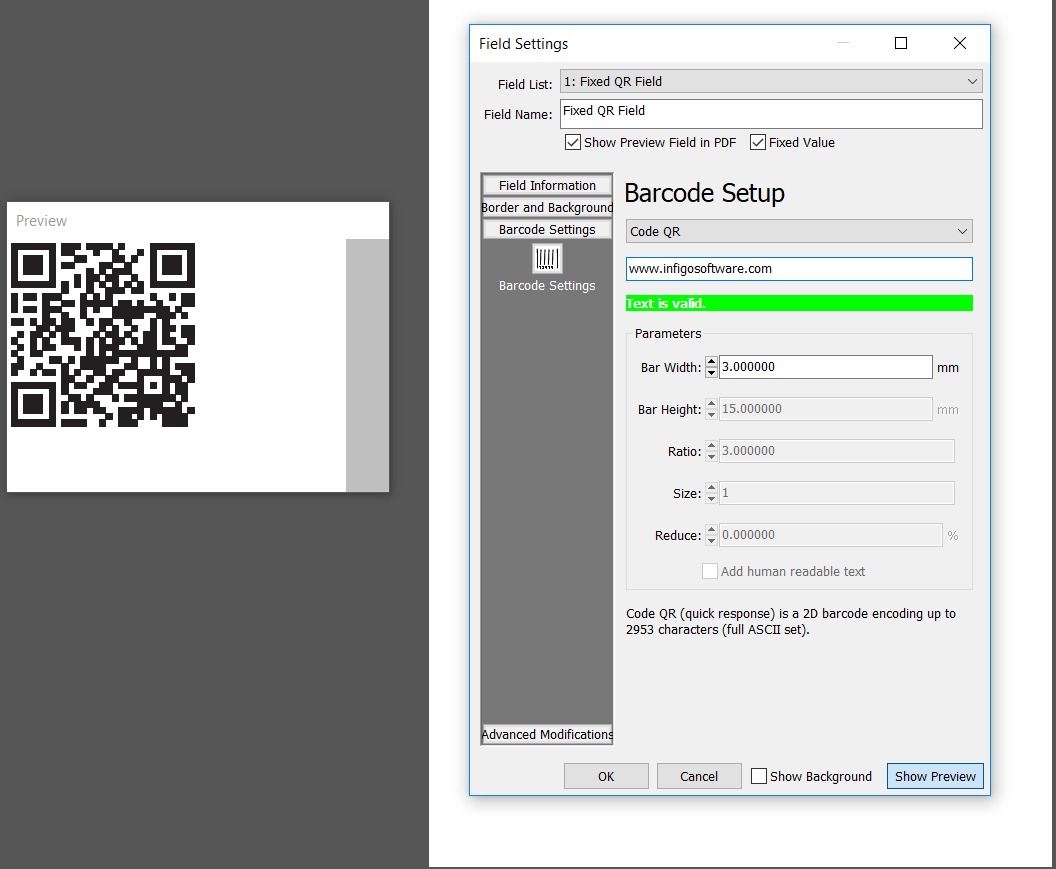
To configure your barcode, open the barcode field's "Field Settings" menu, and then open the "Barcode Settings" sub-menu. This will open the menu as seen below:
As you can see, barcode fields aren't too complicated when it comes to configuration. See below for an annotated screenshot and explanation of what each configuration field does:
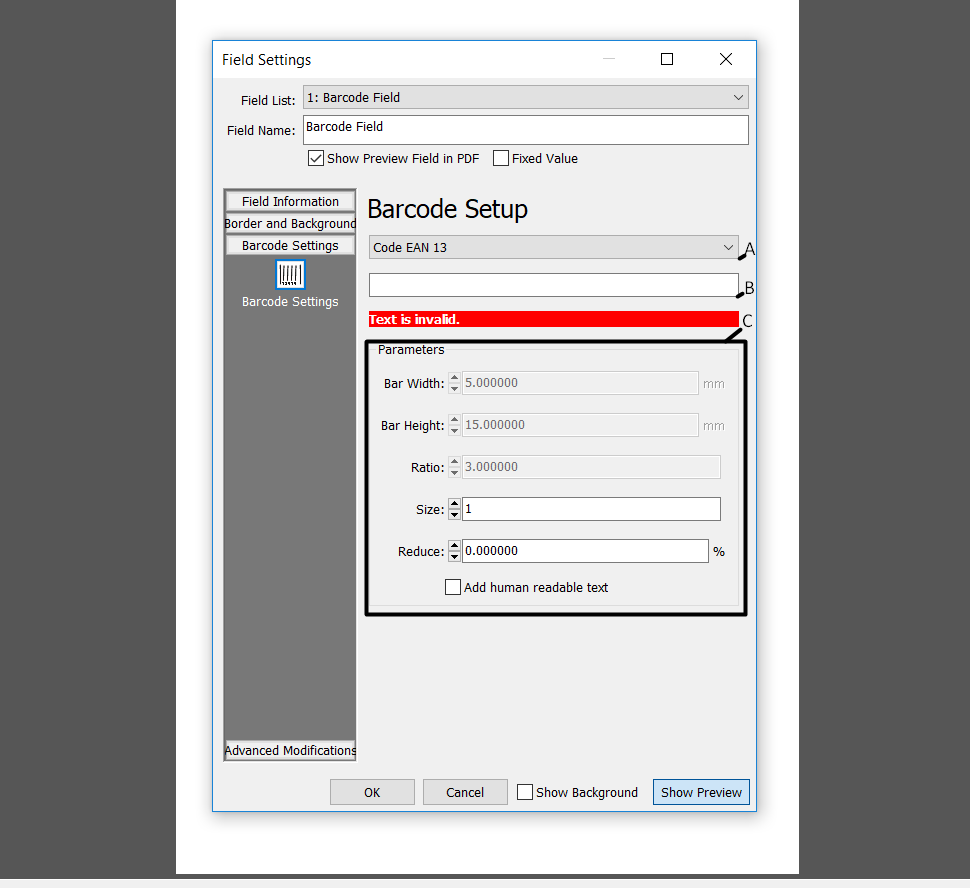
A:
This dropdown allows you to choose the barcode type that is generated. The available barcode types are:
- Code EAN 8
- Code EAN 13
- Code ISBN 10
- Code ISBN 13
- Code UPC-A
- Code UPC-E
- Code 128
- Code 128 GS1
- Code 2/5 Interleaved
- Code 2/5 Industrial
- Code 39
- Codabar
- Datamatrix
- PDF 417
- Code QR
B:
This is the field in which you enter the text that is used to generate the barcode.
C:
These are the parameters which allow you to configure how the generated barcode appears. These settings are fairly self-explanatory, and if you hover over their fields there will be a tooltip to explain further how it is used.
Please note that not all settings are applicable to all barcode types, hence why some of them are greyed out in the screenshot.
Fixed Barcode
The most basic type of barcode field is one which has a fixed value and is simply used to reference something such as the product's SKU or a tracking URL that isn't unique to each product.
To configure this, all you need to do is choose your barcode type, then enter the data you want to generate the barcode with into the appropriate field (see "Basic Configuration" section above for how to do this).
Once you've selected your barocde type, entered the desired text, and configured the field parameters as per your requirement, all you need to do is mark the field as fixed and click OK.
See below for an example configuration for a fixed QR code.
User Input
The only way to allow the users to directly edit the barcode value within the editor user an editor form field would be to produce a simple Javascript that copies the value of a text field into a barcode field. There is no predefined Javascript to achieve this at the time of writing this article, however it is something that can be done using our Javascript Wizard.
Batch Upload
You can generate the QR code as a unique code per CSV record as you would for any other field in a CSV upload product (batch product). All you need to do is ensure that the CSV column header matches the name of the barcode field you want to be generated per record, and ensure that the barcode field is not set to Fixed.