MegaEdit has a number of default scripts available - here we go over the setup for using and applying the Layer Support script.
NOTE: If you require scripting to be enabled, please contact the support desk.
Navigation
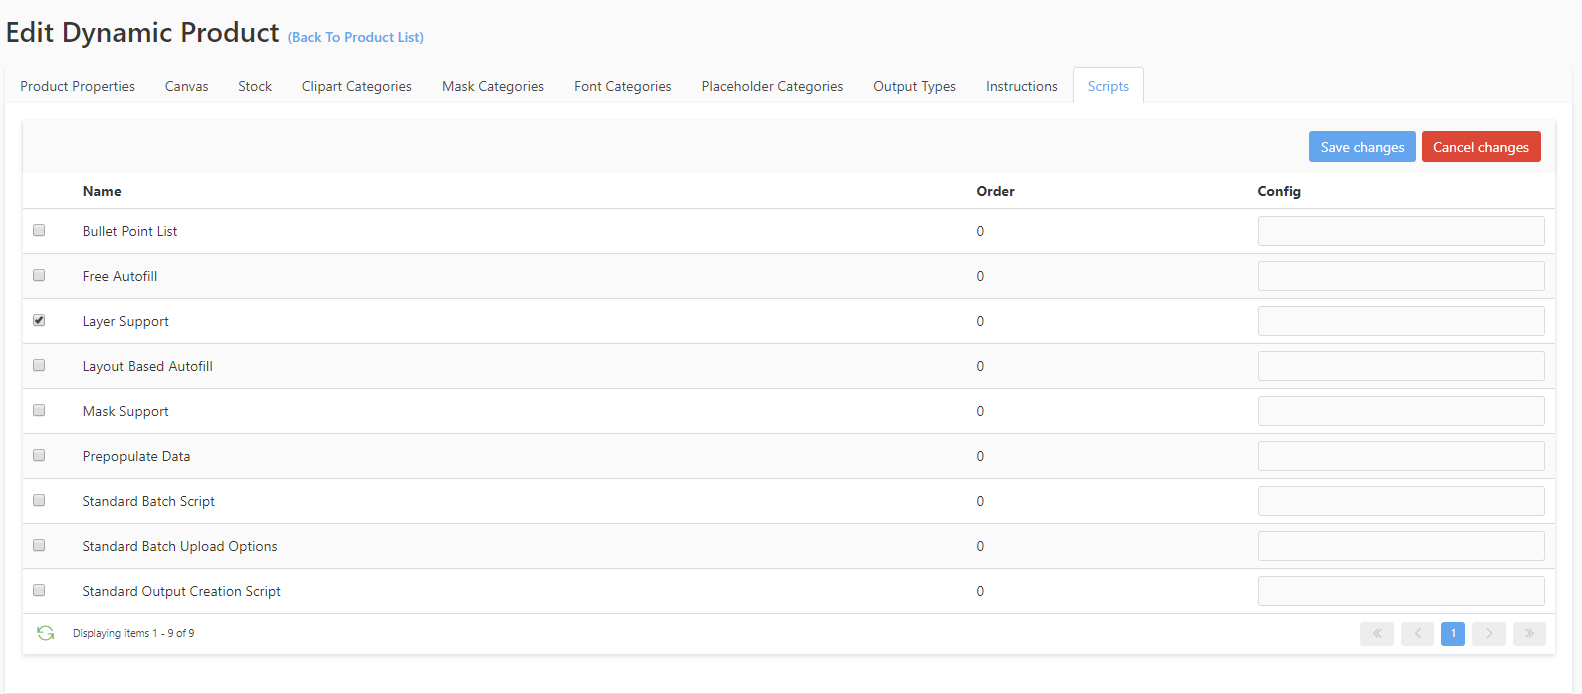
To navigate to the MegaEdit scripts, go to Catfish > Infigo Variable Data > Dynamic Products. Then click the 'Products Tab' in the upper right-hand corner, this will show all of your Dynamic Products. Press 'Edit' on the product you want to work with. Navigate to the 'Scripts' tab on the upper right-hand corner.
Requirements
First, enable the Layer Support script by checking the box within the product's script tab. Then press 'Save Changes'.
Using the script in MegaEdit
The main purpose of this script is to allow the user to keep certain objects on their own layer without affecting the positioning of objects on other layers. The arrangement on 'layer_1' will not affect the arrangement on 'layer_2', 'layer_3', etc.
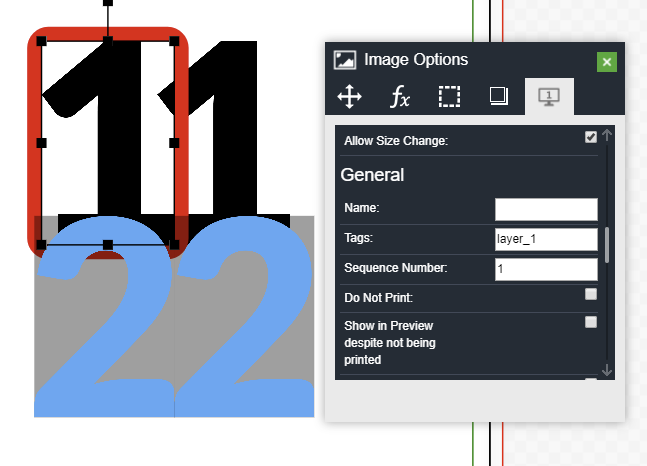
The script automatically defaults each object to 'layer_1' anytime you add an object to your canvas. You can change the layer tag at anytime, simply by deleting the '1' and adding '2', '3', etc., by double-clicking on the object and navigating to the Details tab.
*NOTE* The Sequence Number does not affect the positioning of the layer. A sequence number of 1 means this is the first object to be added to the canvas, 2 is the second, 3 the third, etc. See Figure 1.

Figure 1: The script within the details tab of an object's properties (double-click the object)
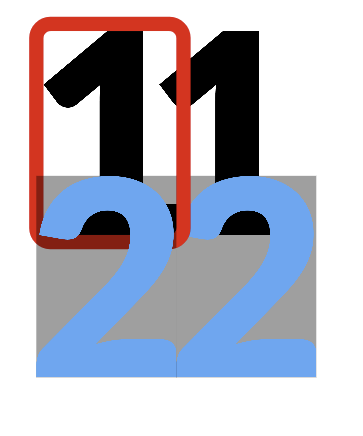
However, the order that an object was added to your canvas will affect its positioning within the layer. For example, if you add two image objects to your canvas, each will default to layer_1. The first object added will be positioned on the bottom, the second image on the top. In Figure 2 below, there are two images, a Number 1 and a Number 2. The Number 2 image rests on top of the Number 1 image because it was the last image to be added.

Figure 2: Layers stacked based on the order they were added
Below is an example, the objects with '1' are on 'layer_1', and the objects with '2' are also on 'layer_1'. This example shows how each object is initially on layer_1, and by changing the layer tag, the arrangement is not affect across layers.
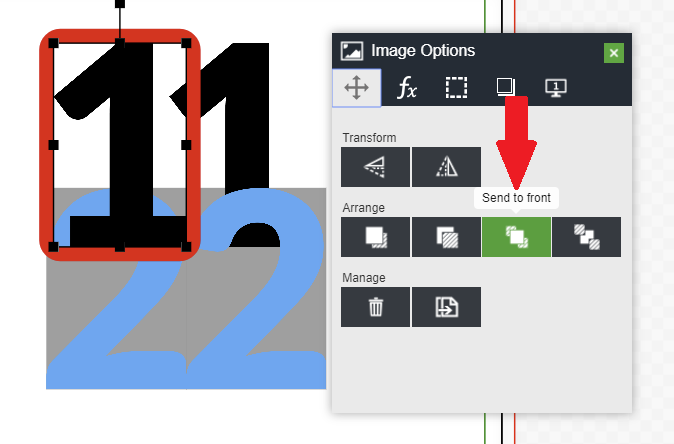
1. Red border object is tagged on layer_1 (ALL objects are on layer_1 in the start)
2. Red border object is sent to the front (it is now arranged to the front of all objects)
3. Number 2 object is tagged in layer_2

4. Number 2 object is sent to back
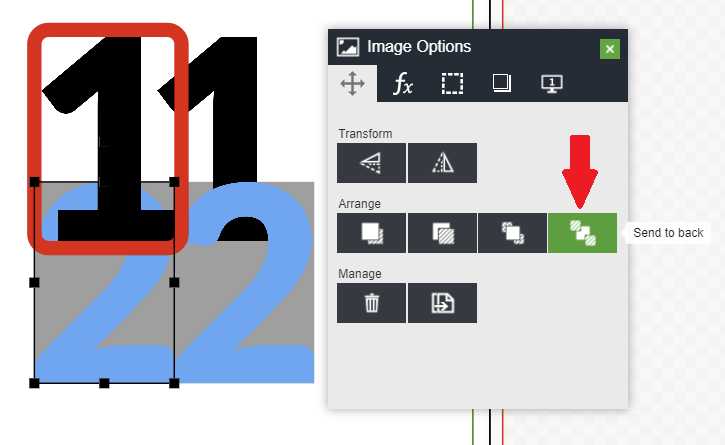
5. Number 2 object now rests on top of red border object (this is because layer_2 is arranged OVER layer_1.) The larger the layer number, the higher it will arrange, lower layer numbers will arrange below. Sending the '2' object to the bottom puts it to the bottom of layer_2 without sending it behind any object in layer_1