Synopsis
One of the predefined Javascripts which comes with Infigo Designer is the CopyContent script. This script allows you to automatically copy the content contained within one field to another field of the same type (image -> image, text -> text).
The Copy Content Script will only apply to Fields - Local and Global Variables cannot be used with this script. If you would like to copy a single variable to another page, please use Global variables.
Note: The content will be copied over upon the creation of a downloadable preview or the output, but it will not be visible in the editor.
Example:
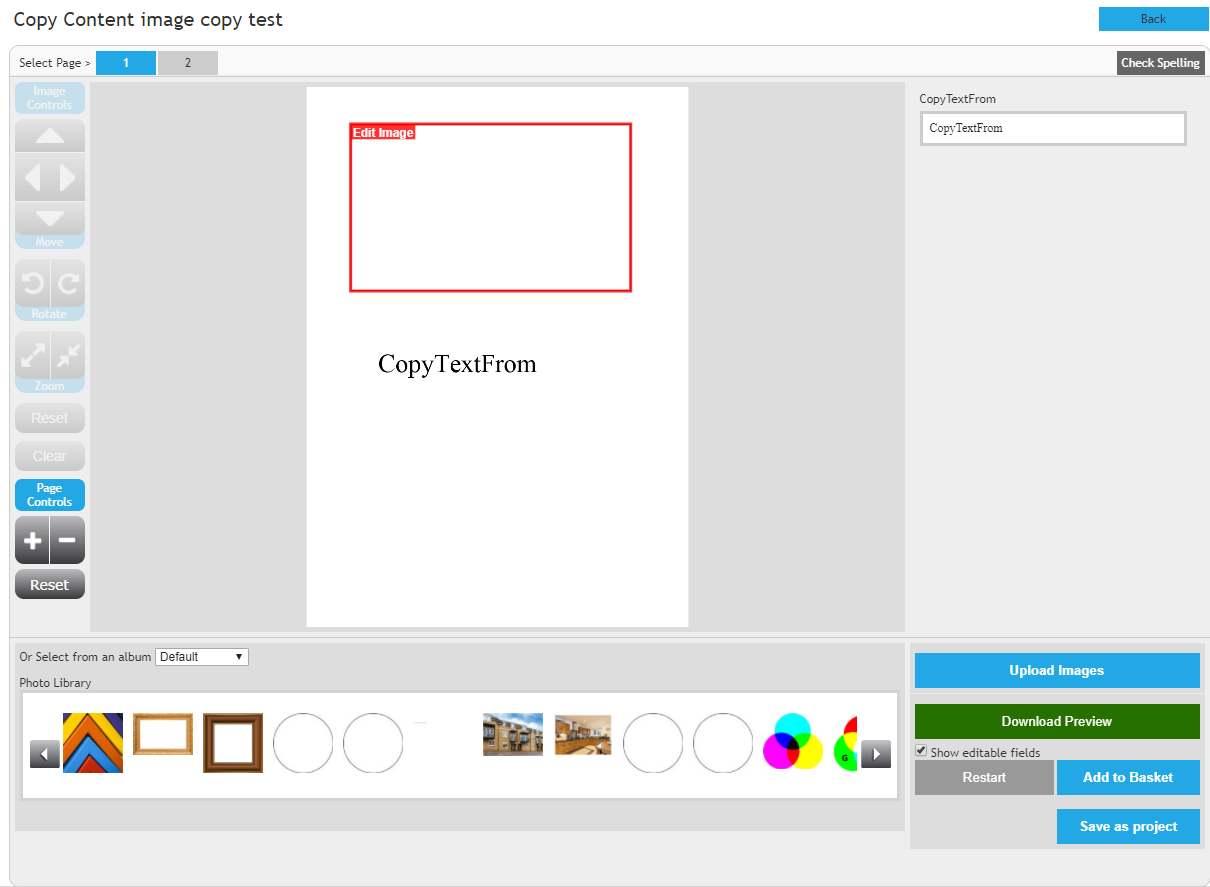
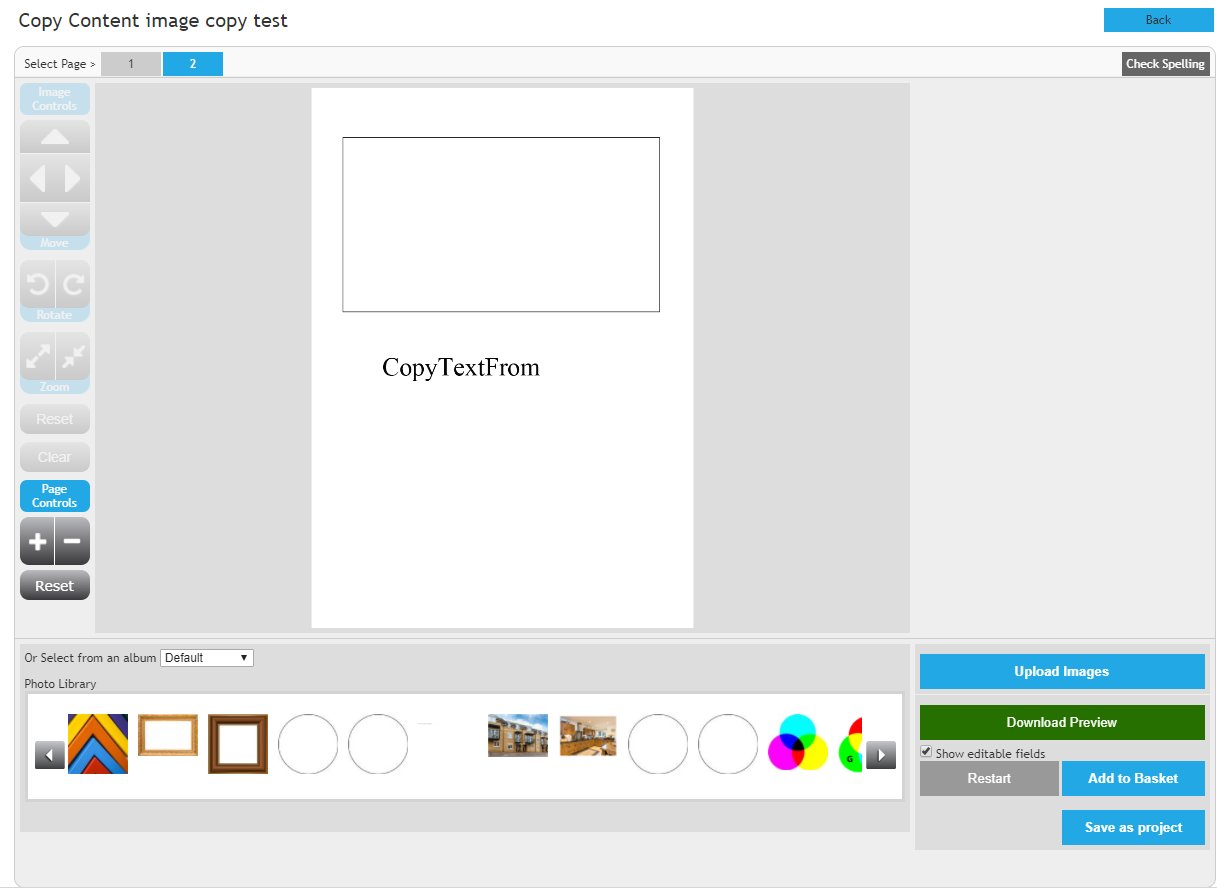
For this article, the example we will be working to produce is a two-page PDF, each containing a single image field and a single text field.
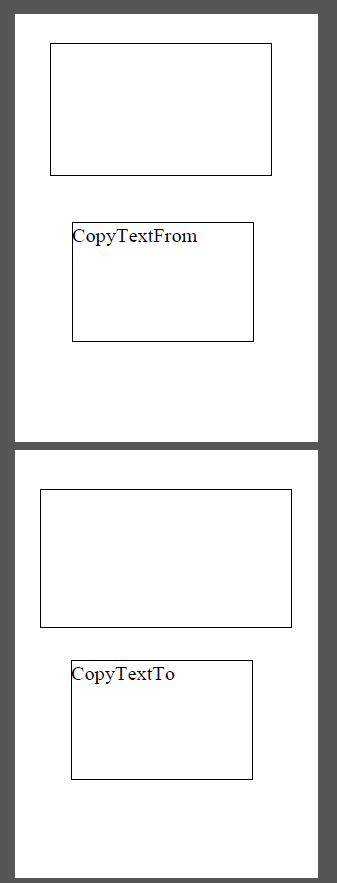
We will be setting up the product to copy the contents of the fields on the first page, to the respective fields on the second page.
Step-by-Step
1. Firstly, navigate to Infigo Designer -> Predefined Javascripts as seen in the screenshot below.
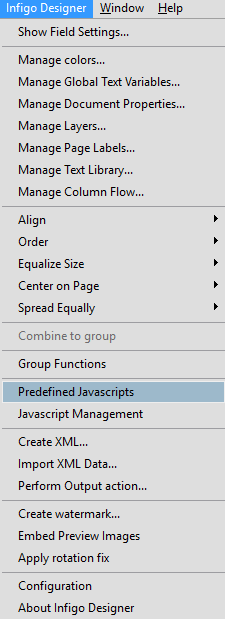
This will open up a menu which lists all of the predefined Javascripts which come with Infigo Designer.
2. From this menu, you will want to click on "CopyContent" and click "Run Script"
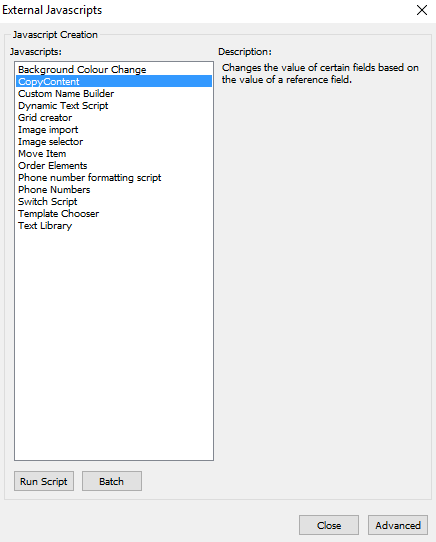
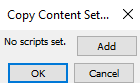
This will open another menu which lists all of the current instances of the script in the PDF, as well as allowing you to make a new instance. As no instances of this script exist within this PDF, it instead states "No scripts set":
3. Here, you want to click "Add" which will open up a list of all the fields contained in the PDF. As you can see, all four fields are visible on this list.:
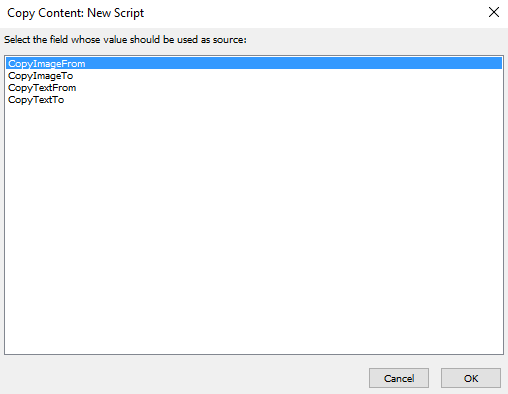
4. Firstly, we need to designate which fields are going to be copied from. To do this, we are going to select the "CopyImageFrom" field, then click "OK."
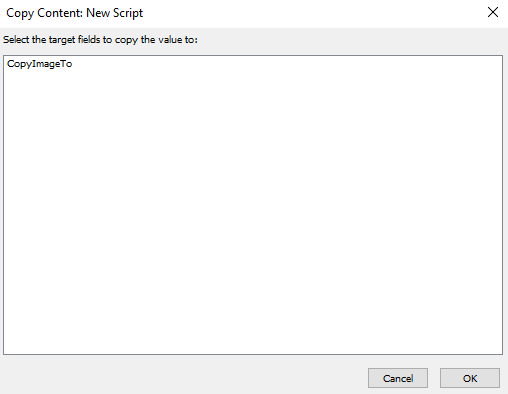
5. This redirects to a similar page, except as you can see, this is filtered to only show fields of the same type. In this instance, it is only showing the image field which is located on the second page. Here, we need to select the field we want to copy the image to, and once again, click "OK."
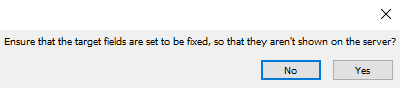
6. When we click "OK," we will likely be prompted with a box informing us that the target field is not fixed. This is referring to the "Fixed" setting that can be applied to fields in order to prevent user interaction. When using this script, it is recommended that all target fields are fixed, as the script will overwrite any interaction the user has with them and this can lead to confusion or irritation on the user's end.
7. Upon clicking "Yes" we will be redirected to the same box which opened up when we first ran the script, except as you can see, it has now populated with the script instance we have just configured.

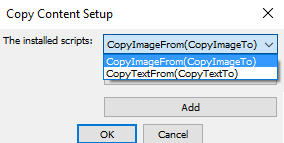
8. Now that we have our first CopyContent script instance set up, we will need to follow steps 3 -> 7 and do the same for the text fields. Once this has been done, you will be able to see both script instances in the dropdown list:
9. Now, all that's needed is to save the PDF and upload it to the storefront.
Outcome
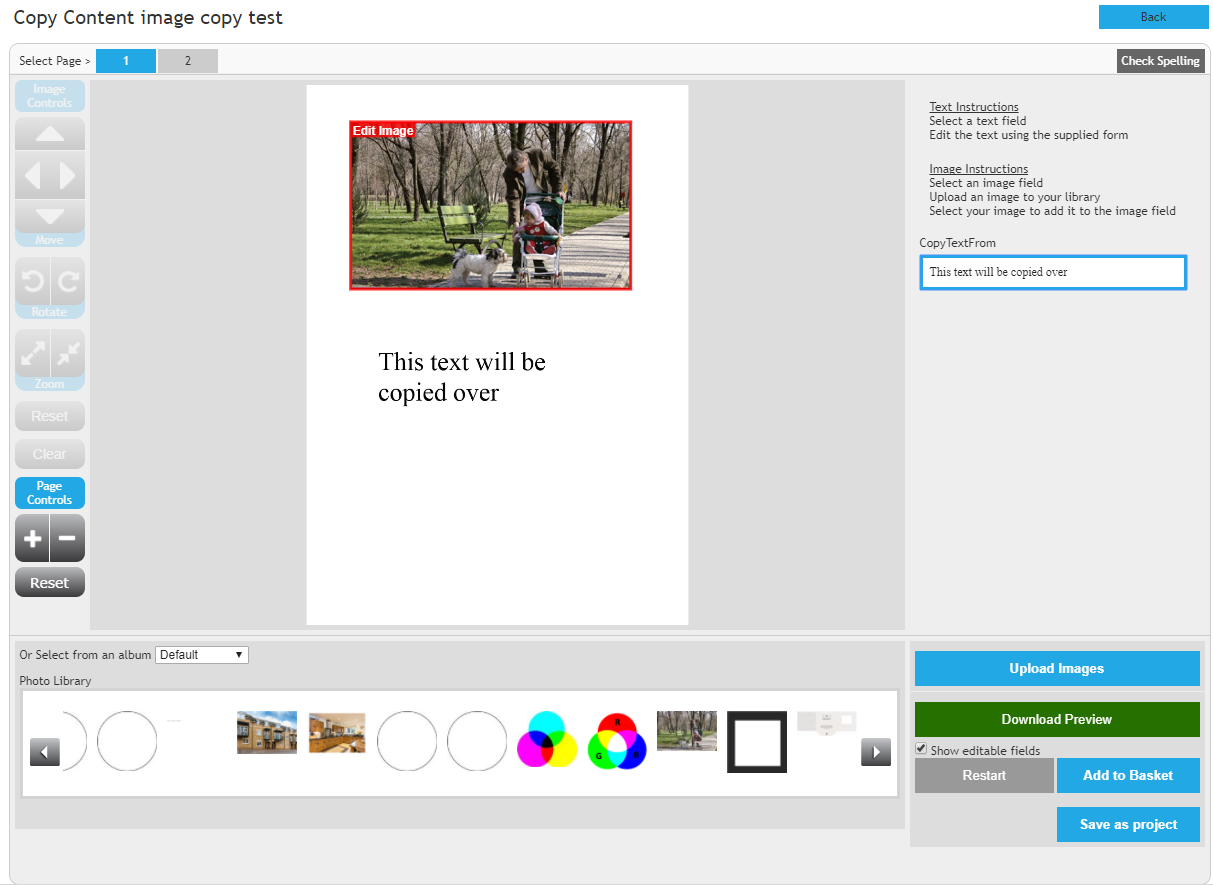
As you can see in the below screenshots, I can interact with the fields on page 1, but cannot do so on page 2. This is because the fields on page 2 are set to be fixed.
Below is a screenshot of the simple modifications I have made to the first page. I simply added an image to the image field, and changed the text in the text field.
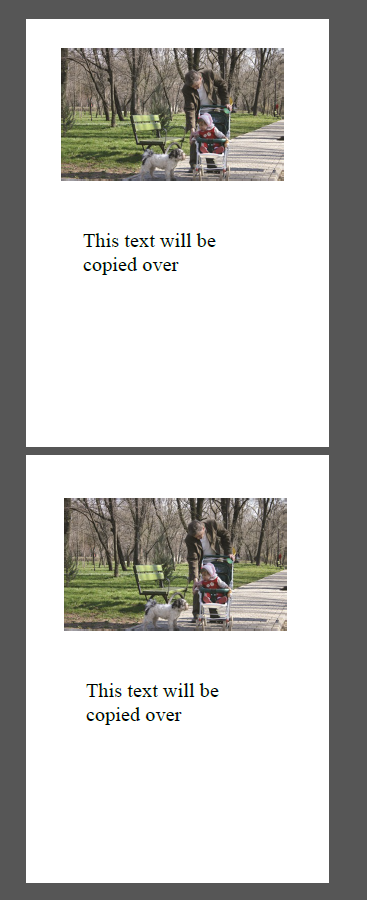
After placing the order and retrieving the output, I can see that the script has worked successfully and the fields have been copied over to create a perfect replica of their originals.
The download link for the PDF I created in this example can be found below, please feel free to use it as a reference for how the script looks in the PDF itself.