This article is going to explain how to use the Image Selector Script within Infigo Designer. This script is useful if you want your customers to select from a set of embedded images from your template for a specific location.
The script is very simple to setup. All that is required is a trigger text field, an image field, and the script itself.
1. The Trigger Field
This field must be a text field located off of your template. After creating the field, be sure to have a UI Description, in this example, Please Select an Image is used.
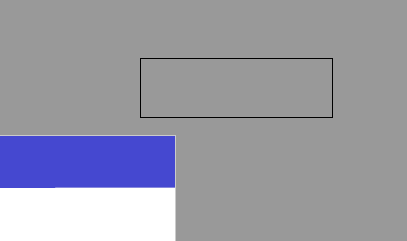

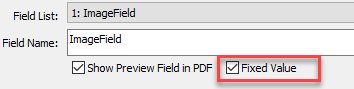
2. The Image Field
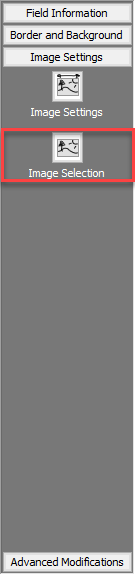
The image field will be located on your template. After you create your image field, navigate to Image Settings > Image Selection.
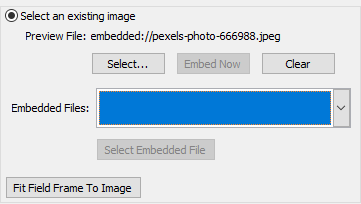
Here, you can embed images into your template that can be chosen from this field. To embed an image, press Select, choose your image from your PC or Mac, then press Embed Now.
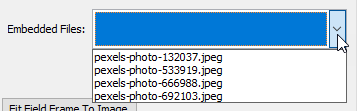
By hitting the drop-down, you can see every image file that you have embedded:
Lastly, be sure to have the image field as a Fixed Value. Once you have completed these steps, hit OK.
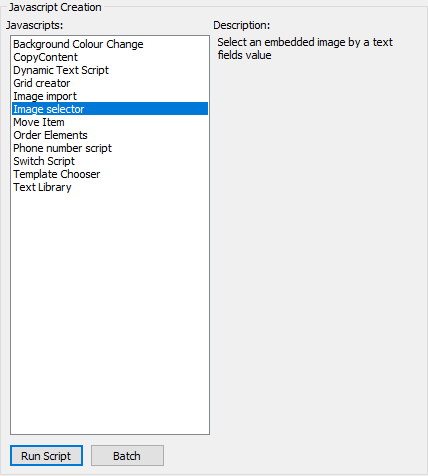
3. Apply the Script
Now you can apply the Image Selector Script. Navigate to Infigo Designer > Predefined Javascripts. Select Image Selector, then hit Run Script.
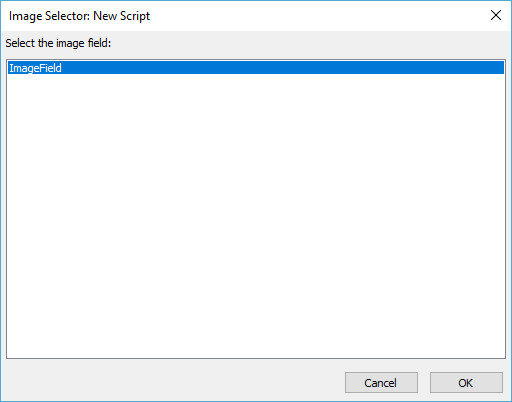
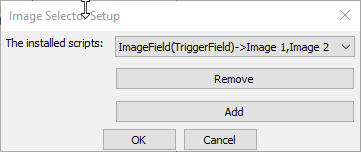
Press Add, then on the next screen, select the image field that will have images change. Press OK.
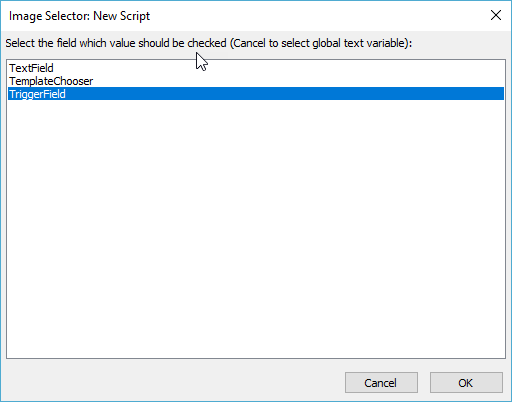
Now select your Trigger Field, press OK.
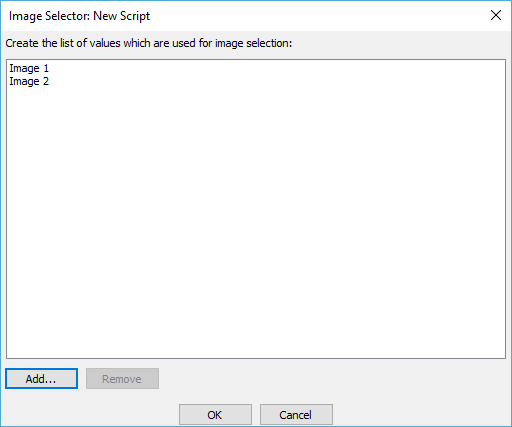
Now, create your text list values (image names) that the user will choose from. Select Add, then input the value, then hit OK.
On the next screen, assign your text values to an image.

On the next screens, simply hit Yes. Once this is setup, press OK.
Be sure to save your product, then upload it to Catalog > Product Types >
Infigo Editor > Infigo Products.
The Front End
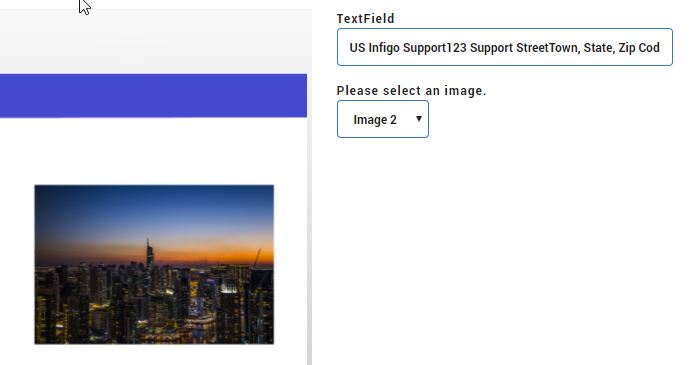
The editor will now have a field to select the image, and the image will now update in the editor when chosen based on the selection!
Troubleshooting
If your script isn't working as expected, or you are experiencing difficulty, please raise a support ticket and we will assist you.