Overview
We have different image plugins that allow adding media resources to albums in My Account or inside the editors. One of those plugins is the Image Search plugin that uses Elasticsearch to index and retrieves a large number of images categorised for usage.
There are different areas that need to be configured to make this work and check with support if all your custom configurations and plugin's have been enabled on your platform.
Getting Started
Before you begin configuring the Image Search Plugin, you will need to contact the Infigo Support team to do the following on your behalf:
- Configure Elastic Search
- Enable the image search plugin
- Grant Platform & Storefront admin access to the 'upload folders' page via an update ACL.
Once the above 3 steps are complete, you are ready to begin your configuration.
Custom Data Category
In order to perform a search using an Elastic Search server, we need to have the data to search in text records. Those records are going to be created in a "Custom Data" category that we need to create in advance.
To know more about custom data and how to create one you can read our Custom Data Category guide.
Upload folder
All the images will be available in an "Upload folder". But we need to configure if we are going to post-process those files after they have been uploaded. As we are going to use a plugin that will create custom data records out of the images uploaded into here, you need to create a new upload folder where you configure:
- Active
- Custom data category id (from the previous step)
- Post Processor System Name: “Image search post-processor”
To know more about Upload folders and operations that you can perform on them you can read the Upload folders guide.
Media album settings
The last bit is the ability to show the images and a search in
- Dynamic editors
- My account album management
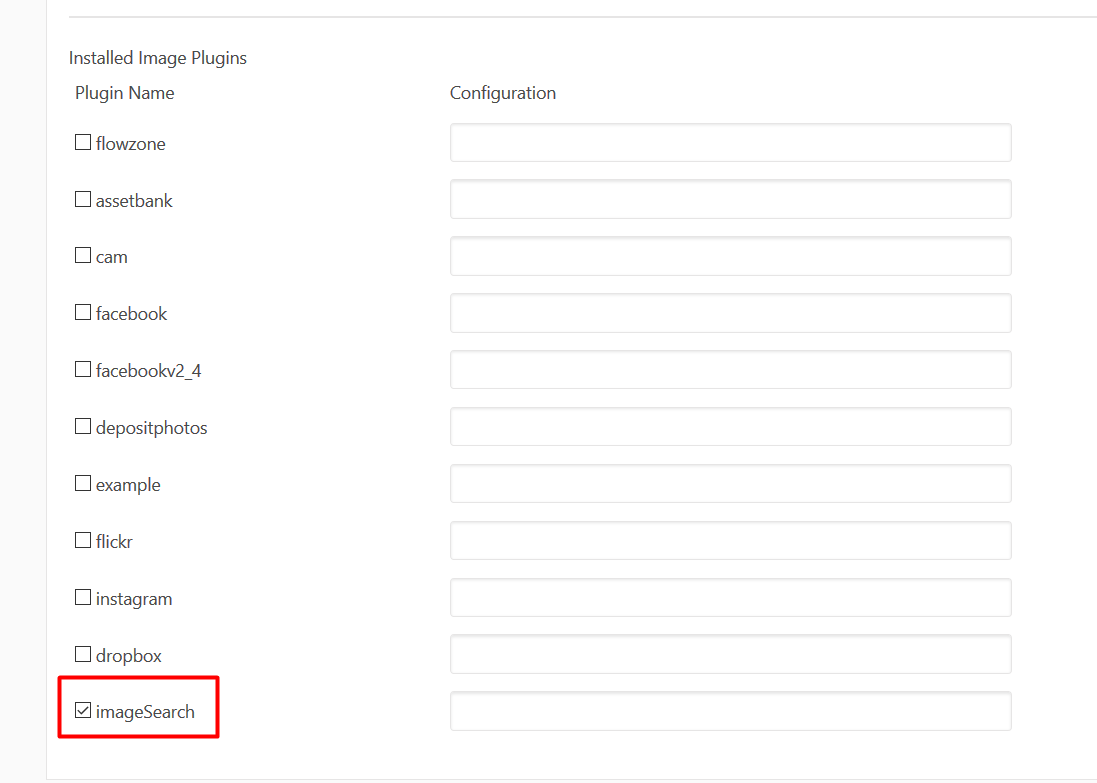
For this, we need to enable the imageSearch plugin from “Media Album Settings” in the admin. Access via the admin search or via the relative URL CA/Admin/CatfishSettings/MediaAlbumSettings
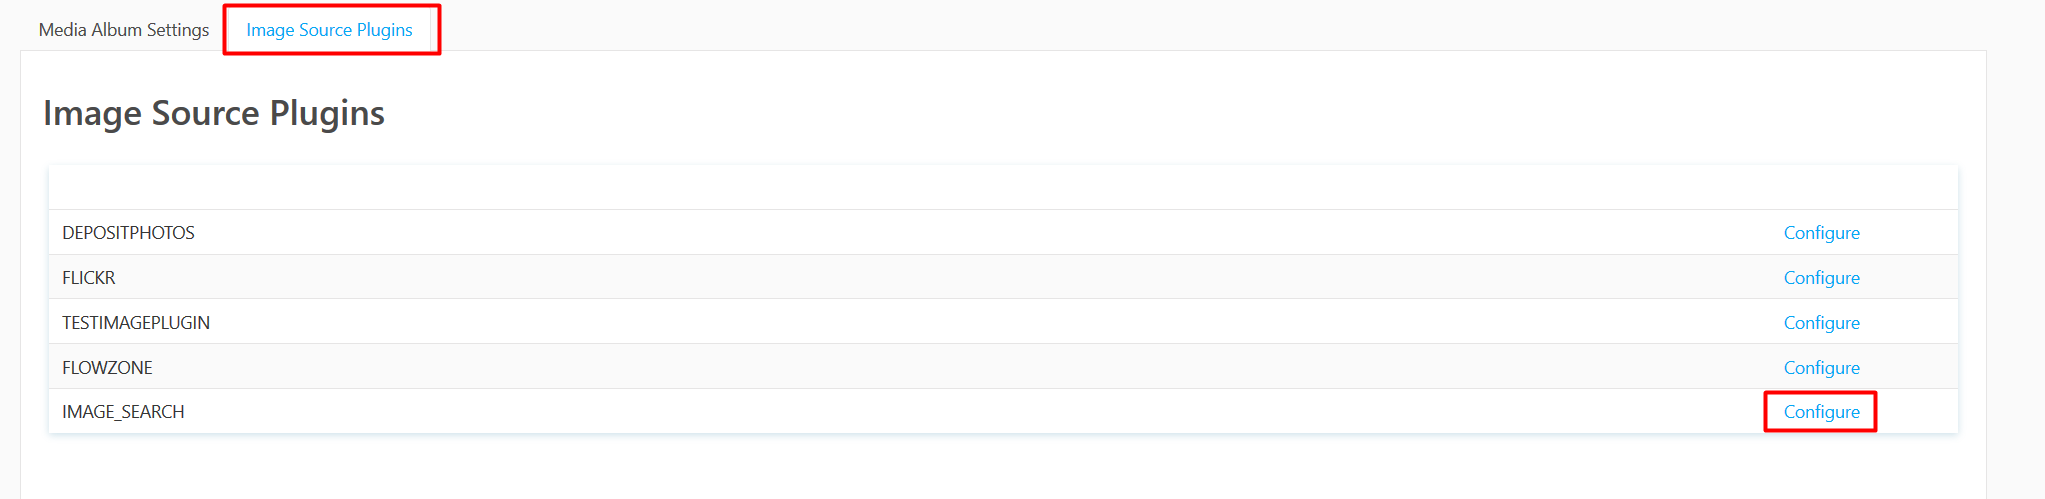
Configure the IMAGE_SEARCH plugin on the Media Album Settings (2nd tab) - and configure the name of the upload folder.
Adding images
Now the only thing left is to upload images to the created upload folder and the custom data related to the images will be created. Replacing an image will also create update the related custom data values.
There are two ways to get images into the upload folder:
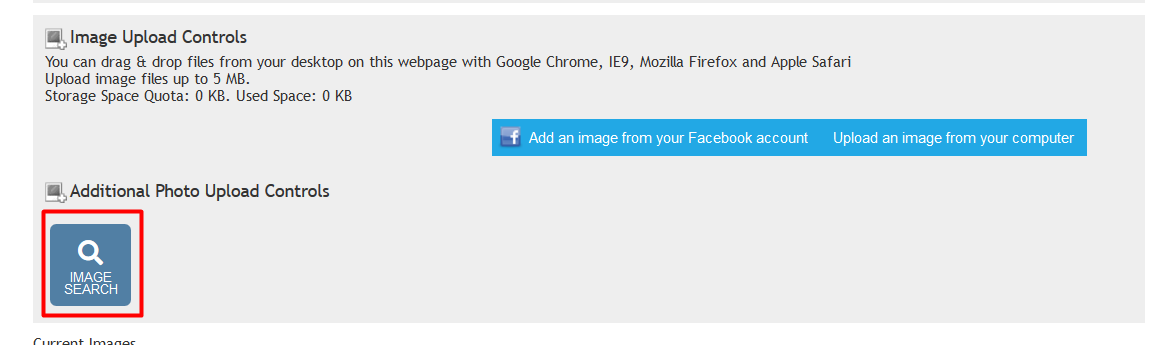
- Upload the images in the created upload folder from the admin manage folder view
- Via our sync tool
We are going to add the files via the upload option, for more information on the sync tool option, you can check our Setting up and installing Infigo Sync guide.
Adding IPTC image metadata
When you have assigned a custom data category to an upload location, any image you upload will create an entry on the custom data. The custom data created for images have the following format.
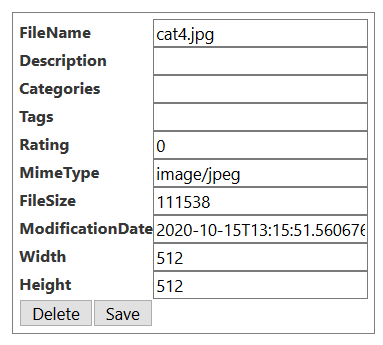
If you want to add values for the missing properties you will have to set the IPTC metadata. For more information on ITPC check their website https://iptc.org/
You can set this information using some of the software where IPTC is supported as they have on their website. https://iptc.org/standards/photo-metadata/software-support/
This image plugin uses Categories and Tags to show the data in an organised way.
Using the plugin
Now that all the admin parts are configured, the final result can be seen in the storefront.
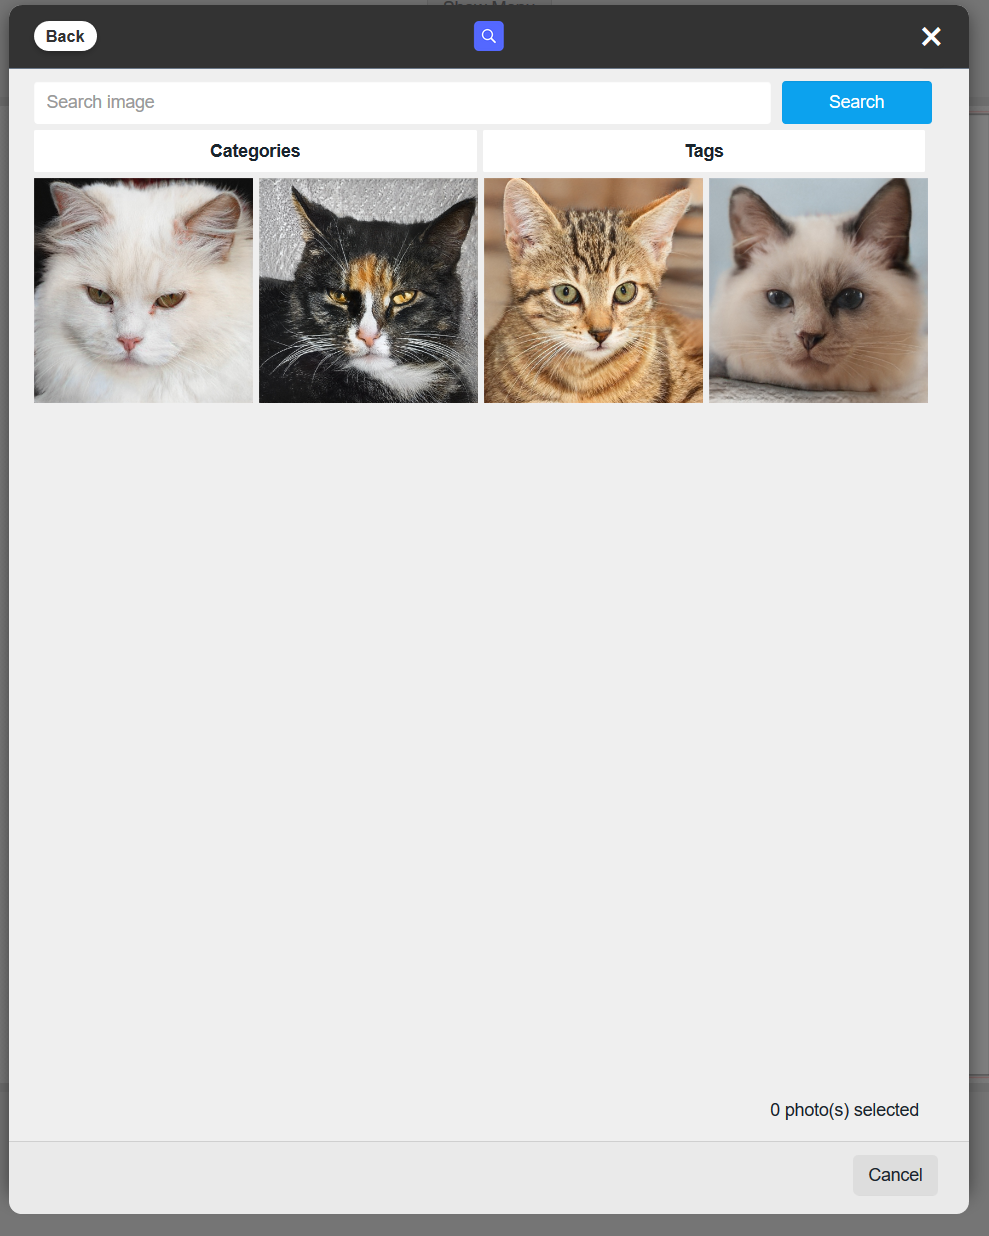
Whenever in the editors or My account album management a user can upload an image a new menu will be present where he can choose to take an image form the image plugin.
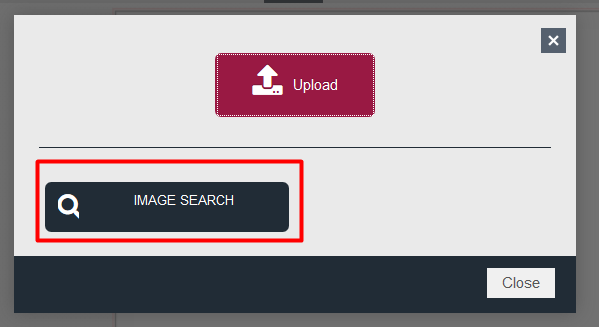
Presenting you a window where you can perform the searches and browse categories or tags.