A user's gallery of uploaded images can be managed within their Account page.
When logged in as the user, click on My Account or Account on the top bar.
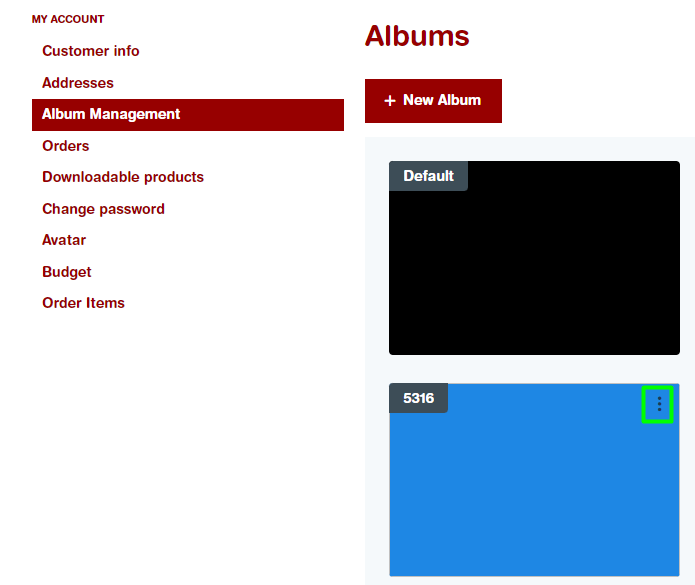
From the list of options, choose 'Album Management.' A gallery of uploaded images will open.
When hovering over an image, three dots will appear in the upper right corner.
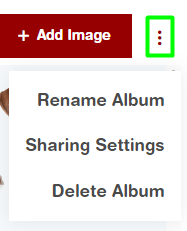
Click on the dots to open a drop-down with the available options:
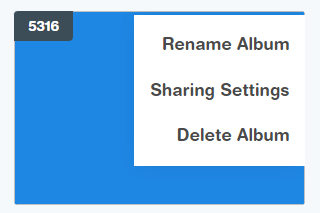
From here, as the options state, the album can be renamed, shared (Managing Shared Image Albums – Infigo Help Desk (zendesk.com)) or deleted
To edit the images in the album, simply click on the album to open it
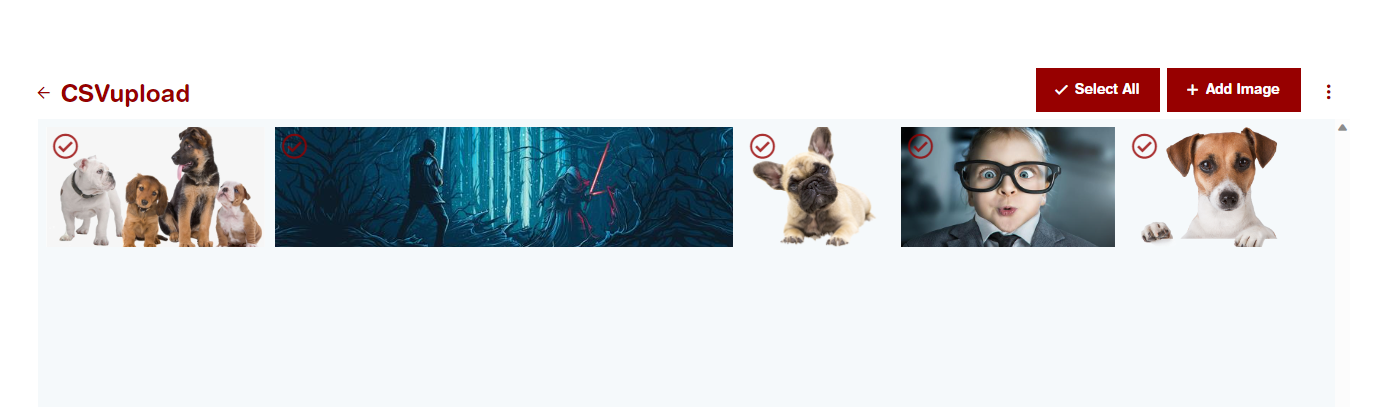
From here, using the buttons above the images you can perform a number of tasks:

Delete
- Select the image then click 'Delete'
Move
- Select the image, click 'Move' the click which album you want to move the image to
Select All
- Select all the images (rather than having to individually select them)
Add Image
- Add a new image
The Dots
- Like with the dots before opening the album these dots can be used to rename, share or delete the album
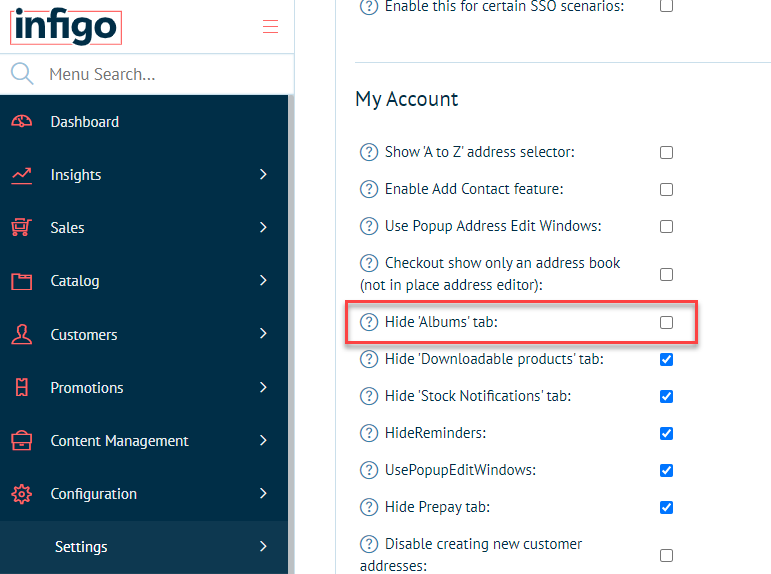
IF the Album Management option is not available, you can activate it by logging into Admin for the storefront it is required on, and navigating to:
Configuration -> Settings -> Customer Settings
Under the subheading, My Account, untick the "Hide Albums Tab" setting