Overview
Job Tickets contain information at a job or orderline level.
A Job Ticket in Infigo is essentially a PDF that contains information about each job in the order. Generally, it will be documentation that is used internally to aid with the production process. It will be printed with the job, and will follow it around the production process. It will contain information specific to the job, including the product name, thumbnail, quantity, specification and product attribute details.
Similar to Packaging Slips and Invoices, we allow for users to create their own Job Tickets in Infigo and you will do this in the same way as you would build an Infigo Variable product.
Creating your Job Ticket
We have attached our default Infigo Job Ticket template to this article which you can download and use or modify on your own storefront.
The Job Ticket can be created using the standard Infigo Designer plugin, using fields and variables named after placeholders. For example, if you wanted to use the "Attributes" placeholder to show product attributes, you would simply create either a Text Field, a Local Variable, or a Global Variable, and name the field/variable "Attributes."
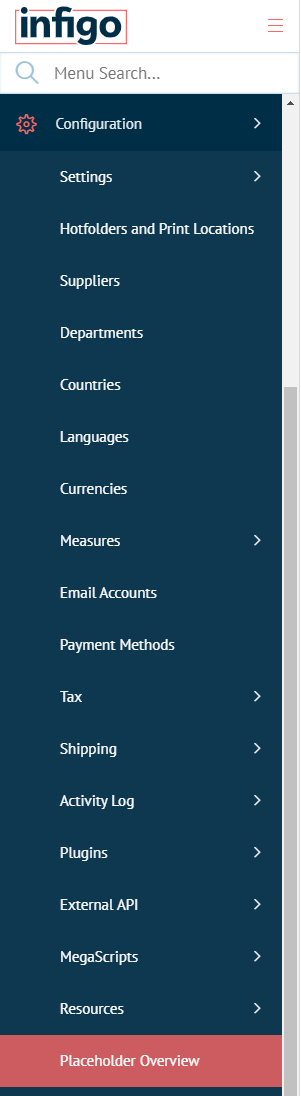
There is a complete list of placeholders in Admin where you can search for Order specific or Orderline specific placeholders. These are located under Admin > Configuration > Placeholder Overview.
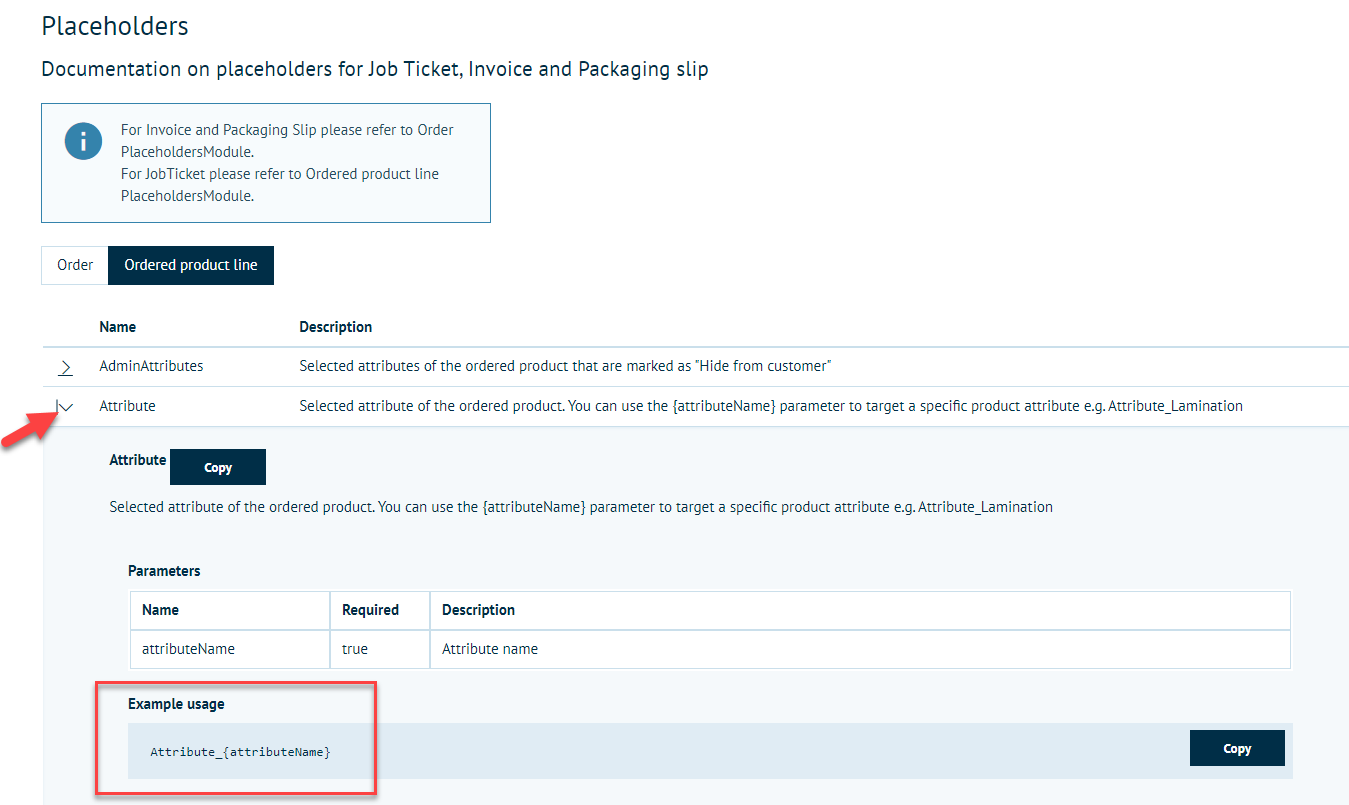
Order specific placeholders are officially supported for Invoices and Packing Slips, whereas Orderline specific placeholders are officially supported for Job Tickets.
Note: Some Order specific placeholders will still work on job tickets, and some Orderline specific placeholders will work on Invoices and Packing Slips, however this would not be an officially supported configuration and may not work as expected.
If you click the > next to a placeholder in the list, you will see that it expands to give you an example of how to use the placeholder, as well as a brief description of what it's for:
An example of the default Job Ticket is attached to give you an idea of how one can look.
Uploading the job ticket
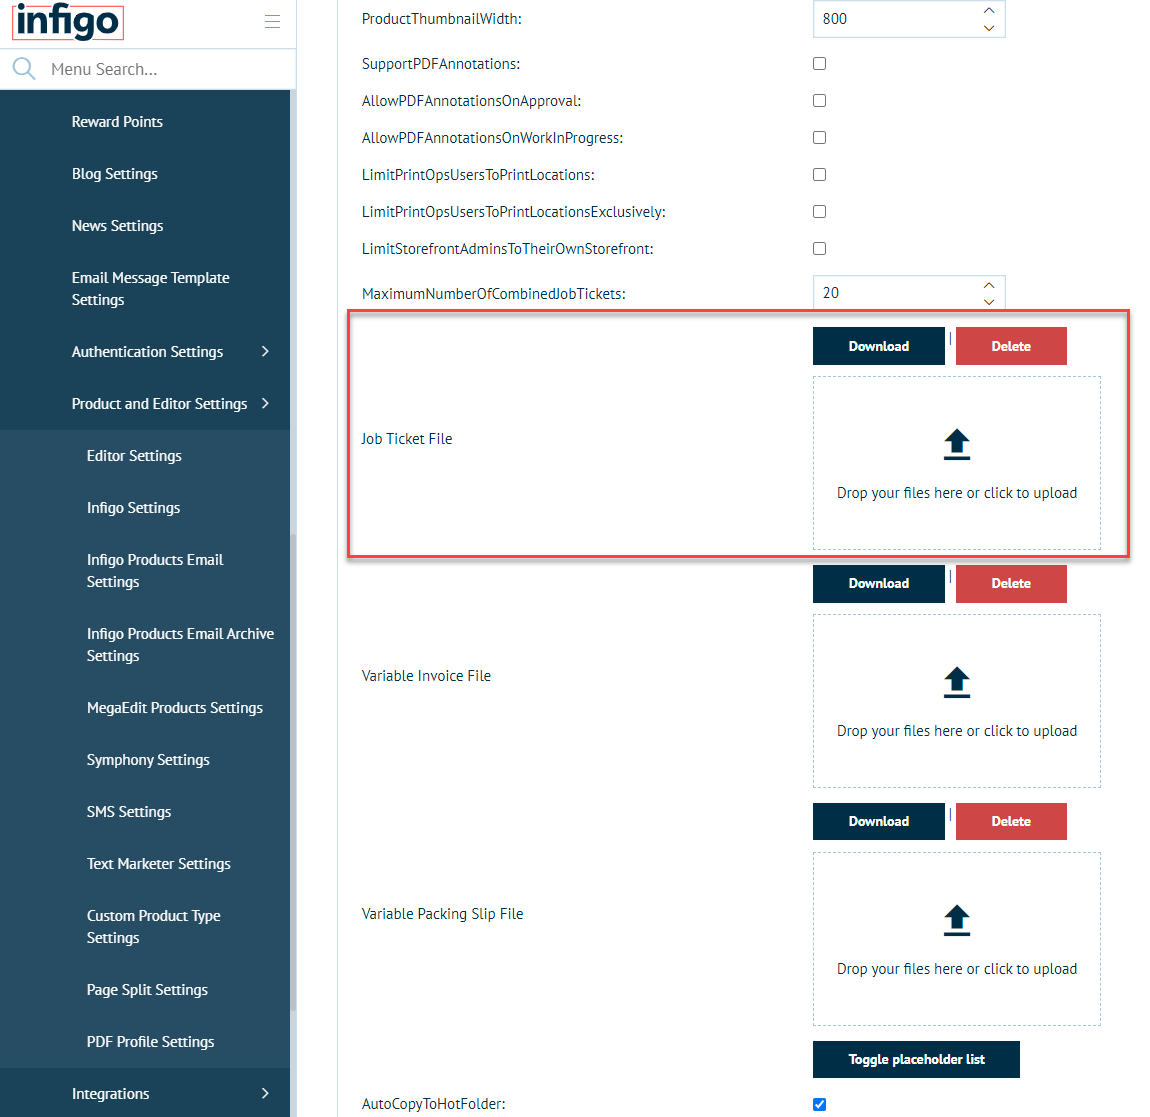
To upload the job ticket file, navigate to Configuration > Settings > Product and editor settings > Infigo Settings and simply upload the file in the location highlighted below, then click "Save.
NOTE:
If you upload the Job Ticket to a specific Storefront, it will only apply to that Storefront.
If you upload the Job Ticket to the Platform, it will apply this specific Job Ticket to all Storefronts.