Overview
Our Editable Content section allows you to edit existing aspects of your storefront, such as the navigation menu or homepage banner, whilst also allowing you to add your own custom content to your storefronts.
This is done through the use of three separate editors:
- Rich Editor
- Code Mirror Editor
- Content Template Editor - for more information on Content Templates please click here.
The editors
Whilst some editable content items require the use of our Code Mirror editor, such as the "Top Menu" and "Homepage Banner" items, a majority of editable content items let you choose which editor you would like to use.
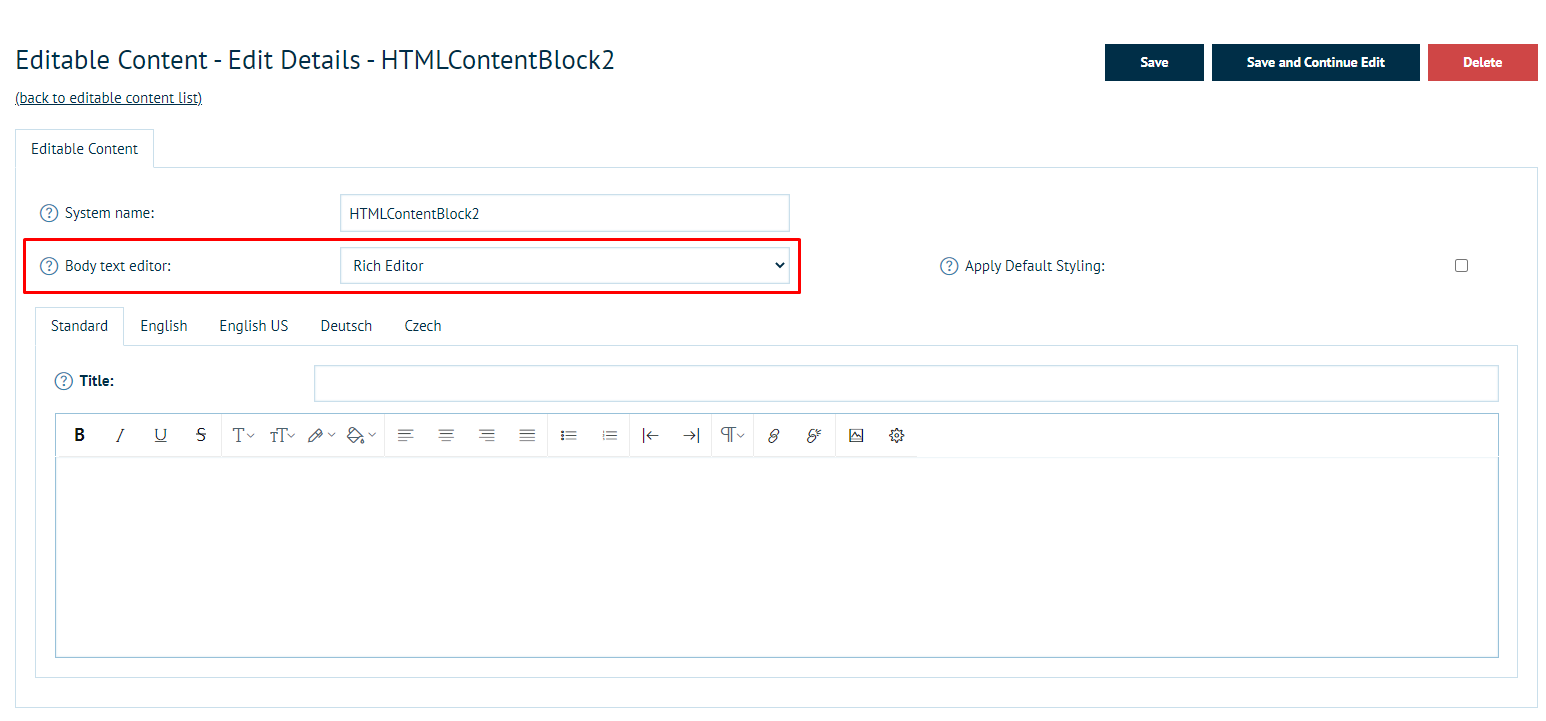
To select the type of editor, open your Editable Content item and use the "Body text editor" dropdown highlighted below:
Rich Editor
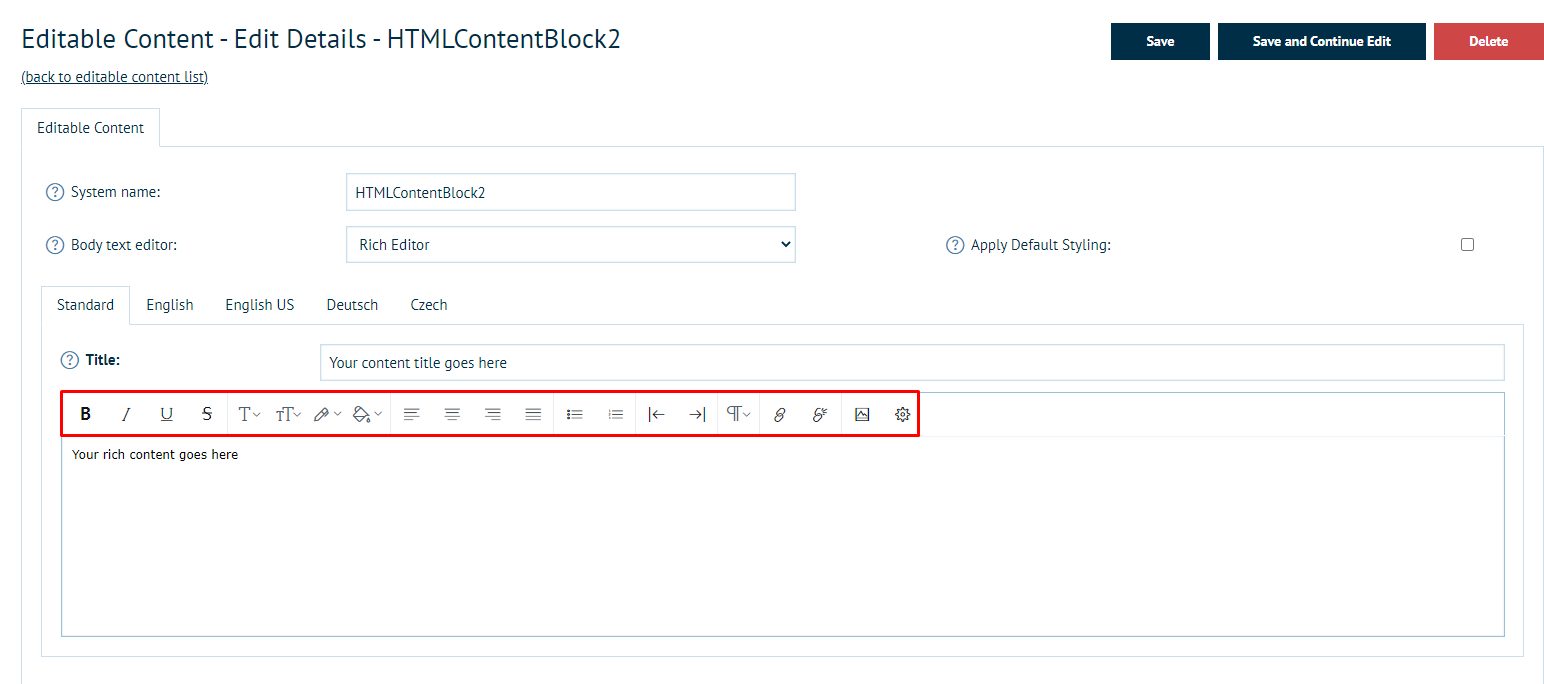
The Rich Editor is usually the easiest to grasp as it is a WYSIWYG (What You See Is What You Get) editor, meaning that the content you build in this editor will be reflected in the front end.
The screenshot below highlights the array of standard tools available to the Rich Editor, letting you customise your content with no HTML skills required:
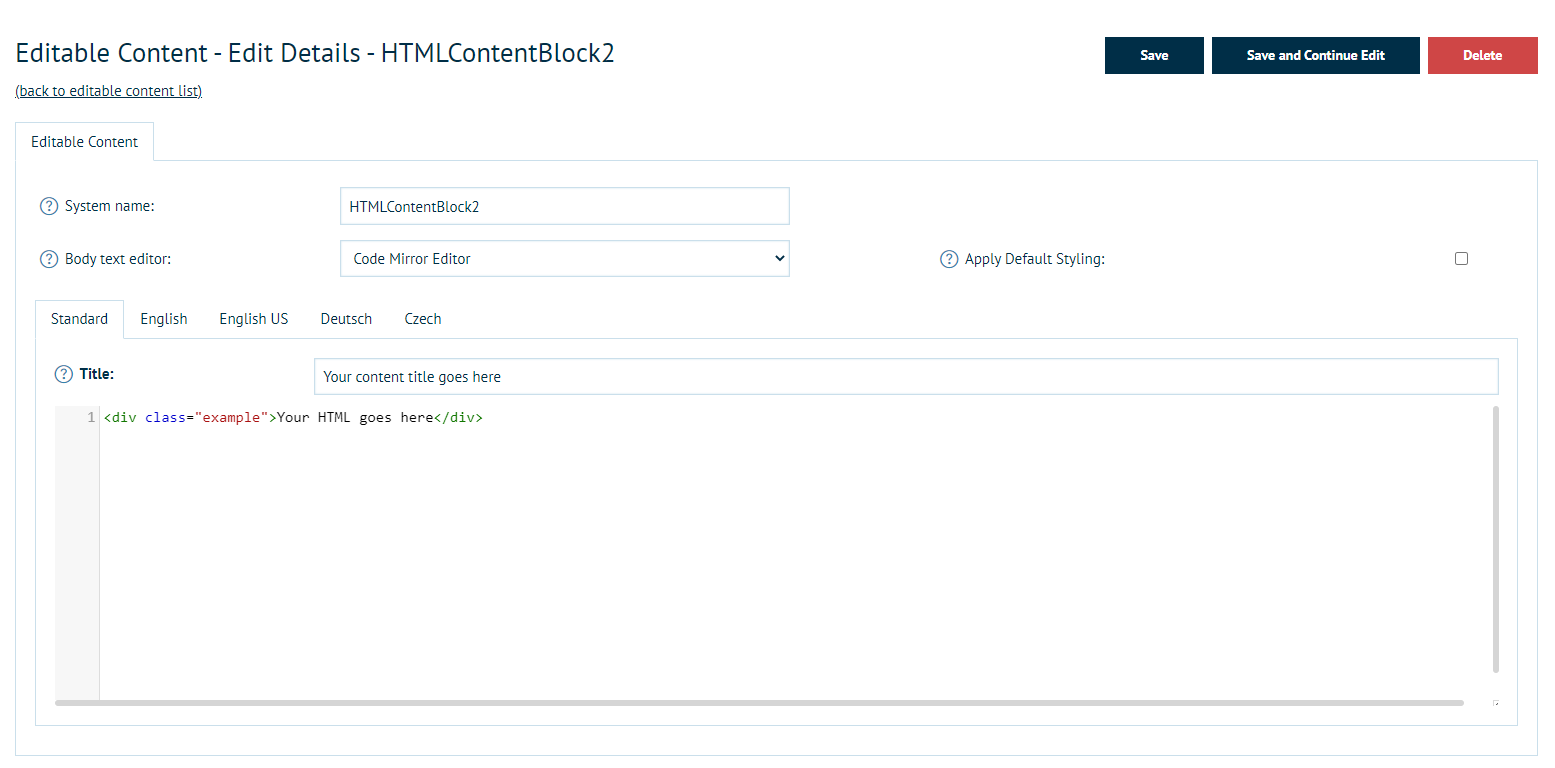
Code Mirror Editor
The Code Mirror editor lets you push your editable content further, and allows you to utilise our Bulma integration when using the Arone theme, allowing you to build your HTML to match their structure.
Once you've selected the Code Mirror editor, all you need to do is add your HTML code to the item, and it will be loaded in wherever the module is added.
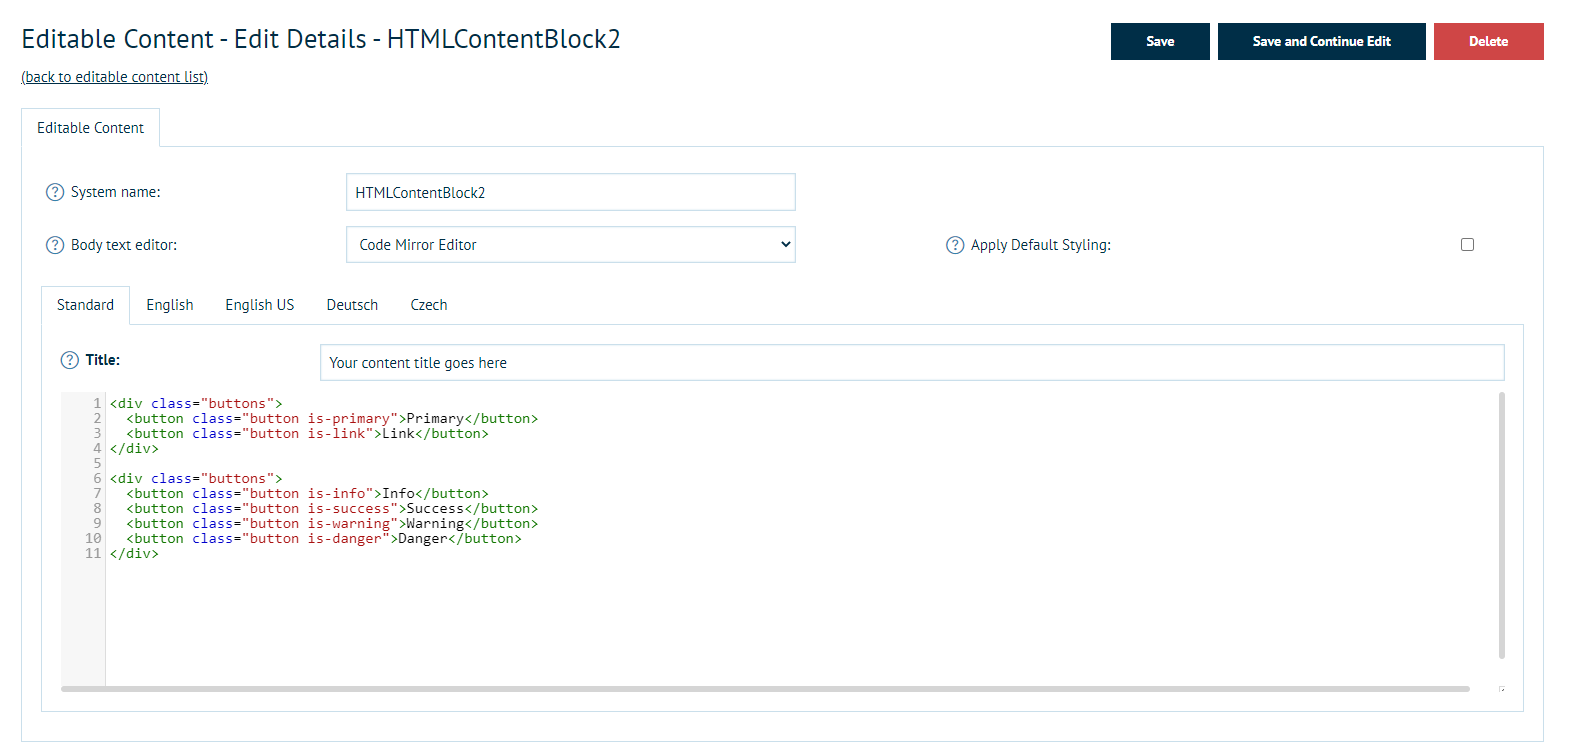
When using Code Mirror along with the Arone theme, you are even able to copy in pre-built items from Bulma's documentation and adjust it to fit your needs.
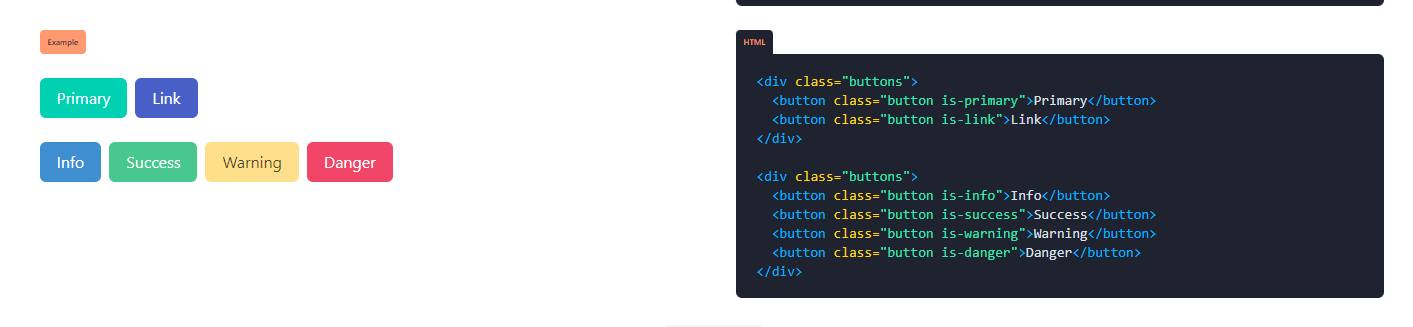
For example, if you paste the following into your editable content item:
Then add the module to your homepage, this is how it will appear:

Which matches what is shown in the Bulma documentation:
Content Template Editor
This editor mode is restricted by default, and will only become available if you have purchased specific Content Templates, usually as part of a site build.
Instructions on how to use these templates will be provided to you on a per-template basis.
Editing Existing Content
To edit existing content, follow the steps below:
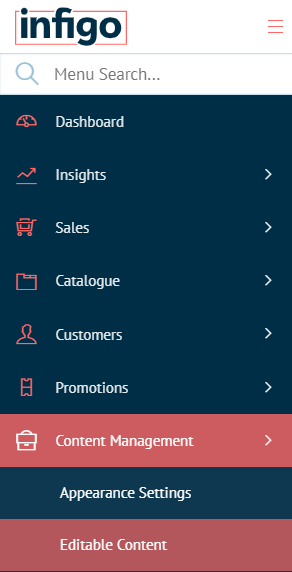
- Navigate to "Content Management -> Editable Content"
- Find the item you want to edit in the list
- Click "Edit"

Adding extra HTMLContentBlock items
The HTMLContentBlock items are effectively blank templates for you to work with, letting you add your content to it so the module can be added to the storefront and you can have your content loaded wherever you need.
Whilst we only have HTMLContentBlock1 -> HTMLContentBlock4 by default, we officially support up to HTMLContentBlock12.
If you need more than the first four HTMLContentBlock items, you can add items 5 -> 12 by following the steps below:
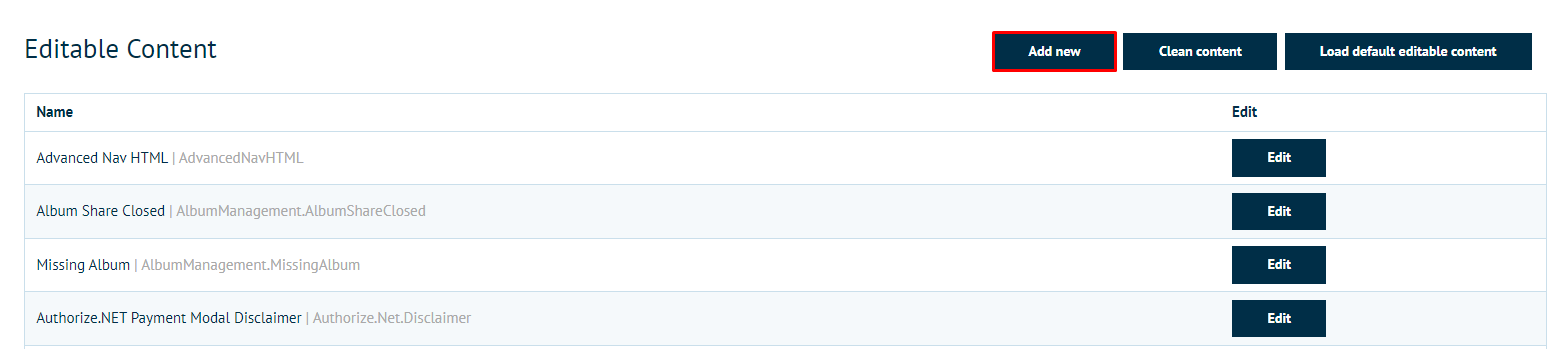
- Navigate to "Content Management -> Editable Content" and click "Add new"
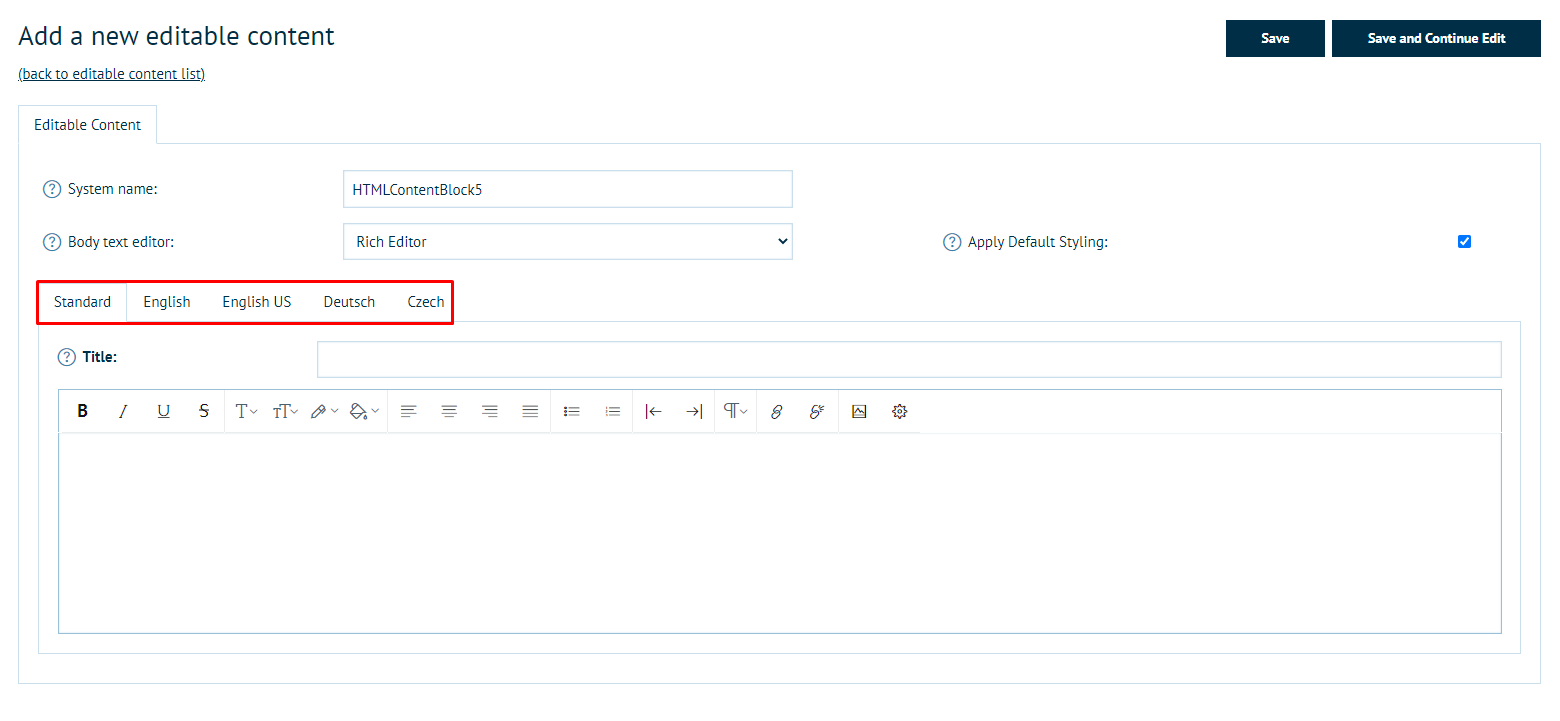
- In "System Name", enter "HTMLContentBlockX" where X is the block number you want to add:

- Click "Save" or "Save and Continue Edit"

Localising Content
Each Editable Content can be localised, with each language having its own unique variation of the item. When one of these items are loaded, the user will only see their chosen language's variant of the editable content.
To provide localised versions of the content, simply select the language you would like to localise for from the tabs highlighted below, and add your localised content as usual.
If there is no localisation configured for a user's selected language, then the content will default to the "Standard" tab.
Context Tokens
Each of our Editable Content items support what we refer to as "Context Tokens". These are explained further in this article, however there is one specific type of token worth explaining here, and that's the HideShow classes.
When using the Code Mirror editor, you are able to add the HideShow class tokens as a HTML class in your content to either hide or show the content based on the user trying to view it.
For example, is-hidden will hide content from general users, and show it to administrators.
The snippet below shows how you can use this, along with the https://academy.infigo.net/ token, to make an admin button that only storefront administrators can see:
<div class="is-hidden">
 <a href="https://academy.infigo.net/admin">Admin Menu</a>
</div>