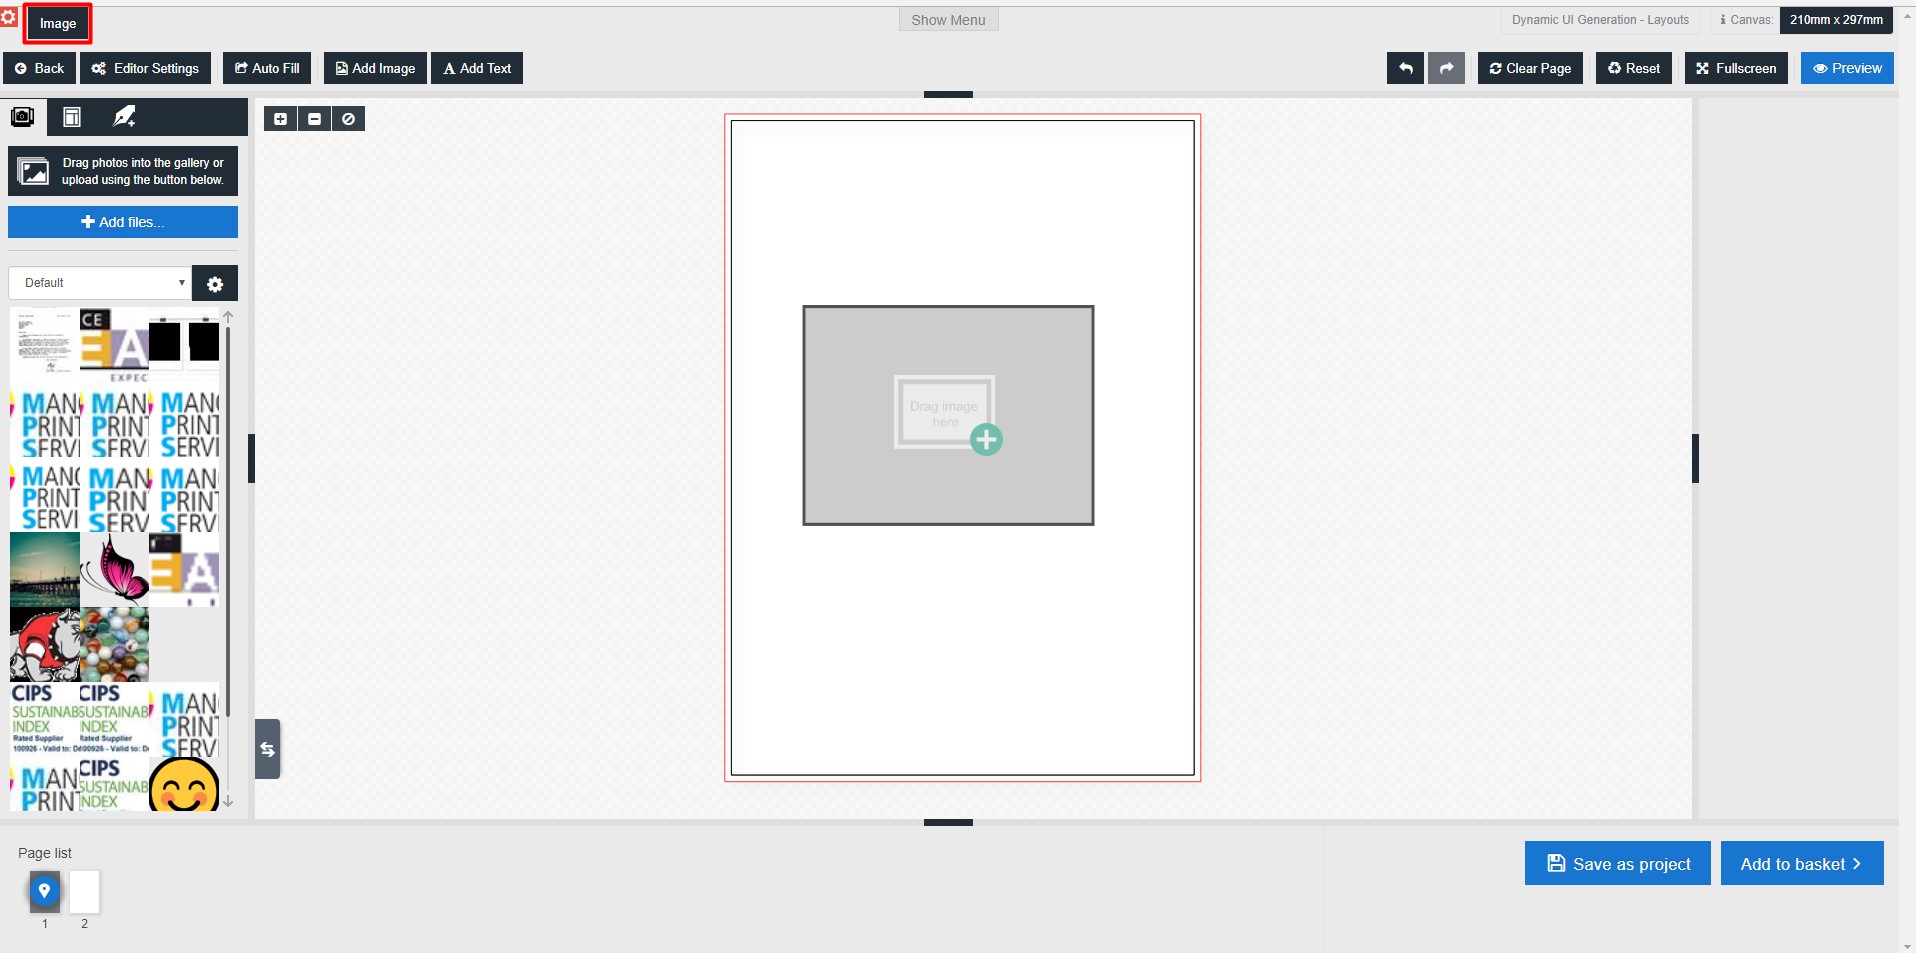
The Dynamic Form Builder Script allows for your users to choose layout via a popup menu which appears as soon as the editor loads, and the users will be able to re-open it through the use of a button. Click here to learn more about layouts.
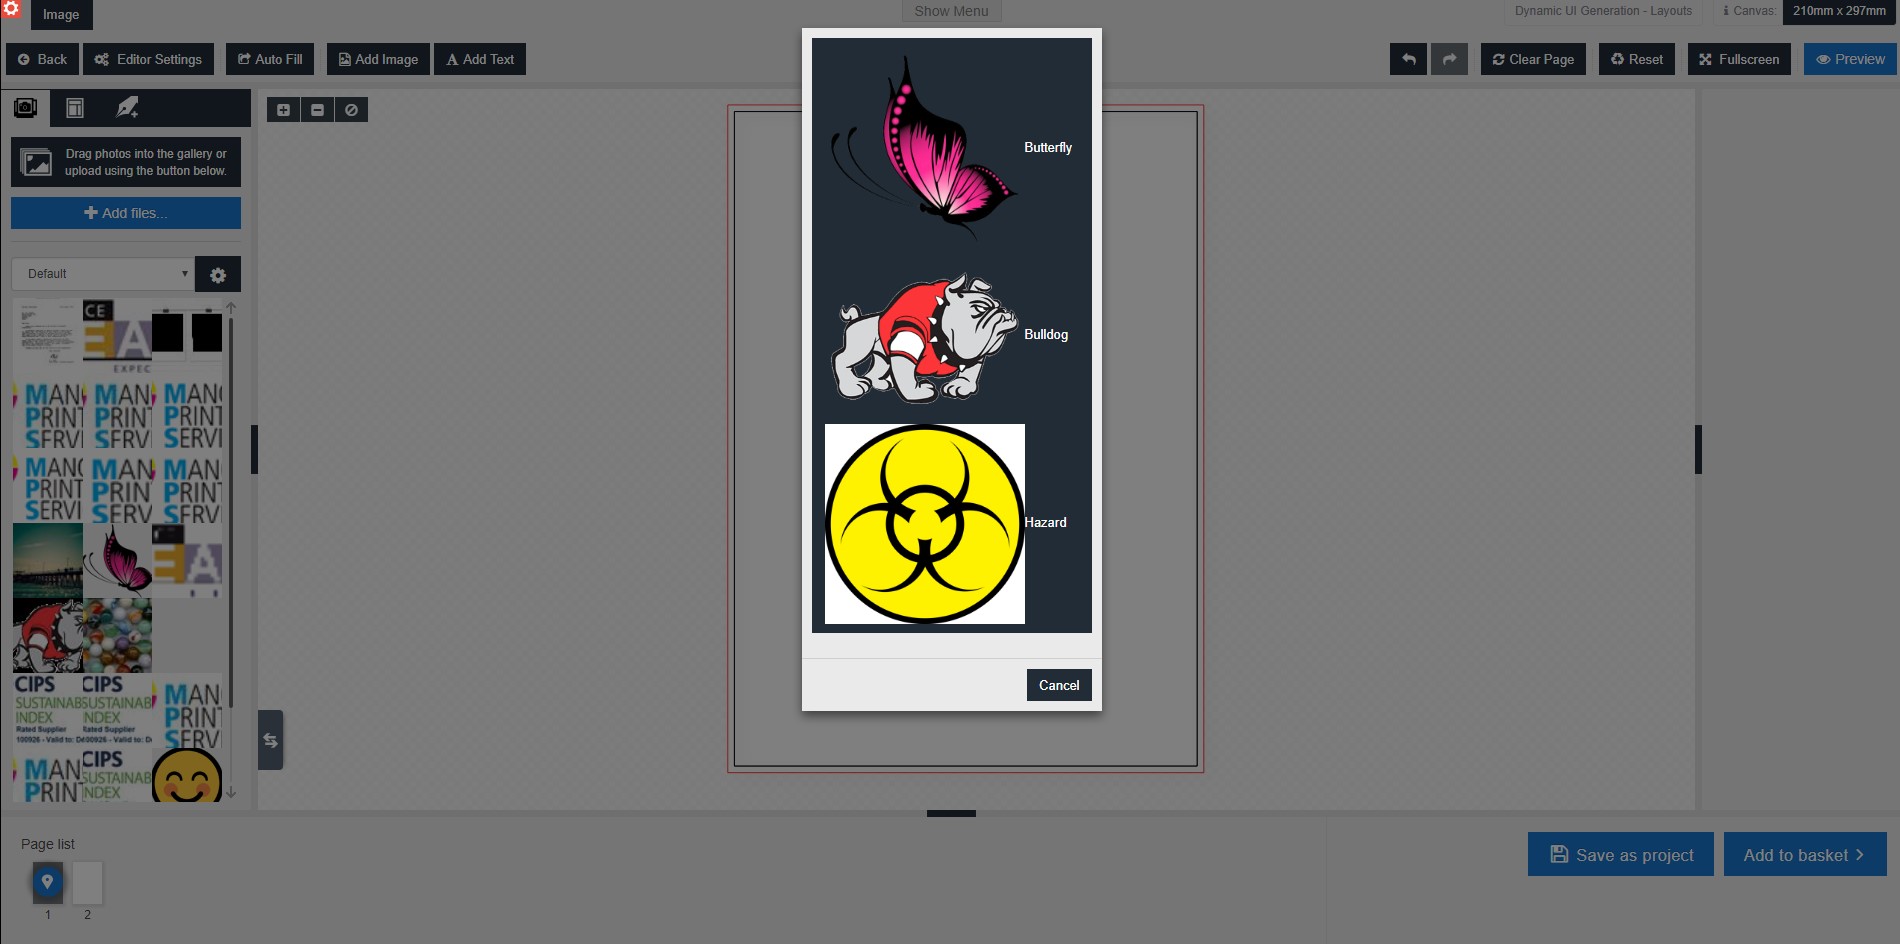
The popup which loads will not have any styling added to it, so it will likely not look to be in a usable state when you first load it, However, through the use of CSS styling, you can adjust the look to however you wish - see below for an example of this popup with some very light styling applied to it.
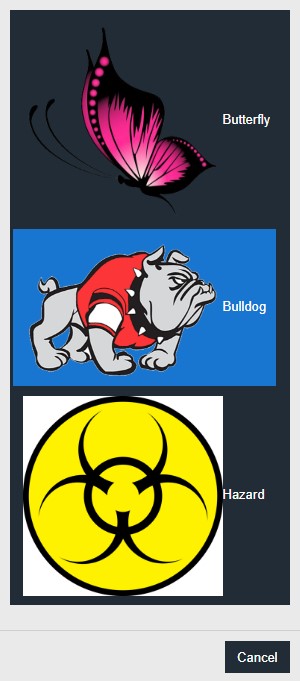
The three sections (shown by the hover color change on the Bulldog option) act as buttons which have been configured in the script to correspond to the MegaEdit layouts. The images displayed for the buttons are uploaded in the CSS override section of the storefront - so they can be a scaled down version of the layout, something which represents the layout, or something else entirely.
To configure this script, you will need to first assign it to your product by navigating to Admin -> Catfish -> Infigo Variable Data -> Dynamic Products -> {your product}: Edit
Once you are editing your dynamic product, navigate to the Scripts tab, double click on the checkbox next to Dynamic Form Builder and click the button. Be sure to press Save Changes.

Enabling the script won't make it work right off the bat, however, you will need to create your layouts and configure the script first. When creating your layouts, make note of the name of your layouts - you will need to reference these in the configuration.
Once you have your layouts configured, you will need to copy and paste the following script into the Config section of the Scripts tab shown in the above screenshot.
 { "textAreaTag": "TextArea", "textFieldTag": "TextField", "customAreaTag": "CustomArea", "customFieldTag": "CustomField", "paddingFactor": 0, "zoomEnabled": true, "useLayoutQuickSelect": true, "startOnLoadLayoutQuickSelect": true, "layoutCategoryFilter": "Layout Category Name,
 "layoutSelectTitle": "Image", "layoutMapping": [ { "name": "Butterfly", "pages": [ { "nr": 1, "layout": "Butterfly" }, { "nr": 2, "layout": "Butterfly Back" } ], "thumbnailUrl": "https://www.webtoprintdemo.com/2068969090/Handler/CSSOverride/GetImage/92/PNG.png" }, { "name": "Bulldog", "pages": [ { "nr": 1, "layout": "Bulldog" }, { "nr": 2, "layout": "Bulldog Back" } ], "thumbnailUrl": "https://www.webtoprintdemo.com/331222566/Handler/CSSOverride/GetImage/92/GIF.gif" }, { "name": "Hazard", "pages": [ { "nr": 1, "layout": "Hazard Front" }, { "nr": 2, "layout": "Hazard Back" } ], "thumbnailUrl": "https://www.webtoprintdemo.com/-360773339/Handler/CSSOverride/GetImage/92/hazardous-waste-symbol-clipart-1.jpg" } ] }
You will need to configure it to match your product i.e. ensuring that the page numbers are correct, the layout names provided perfectly match the name of the layout in MegaEdit, the thumbnail URL points to the correct image uploaded in CSS override, etc.
You can add as many layout options as you would like - simply copy the below code, configure it, and paste it one character before the last square bracket in your script.
, { name: 'Selection Name', pages: [{ nr: 1, layout: 'Selection page One' }, { nr: 2, layout: 'Selection Page Two' }, ], thumbnailUrl: 'YourThumbnailURL' }
See blue text below for an example of where this should be copied into
 { textAreaTag: "TextArea", //This is the tag you will need to assign to text fields which you want to have more than one displayed entry line in the form textFieldTag: "TextField", //This is the tag you will need to assign to the text fields you want your users to be able to see a single entry line in customAreaTag: "CustomArea", customFieldTag: "CustomField", paddingFactor: 0.0, zoomEnabled: true, //This will determine whether or not clicking on a field in the form causes the editor to zoom in on the respective field useLayoutQuickSelect: true, //This enables the layout feature
 layoutCategoryFilter: "Layout" // This is to target the Layout Category, startOnLoadLayoutQuickSelect: true, //This determines whether or not the layout menu appears upon first loading the editor layoutSelectTitle: 'Image', //This determines the name of the button which will appear in the editor layoutMapping: [{ //This starts the list of layouts which will appear in the editor name: 'Butterfly', //This is the displayed text next to the image for the lsit item pages: [{ //This section allows you to control which page should be changed to which layout when the list item is chosen on the popup menu nr: 1, //This is which MegaEdit page will have its layout changed - this will not count covers as pages layout: 'Butterfly' //This is the name of the layout which the page will be changed to }, { nr: 2, layout: 'Butterfly Back' }, ], thumbnailUrl: 'https://www.webtoprintdemo.com/2068969090/Handler/CSSOverride/GetImage/92/PNG.png' //This is the URL of the image which will be displayed in the popup menu for this item }, { name: 'Bulldog', pages: [{ nr: 1, layout: 'Bulldog' }, { nr: 2, layout: 'Bulldog Back' }, ], thumbnailUrl: 'https://www.webtoprintdemo.com/331222566/Handler/CSSOverride/GetImage/92/GIF.gif' }, { name: 'Hazard', pages: [{ nr: 1, layout: 'Hazard Front' }, { nr: 2, layout: 'Hazard Back' }, ], thumbnailUrl: 'https://www.webtoprintdemo.com/-360773339/Handler/CSSOverride/GetImage/92/hazardous-waste-symbol-clipart-1.jpg' }, { name: 'Selection Name', pages: [{ nr: 1, layout: 'Selection page One' }, { nr: 2, layout: 'Selection Page Two' }, ], thumbnailUrl: 'YourThumbnailURL' }] }
This can be repeated as many times as you wish, and you can affect more than two pages per item by doing a similar step to the above. Simply copy and paste the code below and paste it one character before the last square bracket before the thumbnailURL for your selection.
{ nr: PageNumber, layout: 'Layout' },
See below for an example of how the code would look with the above code added.
{ name: 'Selection Name', pages: [{ nr: 1, layout: 'Selection page One' }, { nr: 2, layout: 'Selection Page Two' }, { nr: PageNumber, layout: 'Layout' }, ], thumbnailUrl: 'YourThumbnailURL' }]
As you can see in the screenshot below, the button now is present in my MegaEdit editor, and if I click on it, the menu loads. To allow the images to load correctly in the editor, I simply gave the img tag a max-width value of 200px