Overview
MegaEdit has the functionality to allow batch uploads using variable placeholders in a template that users can upload their batch data against. Here we look at the Standard Batch Script and how to apply to a product.
Setup
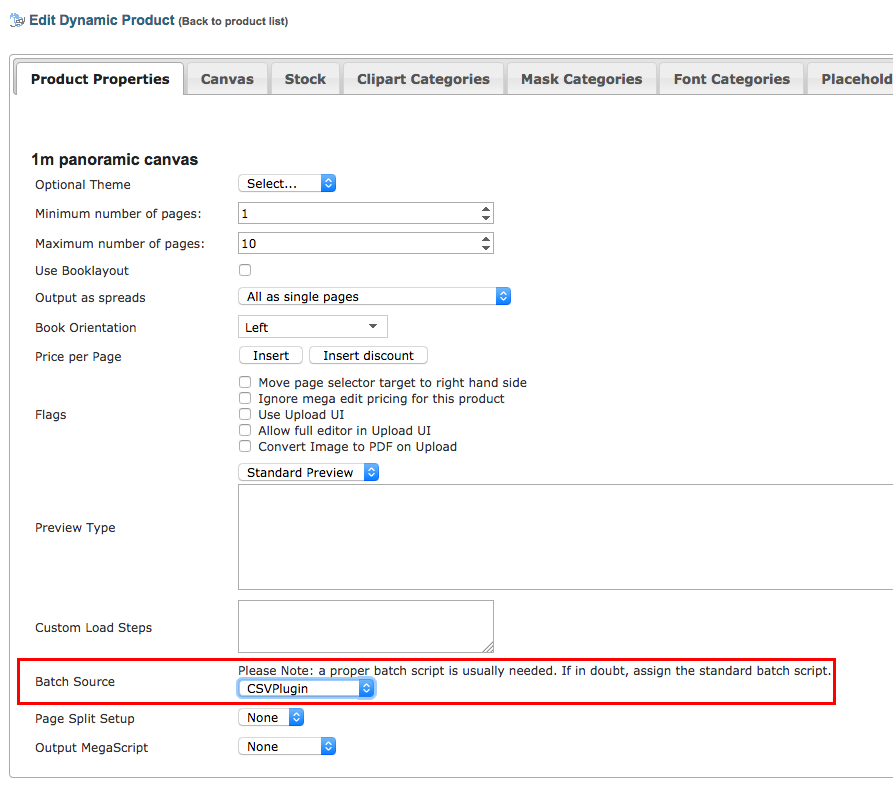
Firstly, enable the script against your chosen dynamic product under the dynamic products setup displayed below.
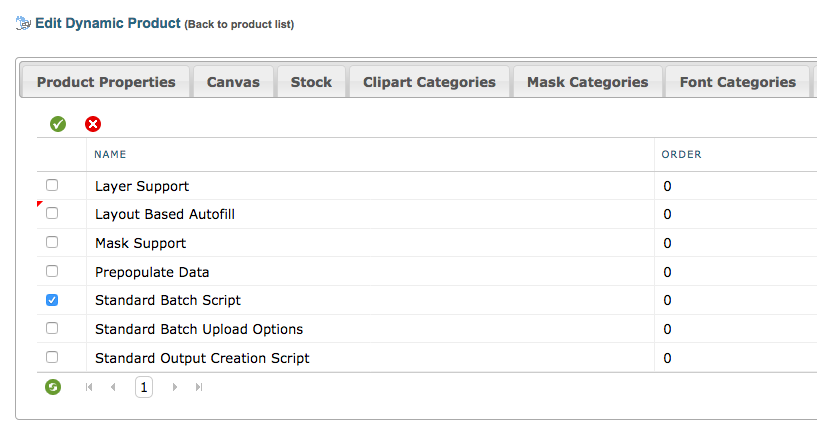
This script is to used in conjunction with a dynamic product that is using the CSV Plugin option. It enables the dynamic product to read a CSV or TXT upload file. You can also tick the script for "Standard Batch Upload options" which allows for .xls and .xlsx files to be used on a dynamic CSV product.
Once you have applied these settings, you can move to the editor and set up your placeholders for a batch template.
When you are inside the editor, you will see some buttons for the Placeholder options

Once you click on the 'Add' button, it will give you a pop up that allows you to create your own placeholder:
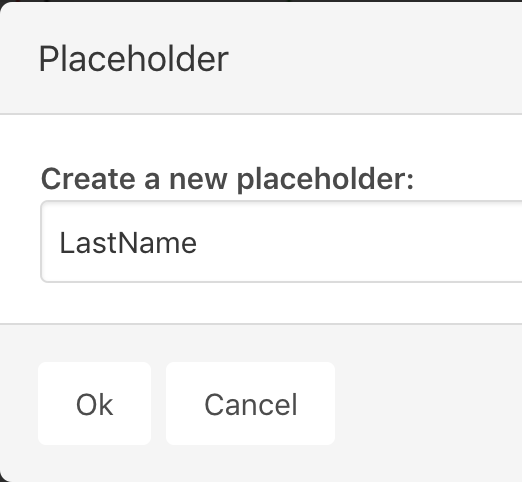
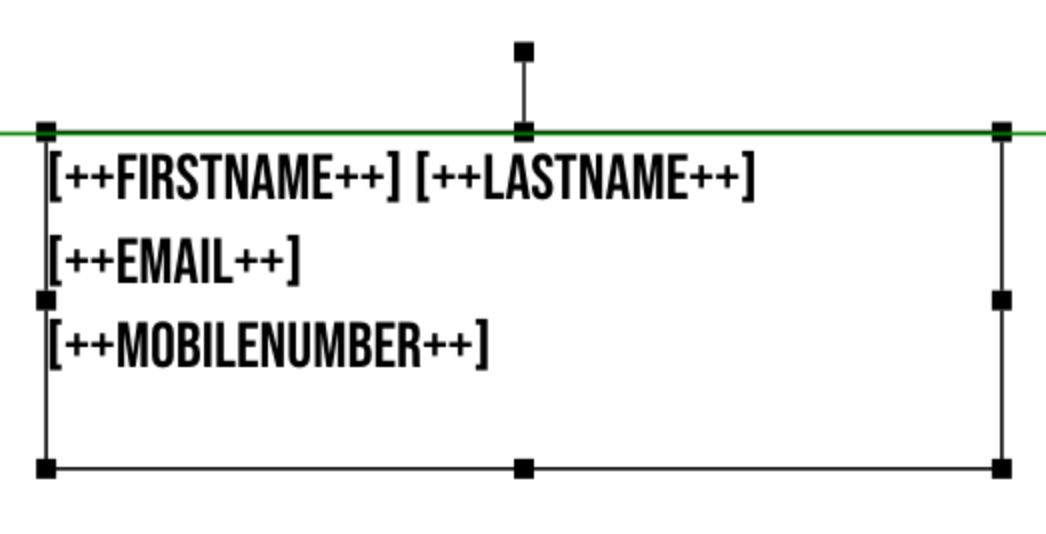
This will then add a placeholder to the canvas with this format: [++LastName++].... this enables the user to match their data with the placeholder using the mapping option when the batch data is submitted.

As you add in placeholders a dropdown list will be created - this is so you can re-use the placeholders on other text fields and pages of a template. You click the button 'Use' to apply the placeholder selected to the canvas.
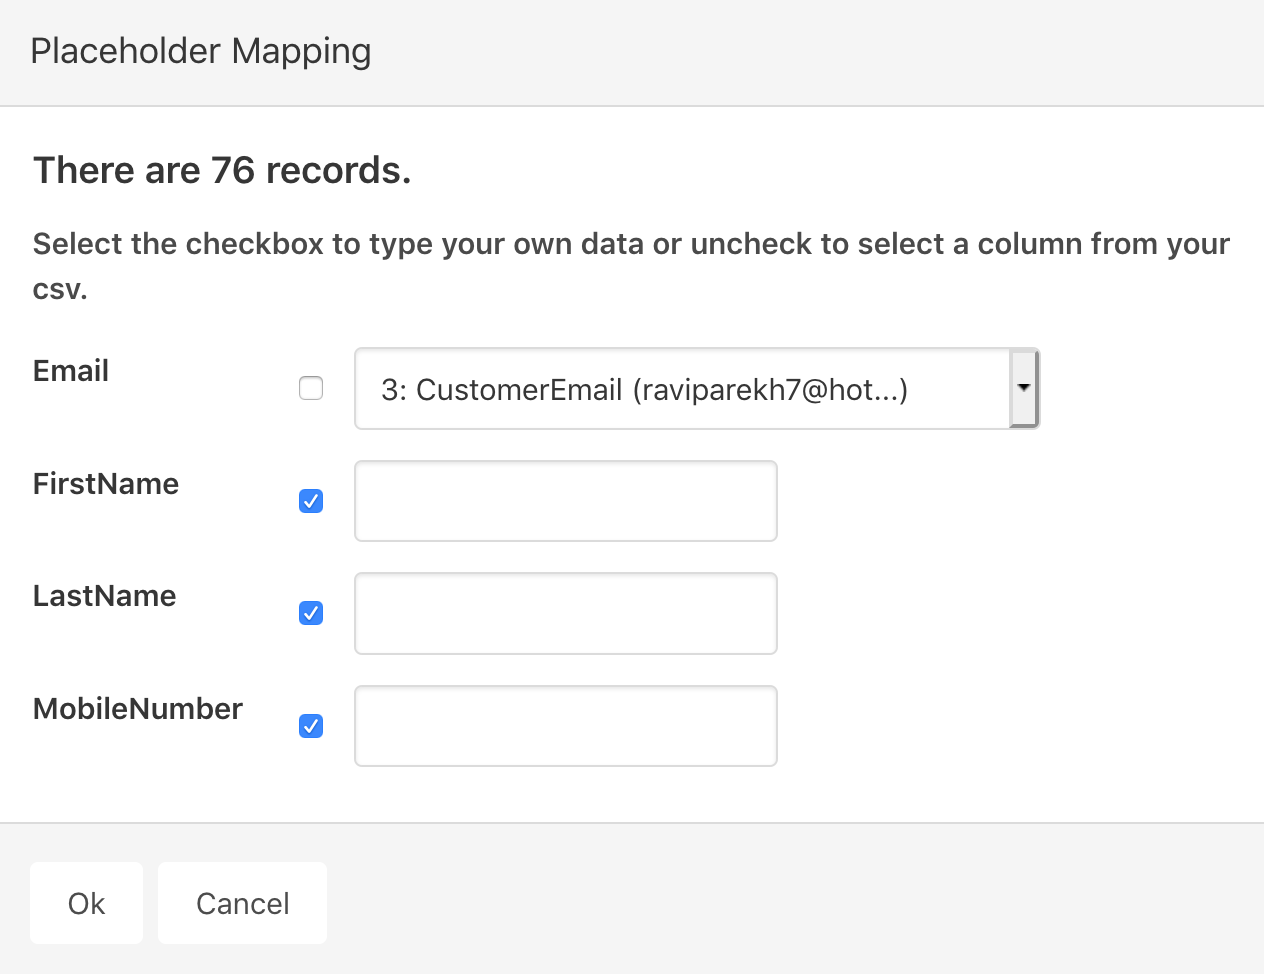
Once you have finished adding your placeholders, you can then upload your data file using the Upload buttons. This will give you a pop up where you can map your batch data to the placeholders.
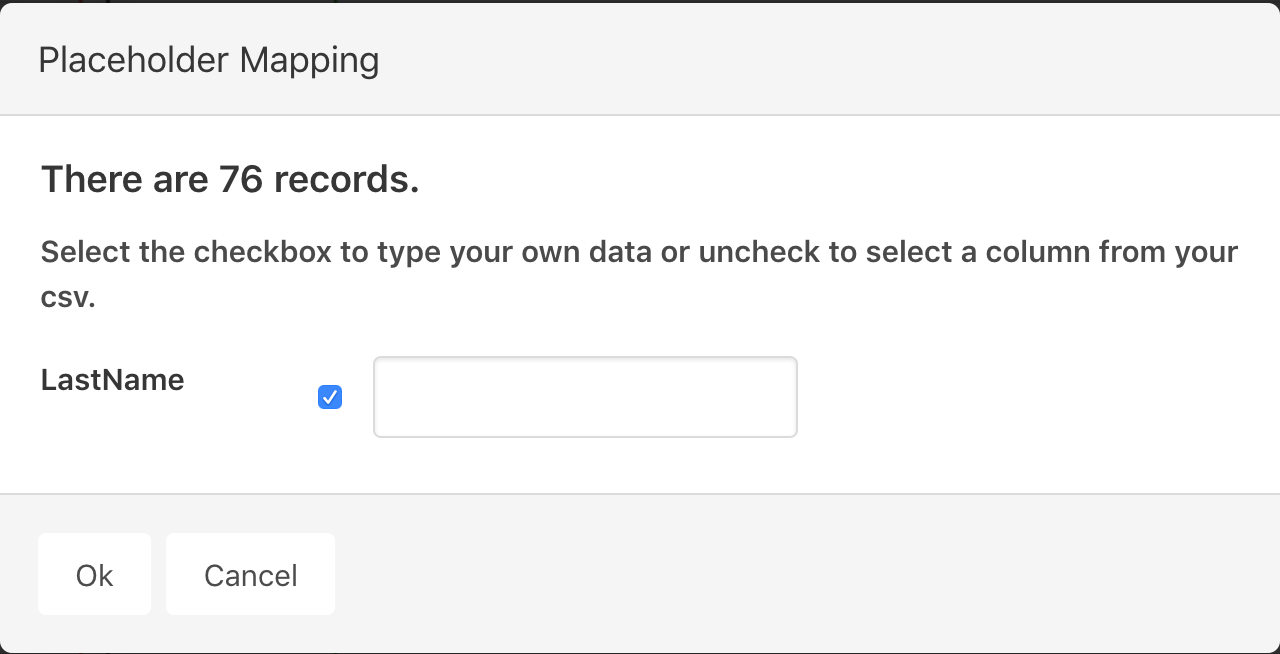
MegaEdit will try to auto map the placeholder name to a column name from the batch data. Or you can uncheck the the blue tick and manually map the placeholders to the batch column data.
Once the data is mapped, you need to click 'Preview' to see the batch data in place. You will be able to search through the first 5 records by default - and then add to basket to order your job.

Full list of configuration options:
{
//startTag: "[++",
//endTag: "++]",
hidePlaceholder: [],
additionalPlaceholder: [],
display: "top", //"right" or "top"
useOnlyCSVUpload: false, // flag that force the use to load the CSV and map it automatically
useOnlyCSVUploadAndDoNotSkipImagePreparing: false, // do not skip image preparing
validateData: false,
autoExecute: false, // will automatically validate the barcode based on his type. Add barcode, add name, save product as default.
autoExecuteMapping: {}, // ie: "upce": "TenCommandments"
disableAddToBasket: false,
hideBatchUi: false,
hideBatchPlaceholderUi: false,
hideUploadButton: false,
configDataSource: false, // flag that if is true will open a popup with settings for parsing the CSV file,
mapping: {
allowStatic: true, // hide static fields in the mapping dialog
dialogTitle: 'Placeholder Mapping', // mapping dialog title
dialogTopInfo: '<div class="content"><h4>There are %% records.</h4><p>Select the checkbox to type your own data or uncheck to select a column from your csv.</p></div>',
specificTypes: [], // map only specific field types [Text, Image, Barcode], by default map all types
caseInvariantReplacement: false, // invariant replacement
textSuppressionMode: null // text suppression mode: 'Left', 'Right', 'Full' or 'Tag' (Tag: script will check for a "LeftSuppression", "RightSuppression", "FullSuppression" tag)
},
csvOptions: {
maxLinePreview: 3, // Rows without the header
customColumnName: 'Column',
defaultQuotingChar: '"',
defaultDelimiterChar: ',',
autoBatchDataDetection: {
minNumberOfRows: 2,
minNumberOfColumns: 2
}
},
images: {
support: false, // flag that allow the batch script to support images or not
albumName: "Default", // configure the selected media album, if not configured, it will choose the default album
validate: false, // flat that indicates to validate images (exists or not)
overrideStaticImages: "", // "off" / "empty"(previus config behavior), "Always", "WhenBatchDataExists"
},
minimumRecordCount: 0,
requiredMapping: {},
layoutBatch: {
columnName: 'layout', // The name of the column to check
defaultLayout: 'defaultLayout', // An optional default layout (in case the layout is missing)
defaultCategory: 'Designs', // An optional layout category (as the base)
handleMissingLayouts: true // A flag how to handle invalid/missing layouts (with a reasonable default)
// SET handleMissingLayouts: true stop the execution when missing layout
}
}