Approval Checklist
- Department - Have you configured a department for your Approval Workflow?
- Approval Workflow Settings - Have you enabled all of the settings you wish to use (including the boxes checked in the screenshot in the 'Switching on the Workflow' section)?
- Message Templates - Approval Workflow has its own set of Message Templates you will need to activate, see Content Management > Message Templates for a full list of editable templates
- Customer Role - Have you assigned the 'Approver' customer role to the target user?
- Customer Relationships - Using the 'Department and Customer Relationships' tab on 'Registered' user profiles you can assign the customer to Approvers on an individual basis or by checking all available boxes
- Product - Do you want approval on a per-product basis? If so, use the 'Applying Approval Requirement to Products' section above for instruction
More Academy Videos regarding the Approval Workflow can be found here.
________________________________________________________________________________________________________________
This article is going to explain Infigo's Approval Workflow. Order approval works in two ways:
- Customer submits an order as normal, and approval takes place between submission and order arriving in print operations (Type 1)
- Customer creates variable print, submits it for approval and the approval process skips delivery and billing details (Type 2)
**Please Note**
Registered Customer and Approver must be in the same Department.
Up to three Approvers can be linked to each Department.
Approval can be Storefront wide or against specific products.
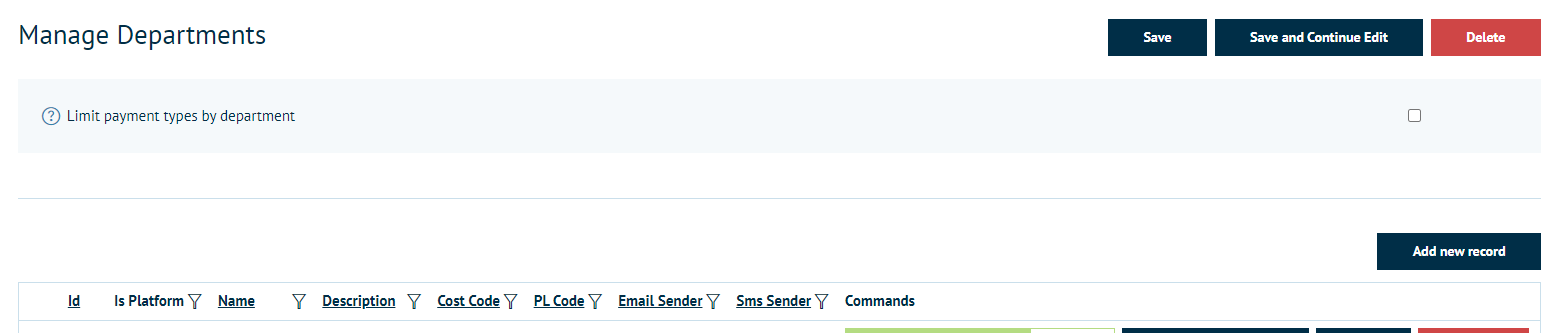
1. Creating a Department
1. Please login to your storefront as a storefront administrator
2. Navigate to Configuration > Departments
3. Press Add new record, you will need to give the department a Name, Description, Cost Code and PL Code. The Email Send, Sms Sender, and Sms Sender Id are optional. Then hit Insert.
Setting up Approval
You will need to create users who are approvers and will then be assigned to another user. Both users must reside in the same department.
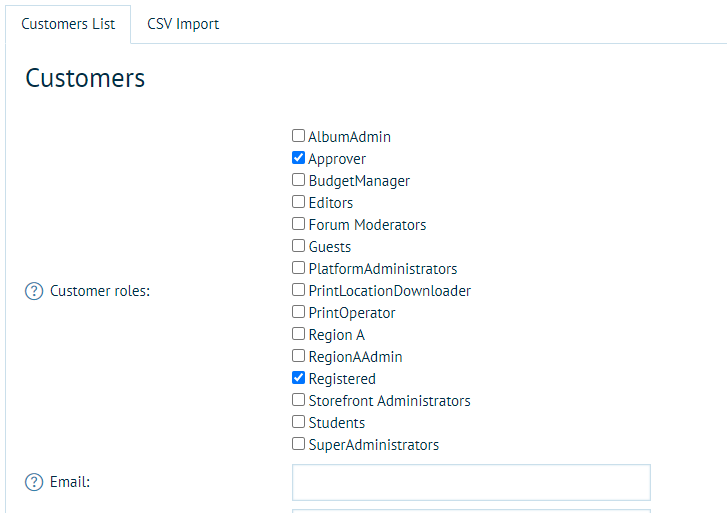
1. Please navigate to Customers > Customer Management
2. Hit Edit against the user you would like to be an approver. Choose the Customers Roles tab and check Approver. Hit Save and Continue Edit.
Assigning Customers to the Department
1. Select the Department and Customer Relationships tab at the top of the Customer Details screen.

2. Select the Department from drop-down, then hit Save.

3. For the next set of steps, please be sure that your approver and registered user belong to the same Department.
Assigning Customers to an Approver
You should now have at least one Department setup, at least one Registered Customer (person placing the orders) and at least one Approver.
Please follow these steps to assign the Registered Customer to an approver:
1. Please navigate to Customers > Customer Management, hit Edit against the Registered Customer who needs an approver assigned to them.
2. Navigate to the Department and Customer Relationships tab.
3. Under Relationships (ByDepartment), select Approver from the drop-down.
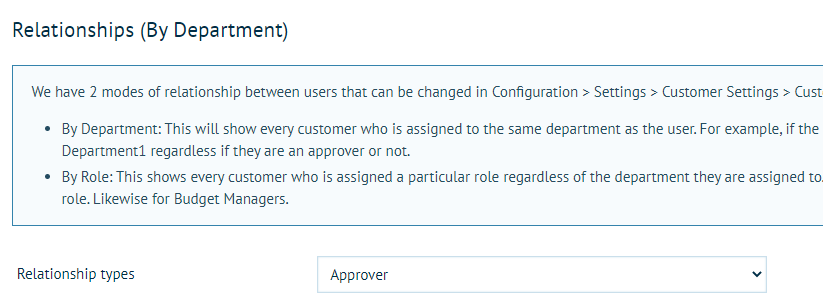
4. Then, select the approver you just created, and hit Save and Continue Edit.
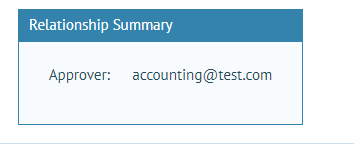
5. After you save, you will see that the user now has an approver assigned to them.
Switching on the Workflow
Please navigate to Configuration > Settings > Approval Workflow Settings
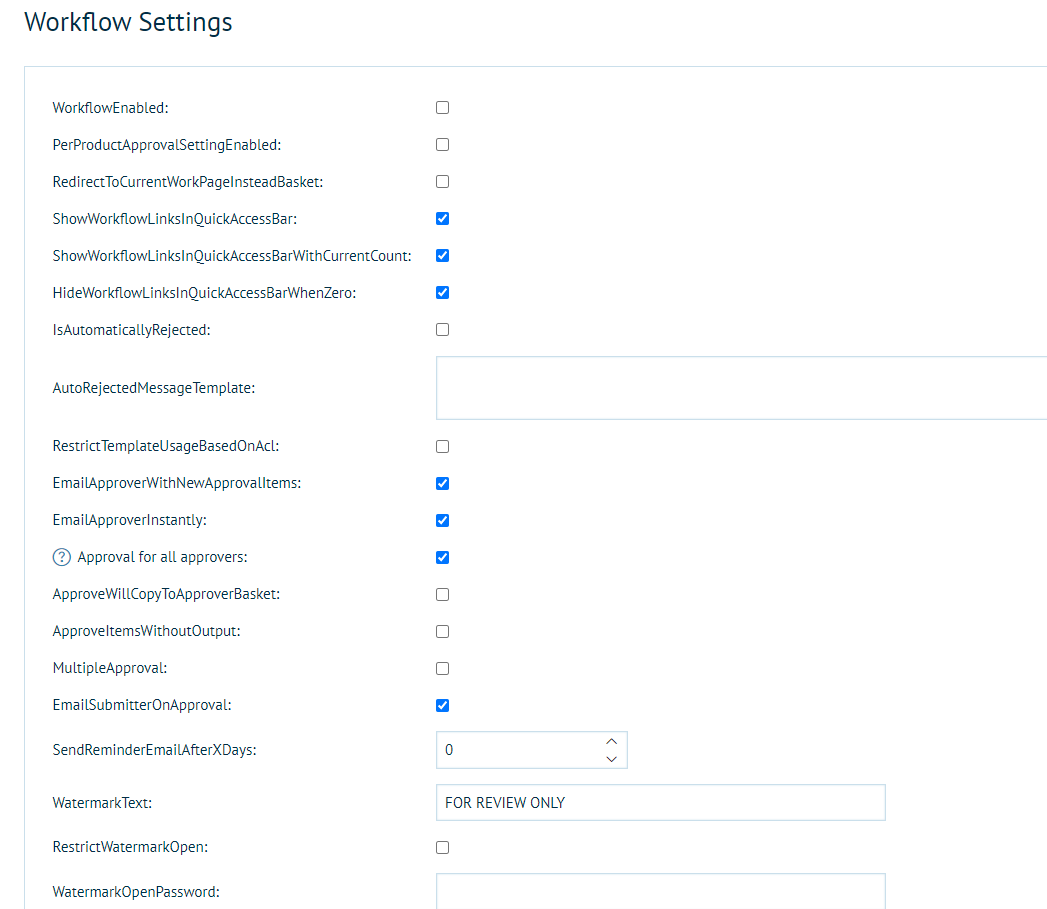
Your options are:
WorkflowEnabled: Switches ON the Approval process.
PerProductApprovalSettingEnabled: Enforces Approval against assigned products only.
RedirectToCurrentWorkPage: Changes the standard checkout flow to ignore full checkout (See Type 2 above).
ShowWorkflowLinksInQuickAccessBar: Allows navigational access to the Approval/Work In Progress (depending on Customer Role).
ShowWorkflowLinksInQuickAccessBarWithCurrentCount: Identifies number of jobs awaiting Approval/In Progress.
HideWorkflowLinksInQuickAddressBarWhenZero: Hides access links when no jobs require Approval
IsAutomaticallyRejected: This will force the users to re-submit their projects before the approvers will receive them in their queue, and therefore the approvers will not receive an email until the orders have been resubmitted.
RestrictTemplatesBasedOnACL: Allows granular control over what templates are accessible with what Customer Role. (Ignore this setting for standard Approval).
EmailApproverWithNewApprovalItems: Switches on the Email for approval.
EmailApproverInstantly: Sends InstantApproverEmail template to all Approvers as soon as a job requires Approval. Without ticking this, the service is sent once a day.
WatermarkText: What watermark should be populated when an Approver downloads items for assessment.
RestrictWatermarkOpen: Applies open restriction to the Watermarked item.
WatermarkOpenPassword: enter the Password to open the Watermarked document.
StoreURL: Enter the full URL of the Storefront. i.e. www.Infigo.Platform.com/Storefront
WorkflowAdditionalProductAttributeColumn: These are the product attributes, you can also have the specification attribute. It simply just adds another column to the workflow table with the attribute you link it to in the column.
EnableApprovalComments: This brings up a text box where the approver can put in messages to the user.
ShowApprovalHistory: This setting allows for the approver and approvee to see the status and history of items that have been approved. To access this feature, you will need to add the Workflow Navigator from the Layout Manager. You will likely need to apply some light styling using CSS to the module.


WorkflowTrustLevelsEnabled: You can assign trust levels to your users. (The maximum number for trust levels is 10). This Trust Level indicates what % of orders will be automatically approved for the user. Leaving it unchecked just means you won't have trust levels on the storefront.
You can turn this setting on and assign trust level per customer:

0 means 100% of orders will be automatically approved, 5 means 50% will be automatically approved etc. Changing the value to 10 would mean all orders would require approval.) Leaving it unchecked on the customer's relationships page will not enable trust levels for this customer.
: Simply shows the thumbnail of a product in the table. Example below:

Applying Approval Requirement to Products
If you have switched on PerProductApprovalSettingEnabled in the settings list above, you will notice a new tab in your product options:

Select Require Approval to enabled the per product approval setting for this particular product.
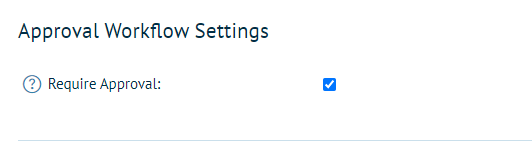
You can then assign approvers for this product, meaning anyone who orders this product will need to be approved by an approver.

Approval Process as a Registered User
When a registered user checks out a product that has Approval required they are notified at the basket that the product will need approval:

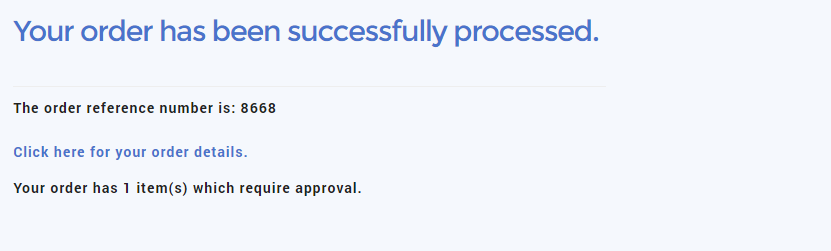
They are also notified at the order confirmation screen:
Users can see jobs which have been submitted for Approval in the Work In Progress link at the top of their screen. Clicking the link takes the user to a Grid view where they can see the status of their job(s) up until it has been Approved.
If the job has been Rejected, the Registered User will see the most recent reason why it was rejected.
Clicking the Job within the Grid expands the items and provides the user with more information.

Approval Process as an Approver
As an Approver you will be notified either instantly when a job has been processed for Approval, or once a day, depending on the settings above.
When you are logged into the site, you will see an Approval link in the top right corner, listing the number of jobs requiring your attention.

Clicking the Approval link takes an Approver to the Approvals grid.
The Approvals grid shows all work in the department that requires Approval.
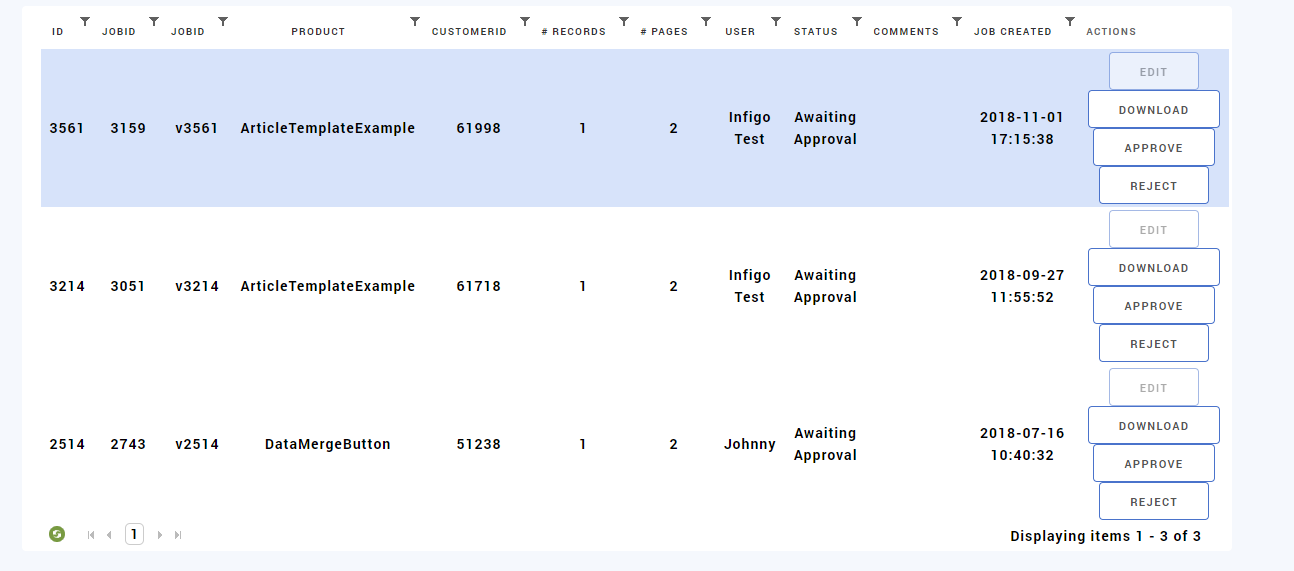
The Quick buttons allow the Approver to Download, Edit, Approve, or Reject. Alternatively, the Approver can click the Job within the grid to expand and see more details.
Rejecting or Approving a job allows the Approver to give an optional message or reason as to why they have made that decision.
Editing the job allows the Approver to make slight changes to the product without rejecting or approving it.