Introduction
We now support Registration Actions that can take place each time a new user is registered. At the moment, the supported actions are limited, however we intend to expand upon this new feature in the future to allow it to support more actions.
Registration actions can be created either one by one, or by uploading a CSV following the correct format in order to create multiple actions at once. This article will explain how to create them through each method, and also show and explain all available actions.
Create Registration Actions one by one
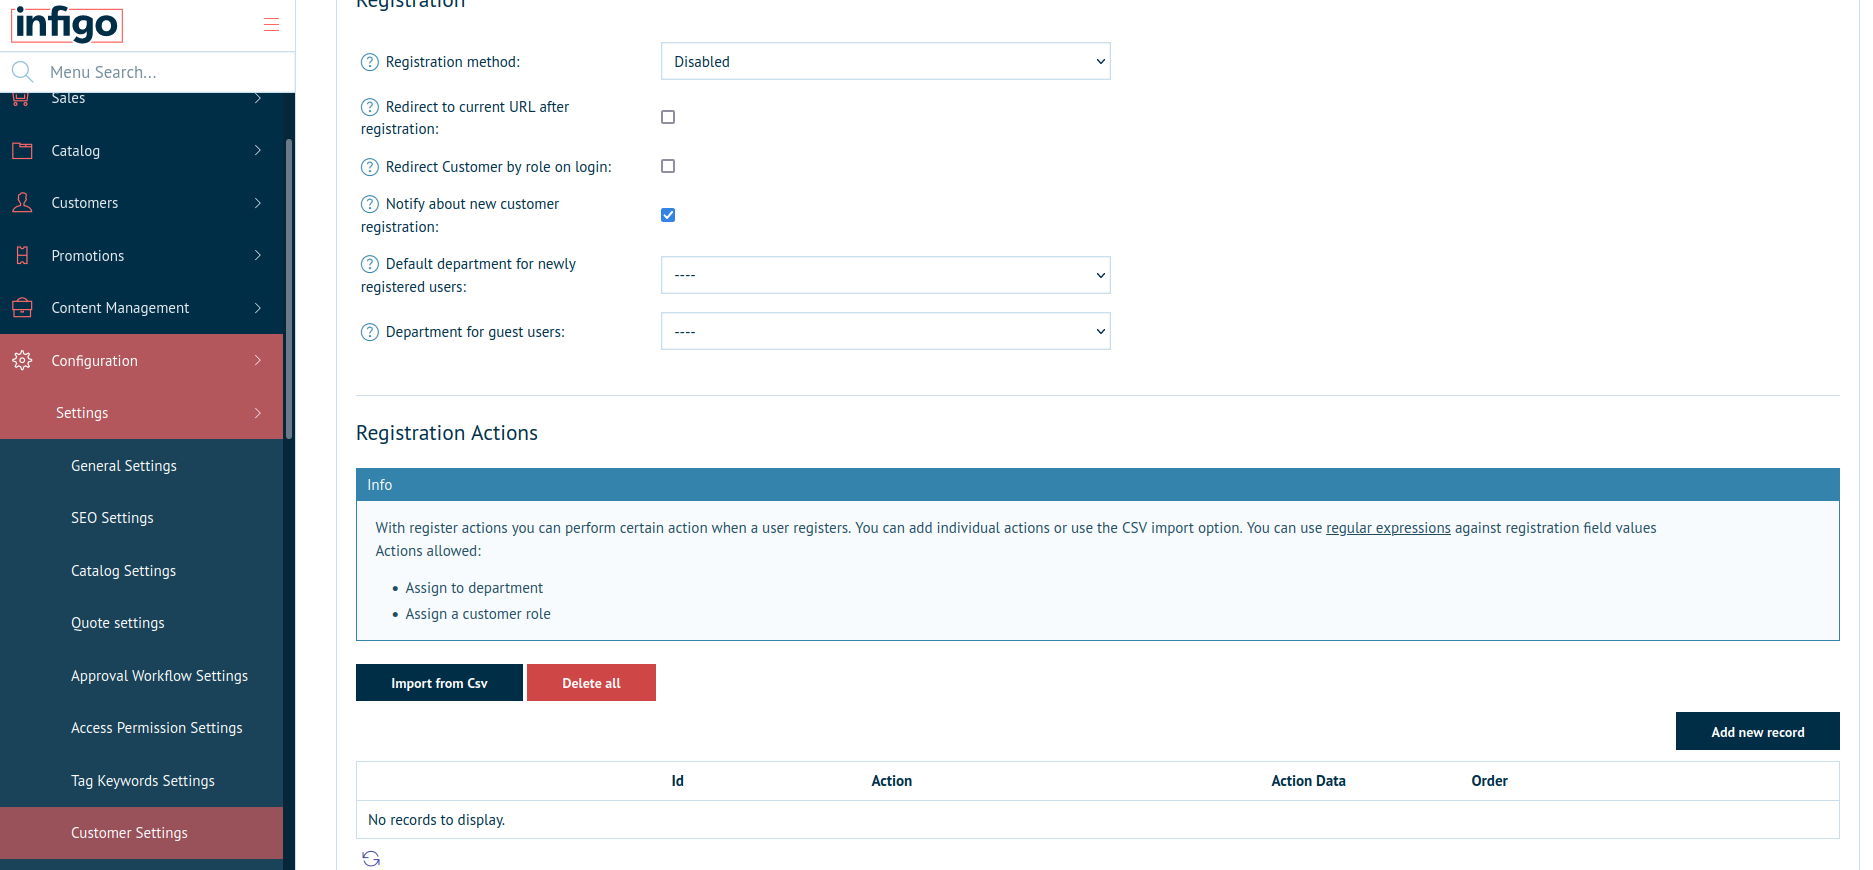
- Navigate to Configuration > Settings > Customer Settings, then the Registration tab, and scroll down to the 'Registration Actions' section.
- Click Add new record
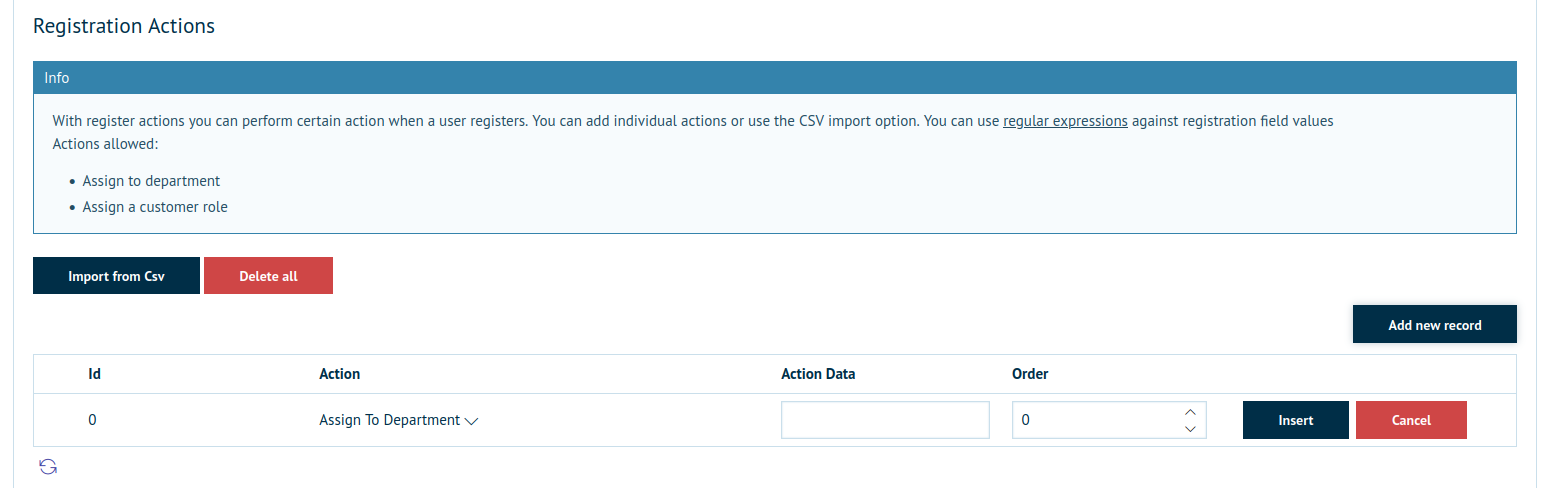
- Select the action you want to create an instance of from the 'Action' dropdown. For this example, I will be using the 'Assign to department' action. For more information on the available actions, please see the section at the bottom of this article.
- Enter the relevant information in the Action Data column. This is again elaborated upon in the section at the bottom of this article, but for the 'Assign to department' action, the 'Action Data' is the name of the department that you would like the user to be assigned to when the conditions are met.
- The 'Order' column is used to control the order in which these actions take place. This would only matter if there were two different actions taking place, and one of them took precedence over another i.e. if you are using department based approval, you would need to assign the user to the correct department before assigning an approver to them. For this article, however, I will be leaving 'Order' as '0', since I will only be using the 'Assign to department' action.
- Click Insert when you are happy with your configuration (don't worry, this can be changed later).
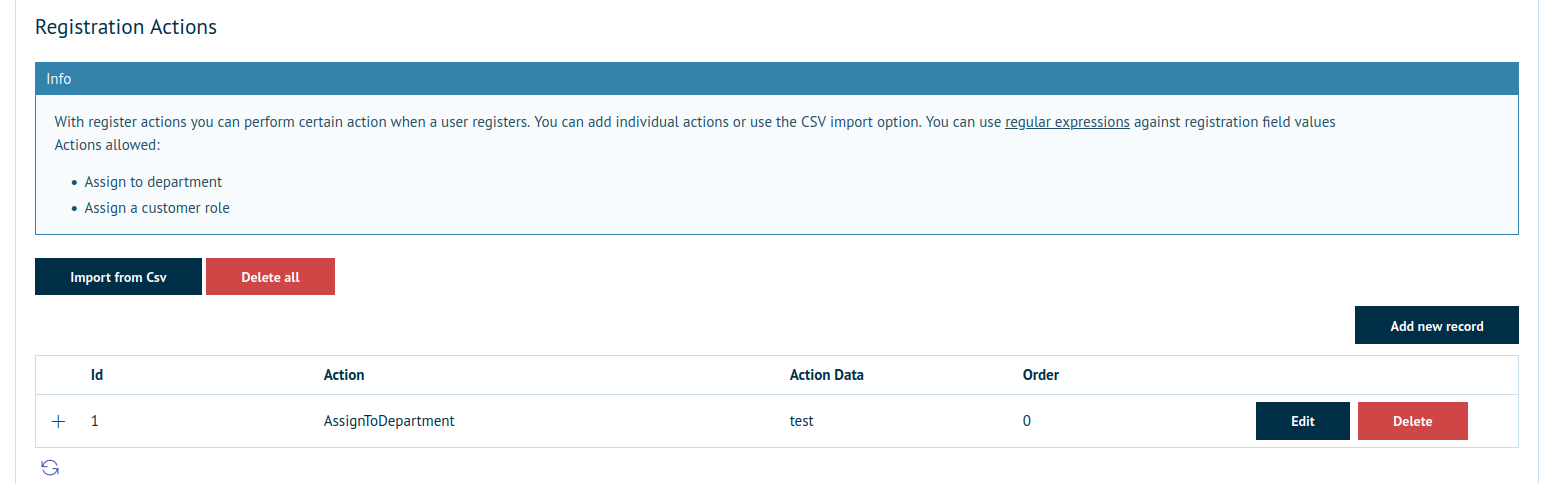
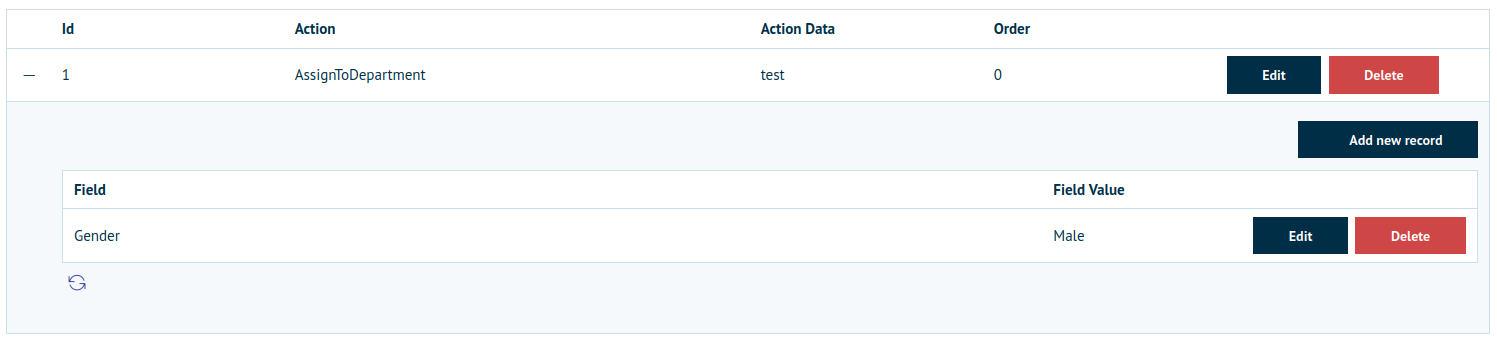
- Click the + beside the newly created action to expand it and reveal the conditions table.
- In the newly expanded table, you can create requirements. These are what will determine whether or not the action will take place. Quite simply, if a user meets the requirements when registering, the action will run for their user. Each action can have an unlimited number of requirements, and to create a new one, simply click Add new record.
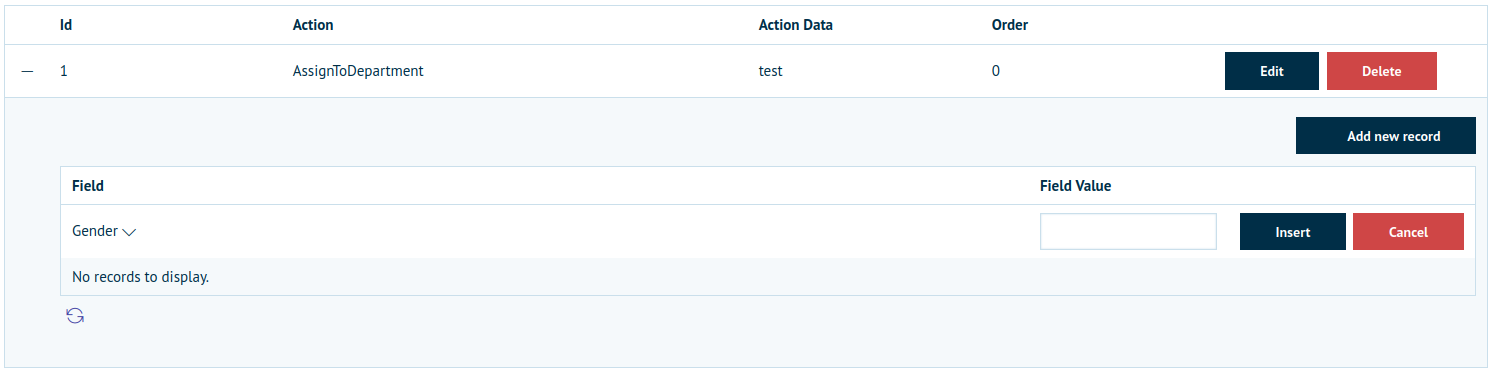
- The 'Field' column contains a dropdown that will allow you to select one of the enabled user registration fields, and the 'Field Value' column will allow you to enter the data to check. The field expects a regular expression (more on regular expressions can be found here), however if you simply type in what you would like to check for, this will also work.
For example, if you would like to assign all men who register into the department specified, you would select 'Gender' from the dropdown list and enter 'Male' as the field value as this is the option people have when registering as Male. - Click Insert and repeat steps 8-9 to create as specific a requirement as desired.
Batch create Registration Actions
- Navigate to Configuration > Settings > Customer Settings, then the Registration tab, and scroll down to the 'Registration Actions' section.

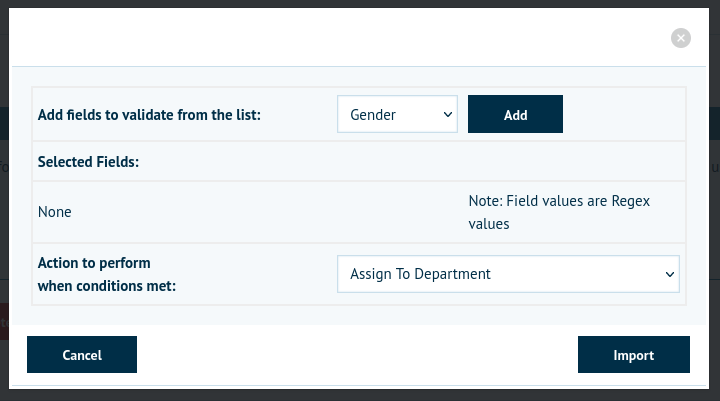
- Click Import from Csv
- Use the Add fields to validate from the list dropdown to select a field you wish to use for validation i.e. Gender, then click Add
- Repeat step 3 to create as specific a requirement as desired. For this article, I will simply be creating an action that assigns men and women from the UK and the US into the appropriate departments, so the fields I will be using are 'Gender' and 'Country'.
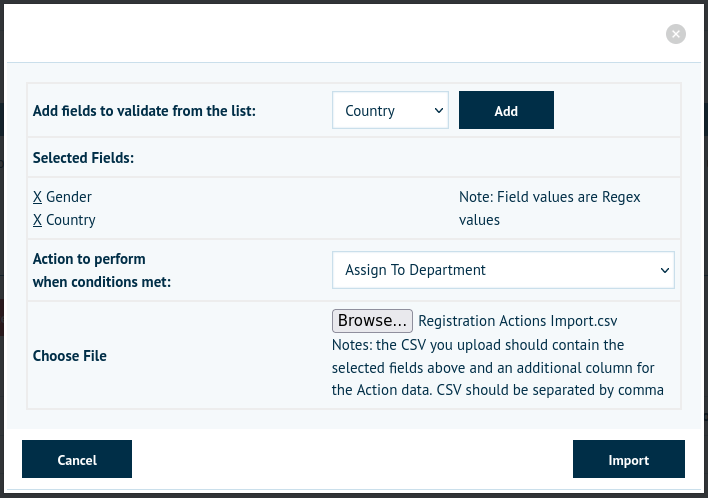
- Select the action to be performed from the Action to perform when conditions met dropdown. The available actions are explained in further detail at the end of this document, but as I am assigning departments based on these values, I will be using the 'Assign To Department' action.
- The CSV you would like to import must have the values in the columns match the order you have created the validation fields. For this example, since I have Gender as the first field and Country as the second, then all the values in the first column of the CSV will be imported as the Gender requirement, and the second column will be imported as the Country requirement. The last column of the CSV row will always be used as the Action Data for the action. I have attached the CSV used in the creation of this article for further clarification.
- Once you have created your CSV matching the requirements in step 6, simple use the 'Choose File' button to locate your CSV, then click 'Import'.
- This will import all of your action instances and their requirements whilst also filling out the action data.

Available Registration Actions
Below is a list of all available actions, as well as an explanation of what they do and any action data requirements they may have.
Assign To Department
Function
The 'Assign To Department' action quite simply assigns the user to the appropriate department if the criteria is met.
Action Data
The Action Data for this registration action needs to perfectly match the name of the department that the user will be assigned to if the criteria is met. This is case-sensitive, so if you would like to assign the user to the department 'CaseExample' then you would need to capitalise both the C and the E.