Overview
Whilst you can create barcode fields in Infigo Designer (as explained in this article), if you want the end user to be able to populate it, you will need to use a script to set the barcode's value.
This article will take you through the steps to produce such a script with our Javascript Wizard.
Note: this is not the only way to set this up, it is just one example of how it can be configured.
Pre-Requisites
Advanced Mode
In order to see the Javascript Wizard, you will need to enable Infigo Designer's "Advanced Mode". To do this, follow the steps below:
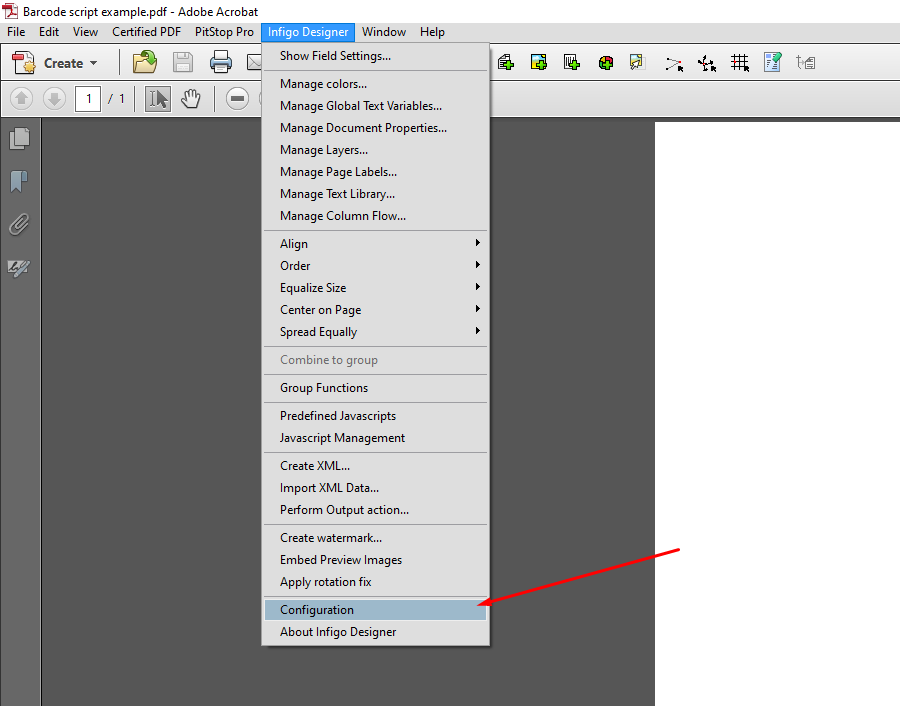
- Navigate to "Infigo Designer -> Configuration"
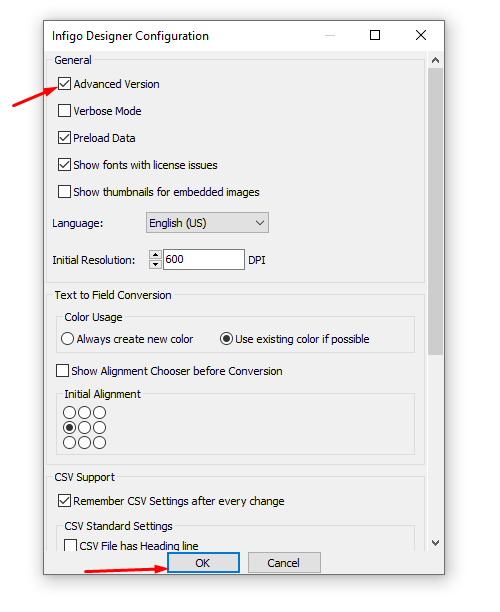
- Check "Advanced Version" then click "OK"
- Restart Adobe Acrobat.
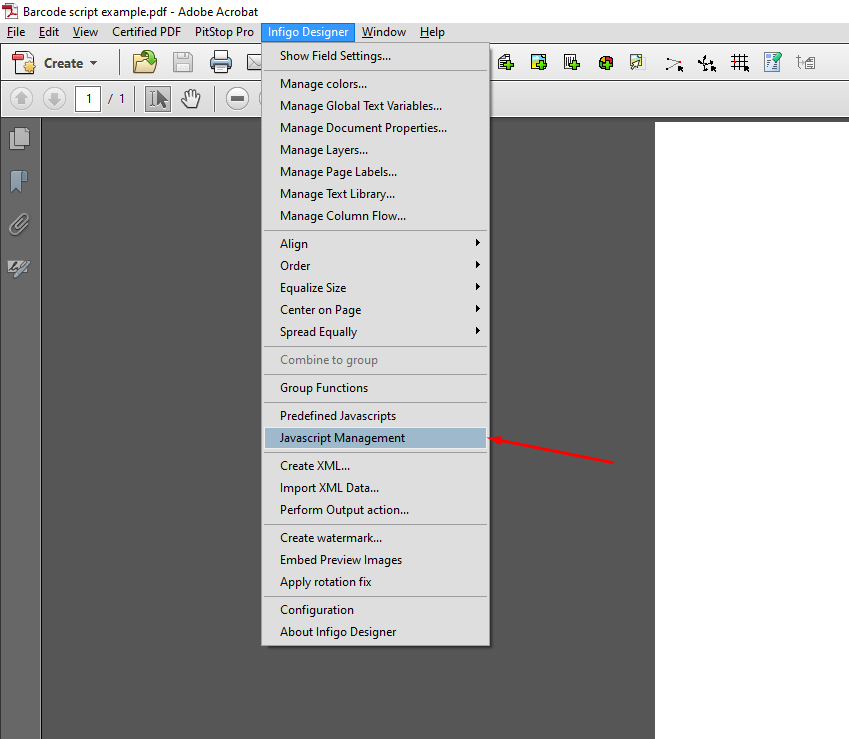
- Click "Infigo Designer" and check that the "Javascript Management" item is in the dropdown:
Note: Since Adobe has a lot of background tasks running, you may need to fully restart your machine - only do this if restarting the application does not make the "Javascript Management" dropdown item appear.
Create Text Field and Barcode Field
For this article you will need to have created a Text Field and a Barcode Field. Your document can have other fields, however this article will only cover the two.
I am going to name the Text Field "Text" and the Barcode Field "Barcode", and I'm going to use the barcode type "Code QR" as this has very simple input requirements and will accept most text entered into the text field.
I have attached the PDF I will be working with to this article and you can get a copy by downloading "Base file.pdf" from the end of this article, or clicking here.
Creating the Script
Our Javascript Wizard will write the actual code for you, so all you need to do is use its UI. We have full documentation for this Wizard available, however I will only be going through the exact steps required to copy the content of the Text Field into the Barcode Field.
Logic
Since our Barcode Fields do not support directly being edited by an end user, we will need to create a script that sets the barcode value to the value of a Text Field, which the users can edit directly.
Set the Barcode
First, we need to create the code to set the barcode value. This may seem a little backwards as we haven't yet told the code what we're going to set the value to, but this will make sense later on.
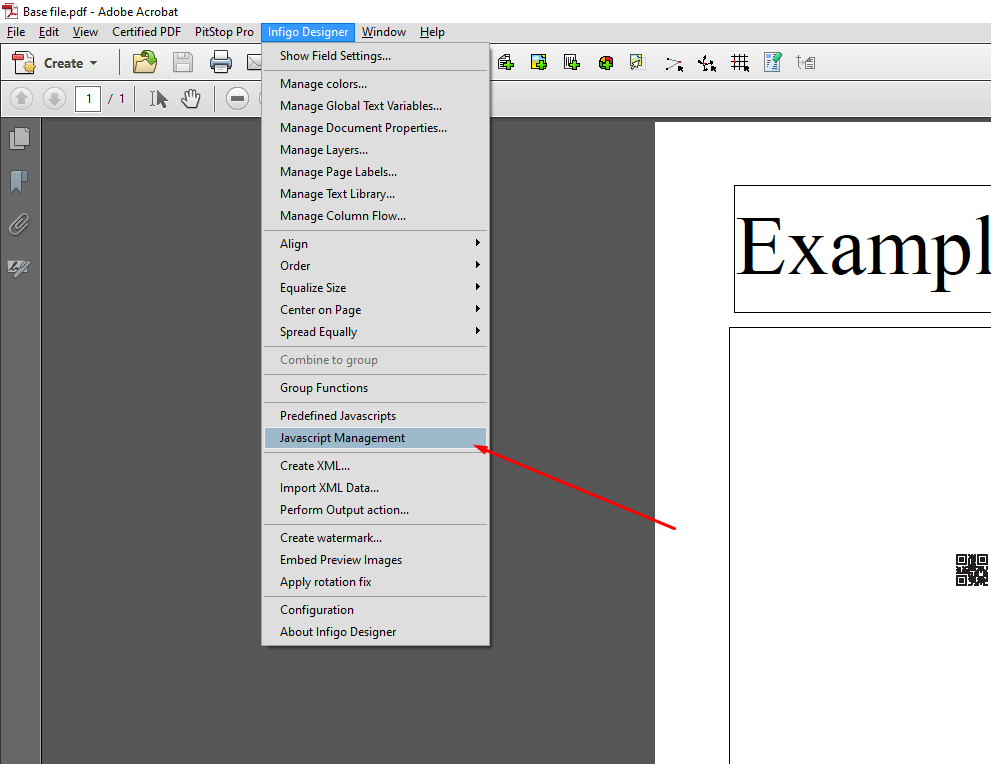
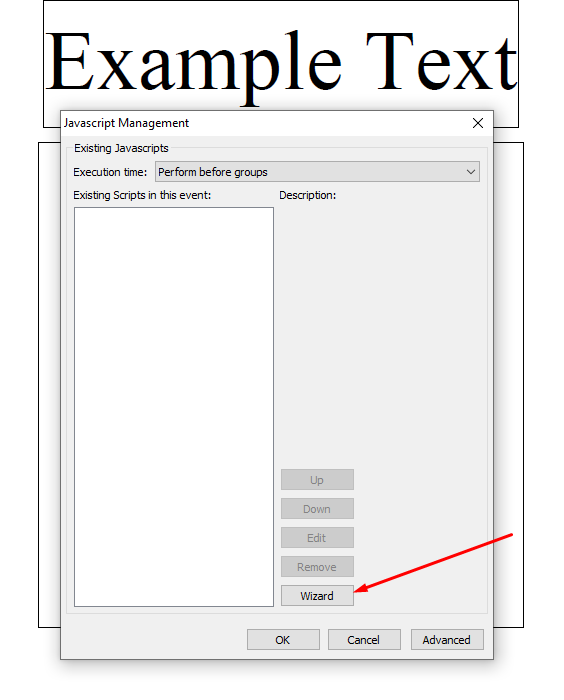
- Navigate to "Infigo Designer -> Javascript Management":
- In the menu that pops up, click "Wizard":
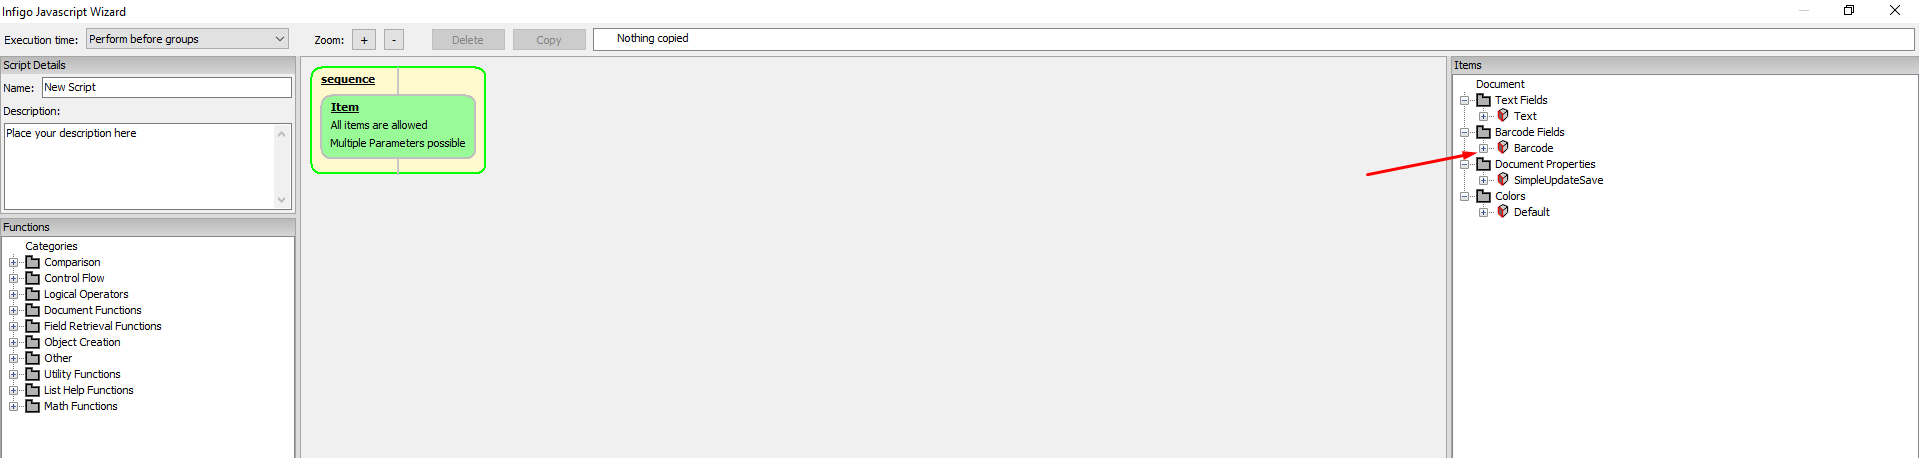
- In the "Barcodes" part of the "Items" section on the right, click the "+" button next to "Barcode" to expand the menu:
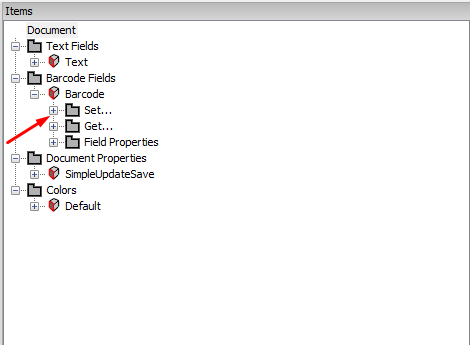
- Next, click the "+" next to "Set":
- Then, click the "+" next to "barcode value":
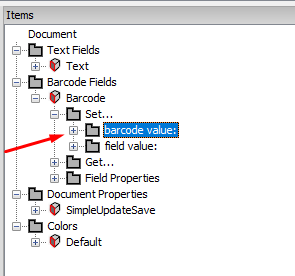
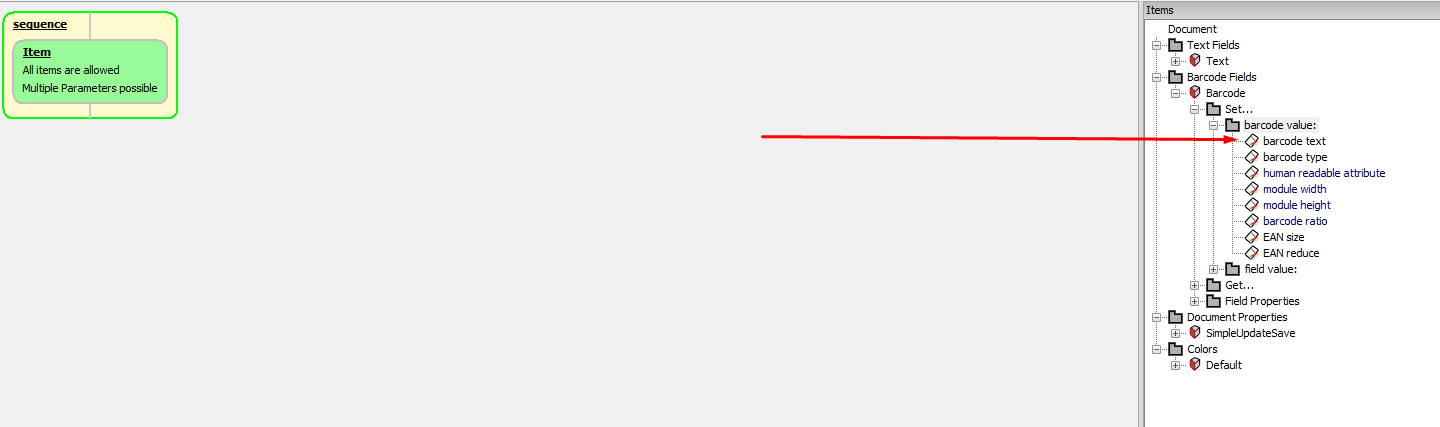
- Now, we need to chose what we're going to be setting about the barcode. In this case, we are going to be setting the "barcode text".
Therefore, we need to click and drag the "barcode text" item shown below:
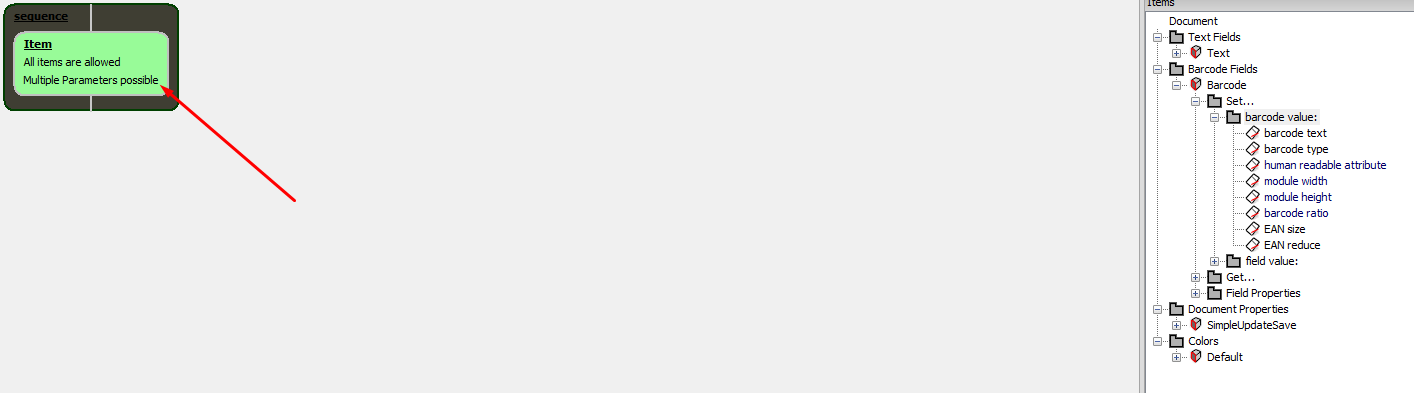
Whilst dragging the item, the main area will grey out, except for the green "Item" section in the "Sequence". This is because the wizard will grey out everywhere the item we're dragging can't go, meaning we simply need to drag "barcode text" to the highlighted area:
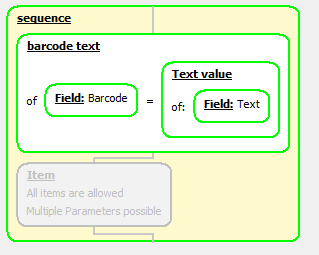
- If done correctly, your sequence will go red and look like this:
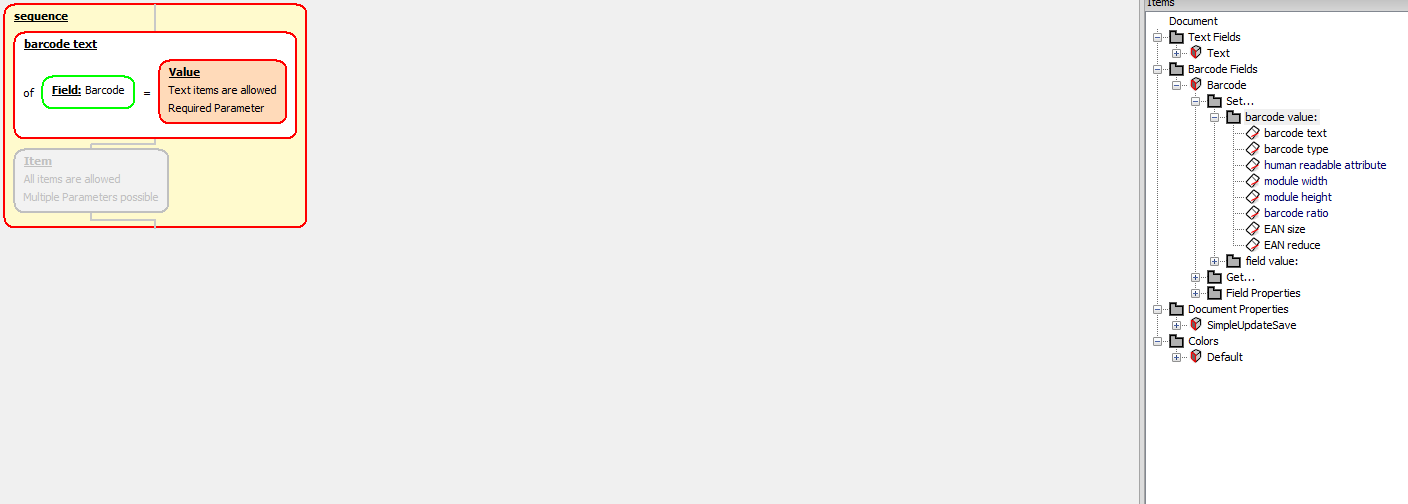
This is correct as the script is currently saying "Set the value of the barcode to..." and it doesn't know what value the barcode field should be set to. This is where the next section comes in.
Get the Text Value
The previous section ended off with the script ready to set the value of the Barcode Field, however we have not yet told it what to set the field to.
In order to tell the script what you want the value to be, you simply need to:
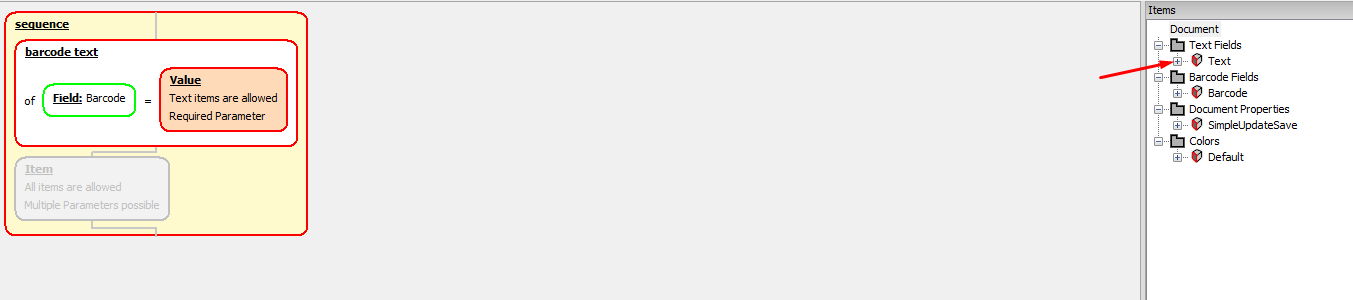
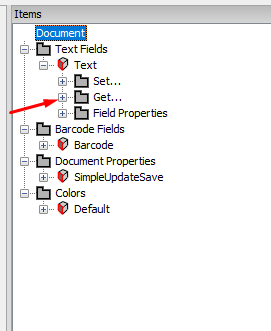
- Expand the "Text" menu in the "Items" section on the right, by clicking the "+" button next to it:
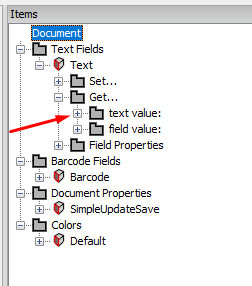
Note: if you named your text field anything other than "Text", you will need to click the "+" next to that instead. - Then, since we are going to be getting information from the field instead of changing it, click the "+" next to "Get":
- And then the "+" next to "Text Value":
- As in step 6 of the previous section, you need to click and drag the "Text Value" item:
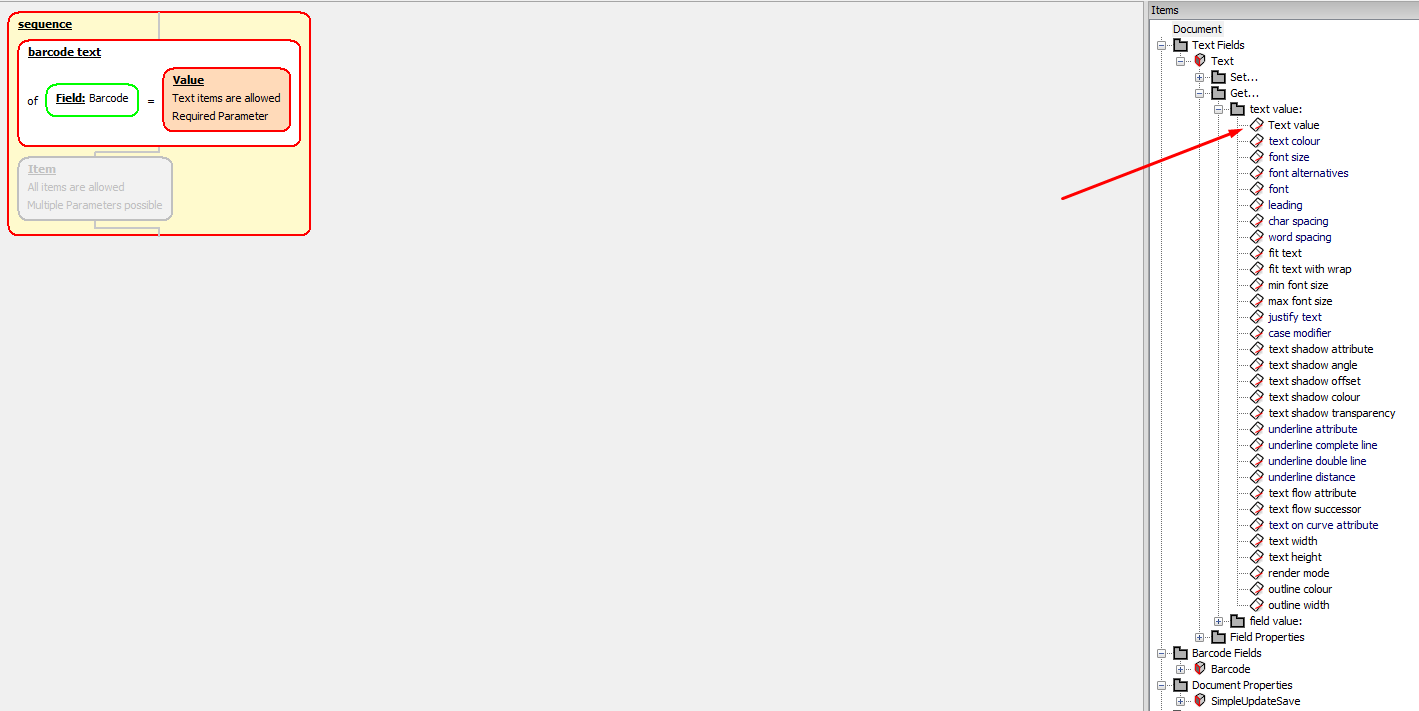
You will see the only locations we can drag it are highlighted. In this instance, we will be dragging it into the "Value" section:
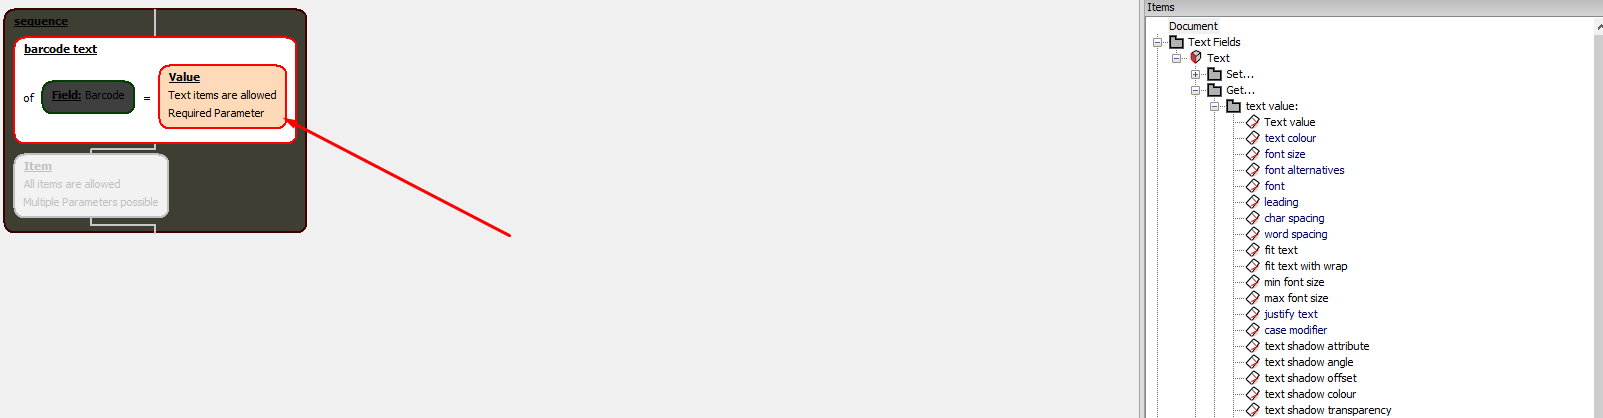
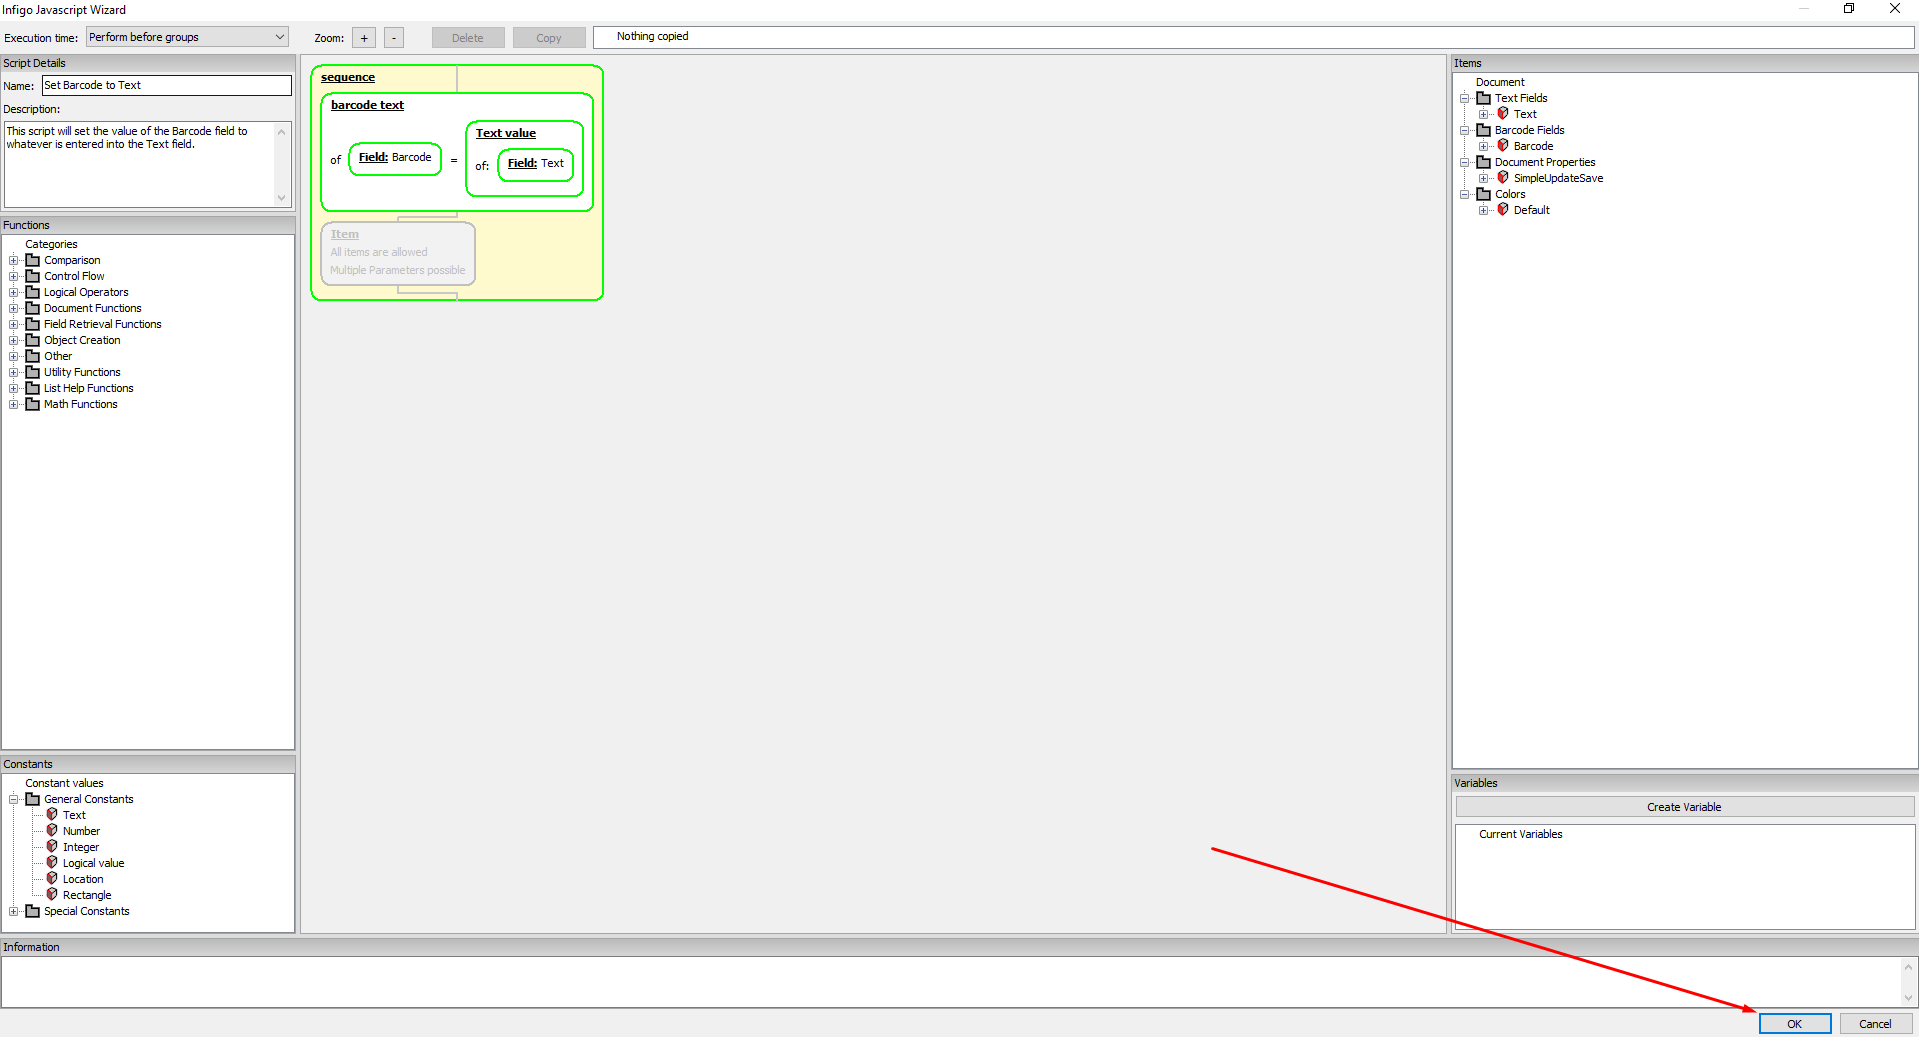
- As soon as you have dragged it in, the script should turn green as it now knows what it's setting the barcode value to:
- Once the script has been configured, you can save it by clicking the "OK" button highlighted below:
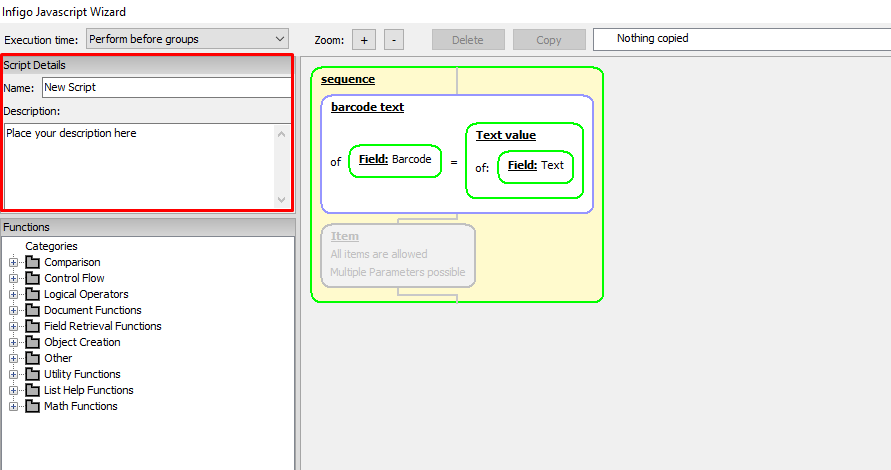
Name & Description (Optional)
Whilst it's not mandatory, you can set a name and description for your script using the "Script Details" section highlighted below:
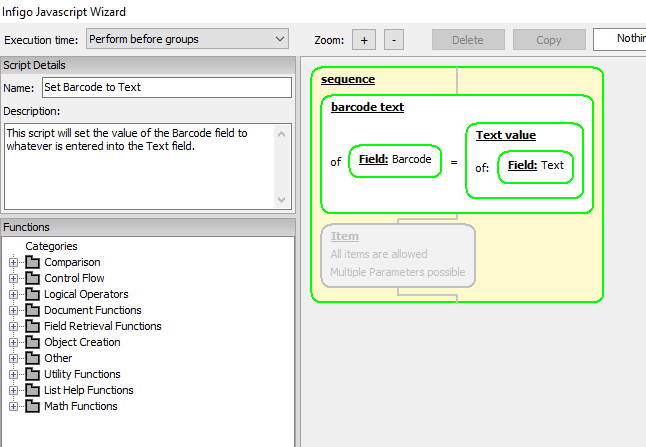
For this article, I've given the script a simple name & description:
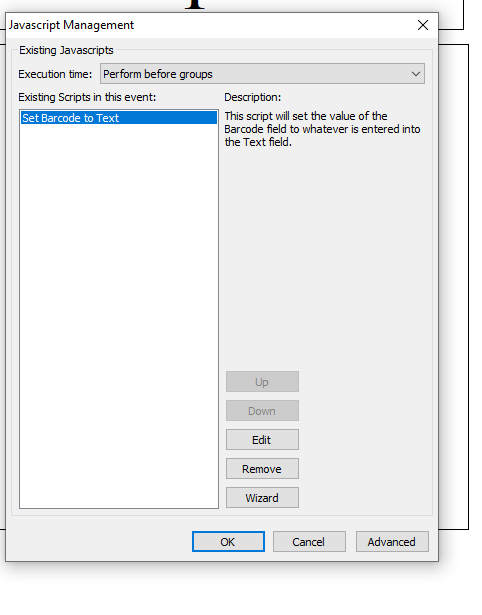
You will see the name and description appear in the Javascript Management window seen earlier in this article:
Editing the script
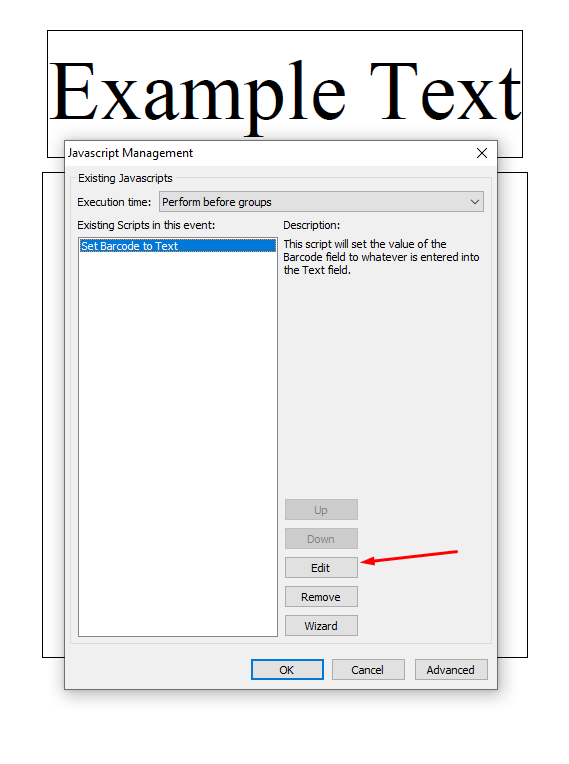
Once you've created the script through the Wizard, you can go back in and change it by navigating to "Infigo Designer -> Javascript Management", selecting your script from the list, and clicking the "Edit" button shown below:
Testing
As always, once you've finished setting your script up, you will need to test it. To do this, simply upload the template to your storefront, enter some text into the Text Field using the form, and then scan the barcode to make sure it's correct.
If your product is not working, please go over the steps again and compare it to the attached "Configured Script.pdf" file which is the file I created whilst writing this article.
You can either download it at the end of this article, or by clicking here.