Overview
Configuring your Appearance Settings in Infigo allows you to setup your core branding for your storefront. Along with your logo, brand colours and key fonts it provides you with many different configuration options and features that allow you to make your storefront look and feel how you want it to.
If you have the HTML and CSS knowledge, you can also use our Editable Content blocks and CSS override to make even more custom personalisations to your storefront. The underlying framework of the Infigo Storefront uses Bulma CSS framework which you can find more information on here.
For anyone using any legacy Infigo themes the appearance settings available to you will be different to what is documented here and your options will be limited. If you want to migrate an existing site from a legacy theme to our latest then please raise a Support Ticket and our team can talk you through the options.
Initial Setup
Initially, when first setting up your appearance settings on a new storefront you will need to do the following steps:
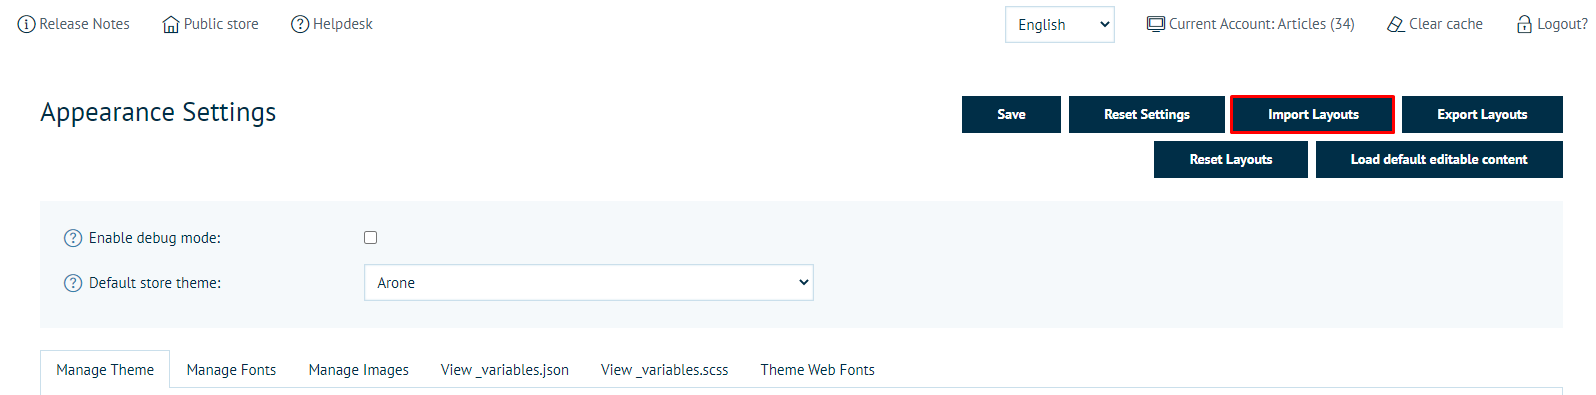
- Click "Import Layouts" and import this zip folder.
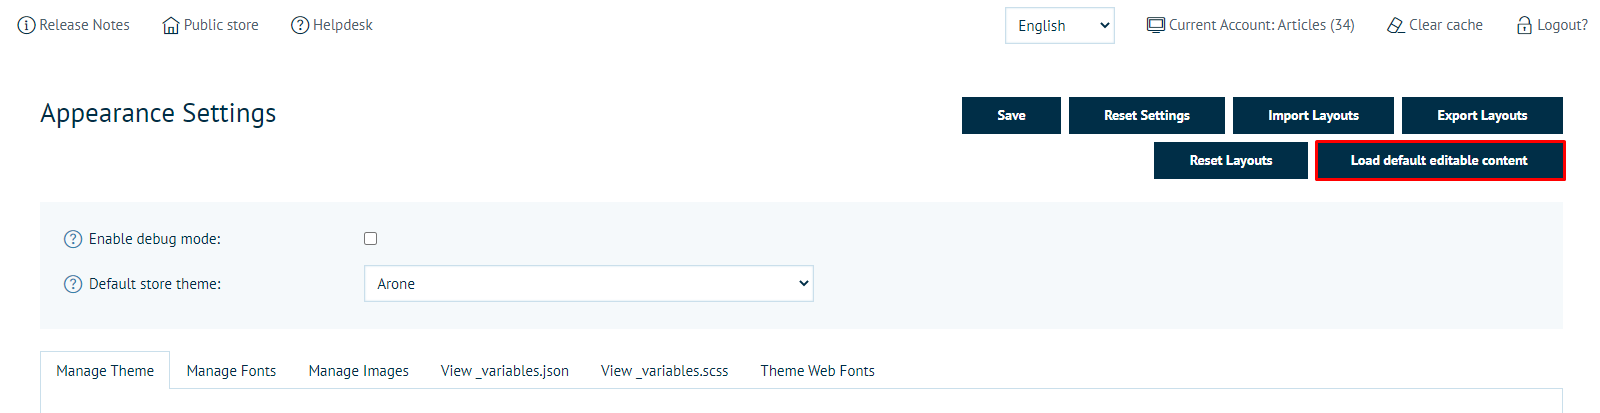
- Click "Load default editable content"
Once you have done the following, the front page of your storefront should look something like this, depending on whether or not you have products and categories featured on the homepage:

Providing Resources
If you want to upload and use custom resources on your Infigo storefront in order to create your brand you can upload this in the additional resources tabs within Appearance Settings.
Adding a font
To add a font to the storefront, select the "Manage Fonts" tab and click "Upload":
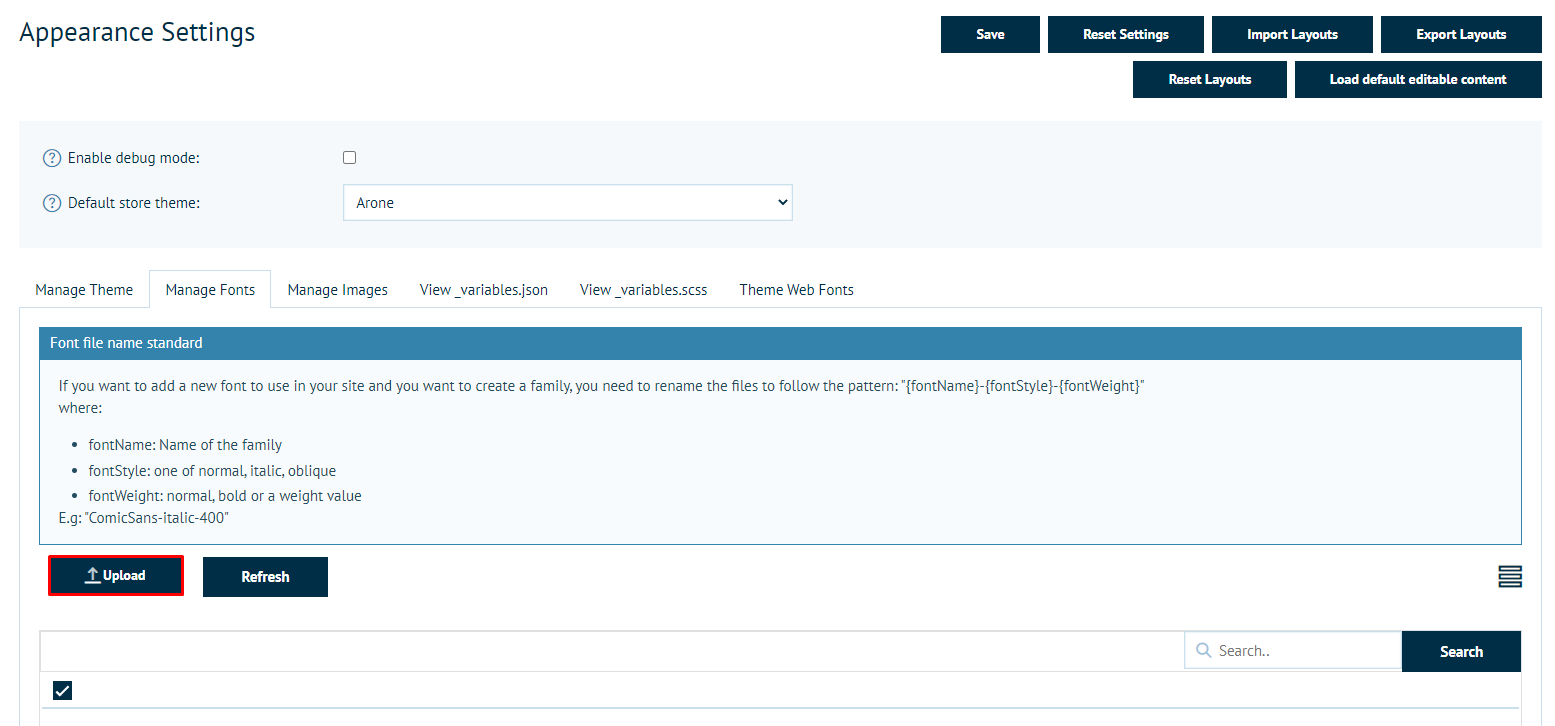
Your font must follow a specific filename format, else it will not be recognised in the system. This format is explained in the "Manage Fonts" tab as seen in the screenshot above.
Once your fonts have been uploaded, they will be available in all font selection dropdowns found in the "Manage Theme" tab.
Managing images
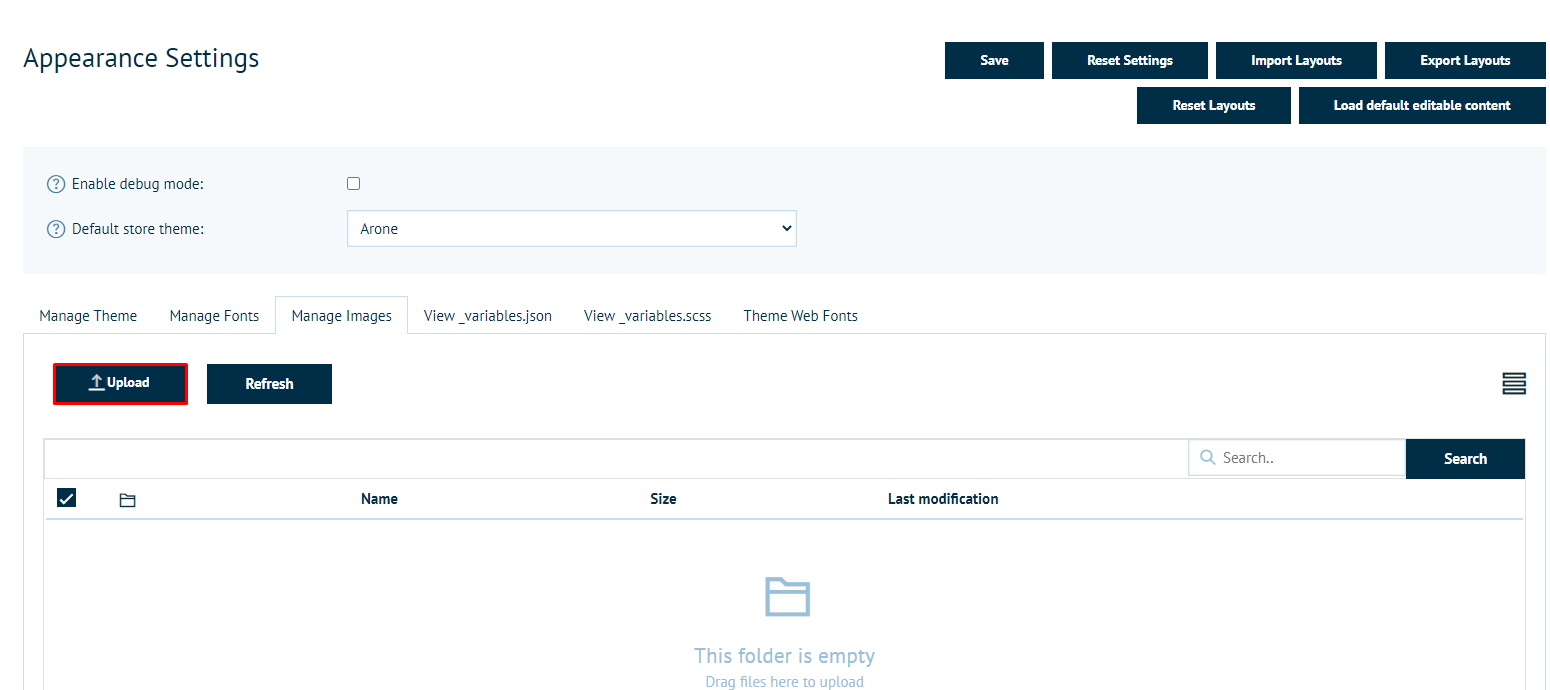
To provide the theme engine with images, simply select the "Manage Images" tab and click "Upload":
Once you have uploaded an image here, it will be available to any image field in the "Manage Theme" tab.
Configuration sections
To help make configuring your storefront appearance easier, we have broken the options up into the following sections.
In this sub-menu, you are able to provide a brand logo, and a white alternative (if desired) to be used throughout the storefront.
You can also set your brand colours which will be used throughout the storefront, making it quick and easy to recolour your entire storefront to be on-brand.
Lastly, you are able to set the brand fonts to be used on the storefront, using either the built-in fonts, or any you have uploaded through "Manage Fonts".

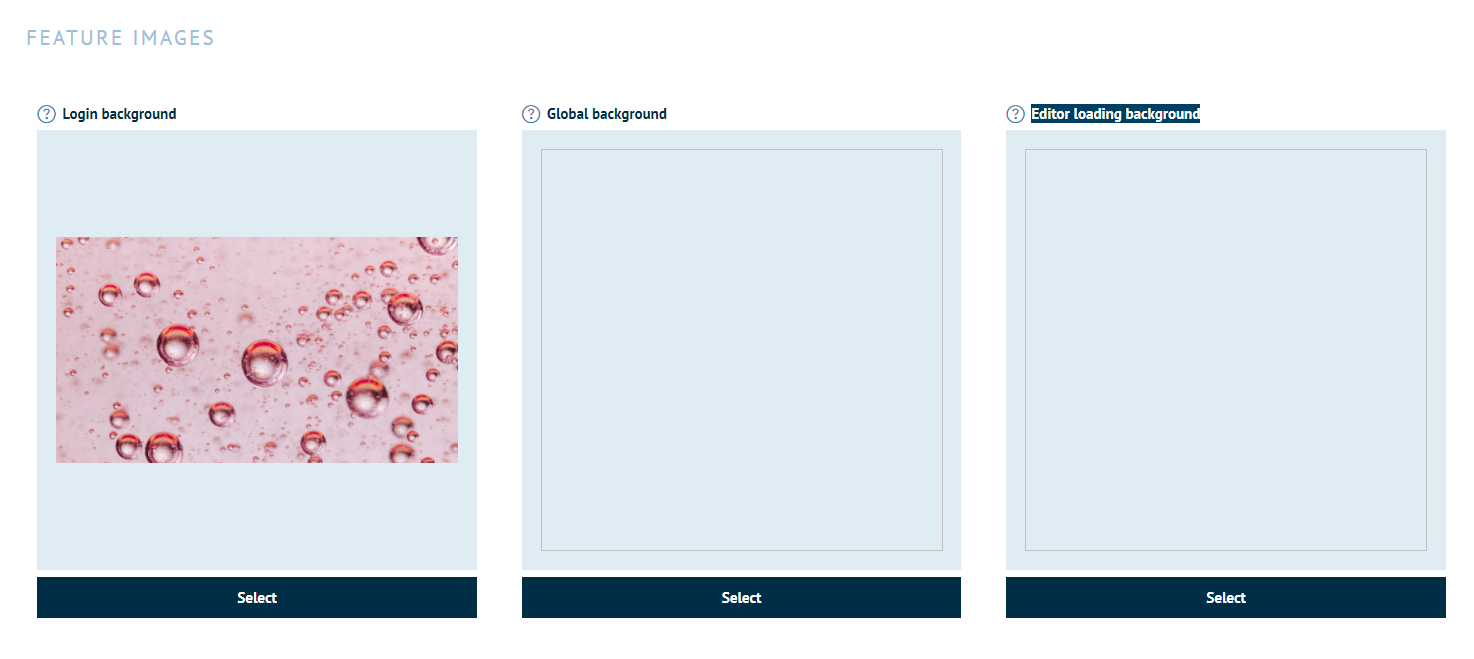
Here you can upload the following images:
- Login background - This will serve as the background image for the login page if you choose to use login style 2.
- Global background - This should be a tessellating image as it will be repeated over the general background of the storefront, allowing you to use a pattern instead of a solid colour.
- Editor loading background - This image will be the background of the MegaEdit Editor loading screen. Leave this empty if you would prefer a simple solid colour.
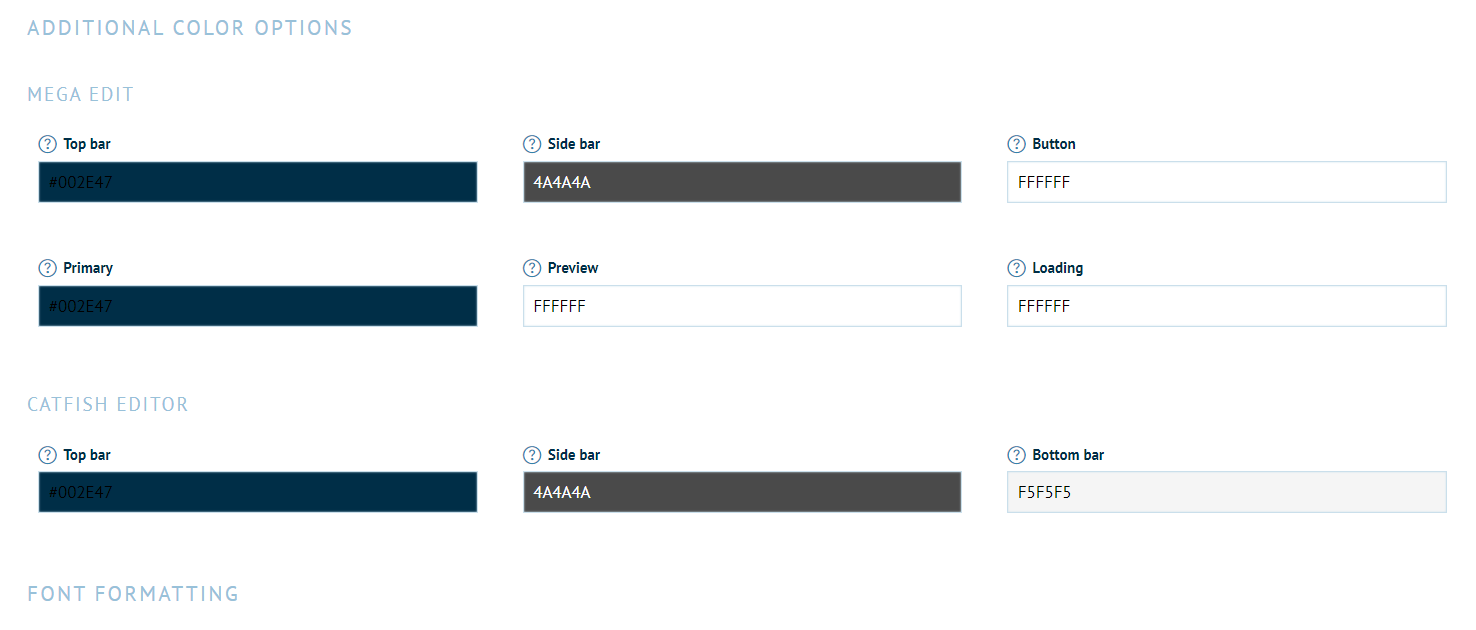
This section allows you to provide different colours to the base ones for specific areas of the MegaEdit and Infigo editors.
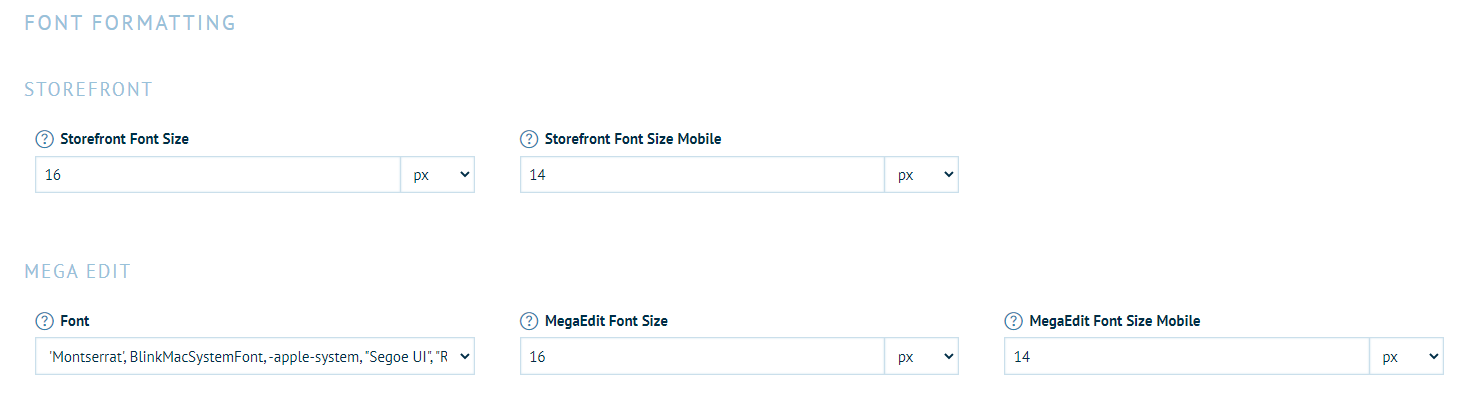
FONT FORMATTING
The Font Formatting settings allow you to set the standard font size for both desktop and mobile users, as well as choose a specific font for the MegaEdit editor.
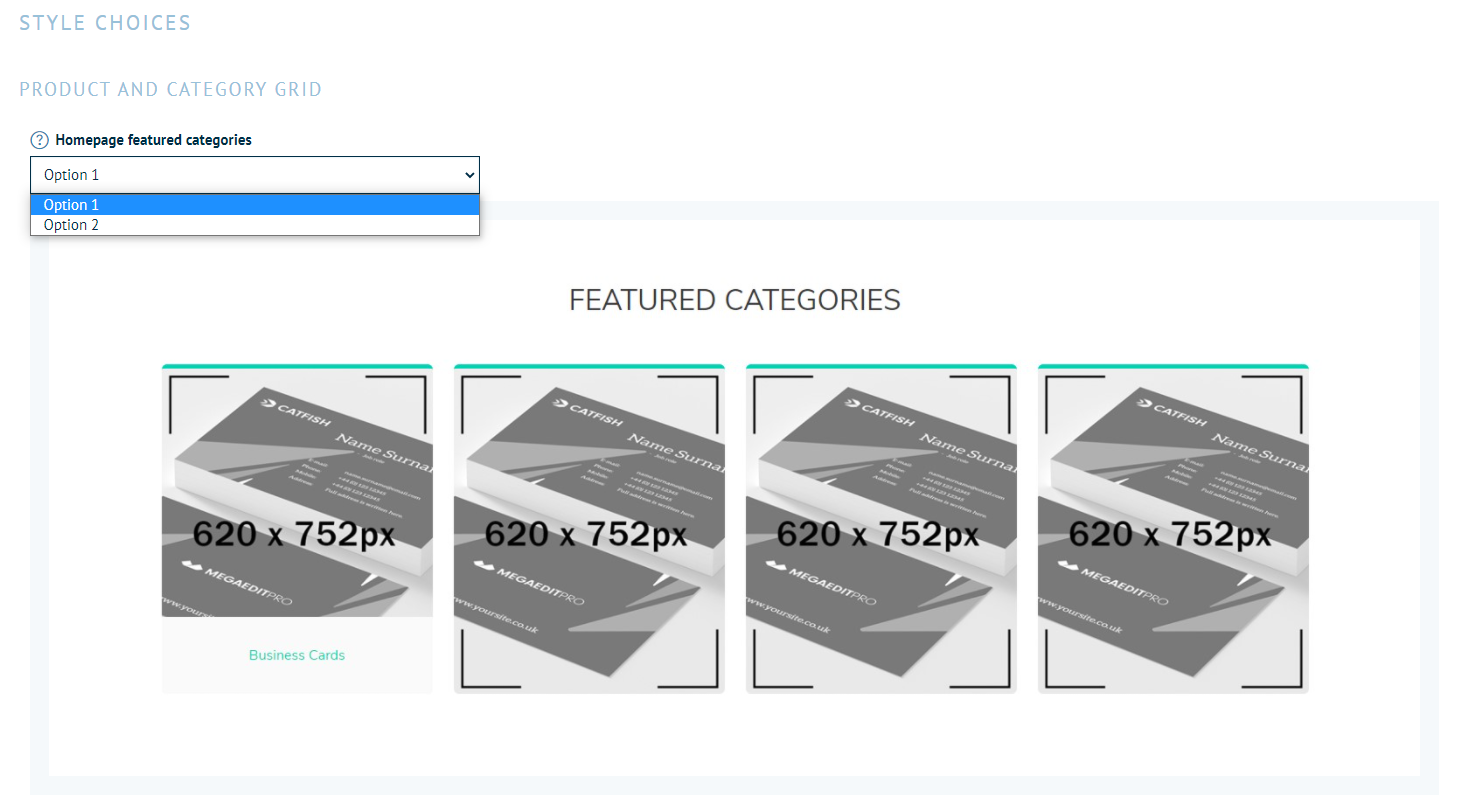
Style Choices are a very powerful tool that allow you to change the structure and layout of certain pages of your storefront, giving a different feel to each section individually.
Each style choice allows you to choose from the pre-set designs, and you will be given a preview of each style when you select it from the dropdown.
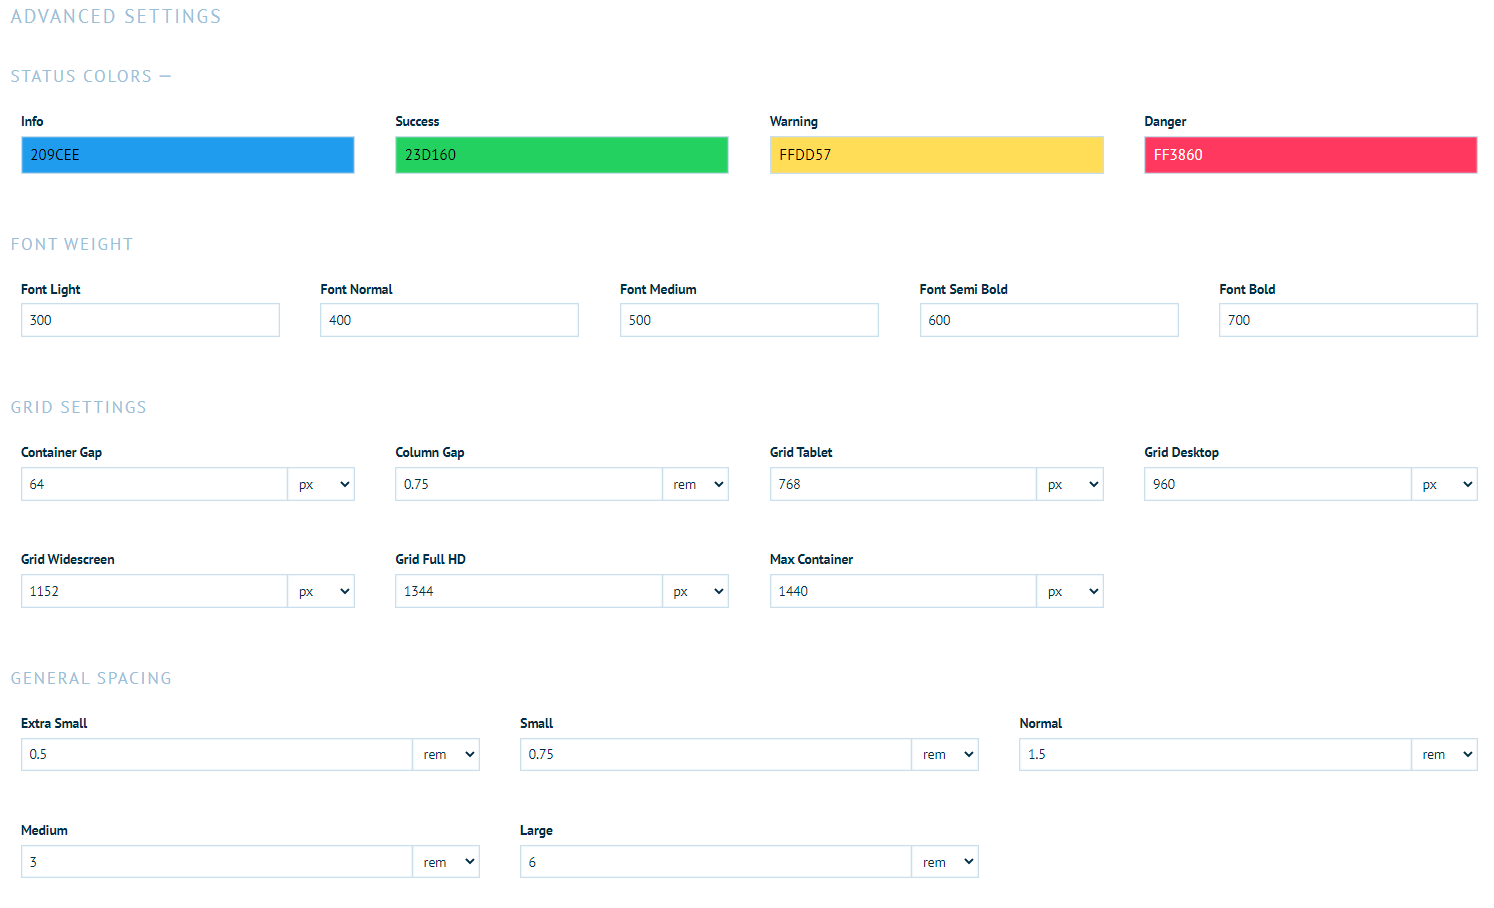
As the name implies, the Advanced Settings are recommended for users who have good understanding of HTML and CSS, as they allow you to change various values used by both the storefront and the Bulma CSS framework.
Lastly, we have the Thumbnail Settings. These allow you to determine whether image thumbnails for product, category, and blog teaser images are cropped, or whether they are resized to fit the frame.
