The Advanced Navigation module makes navigation bar changes easier and you can add new elements to our NavEditor.
Once you've created your navigation bar you can add it to any of your storefronts by adding the module through the Layout Manager. Please note - this module will be the same across all pages of your storefront.
Steps
1. Sign in as a storefront administrator. Go to the front end of the site. Choose the page you want to add the advanced navigation module to, then, at the bottom left press the layout manager button:

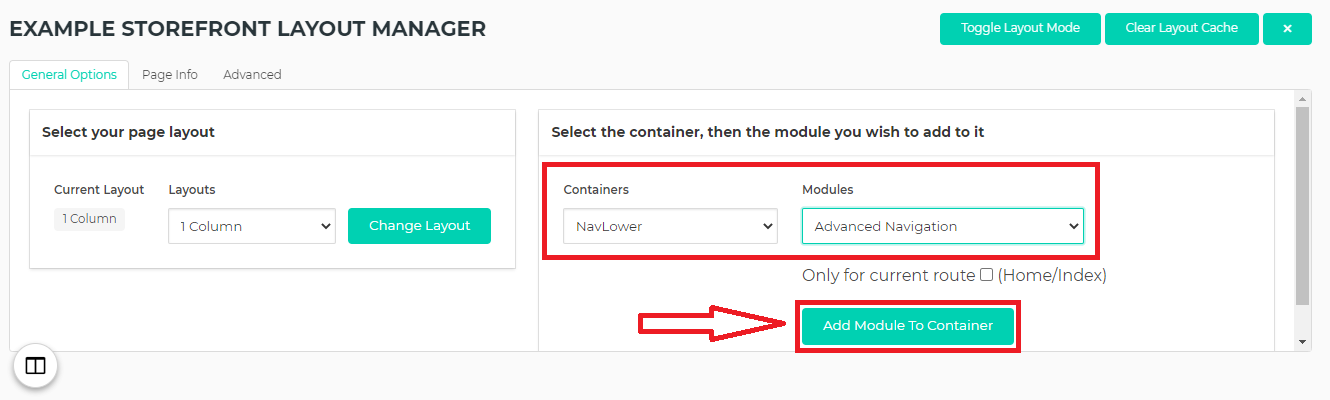
2. This will expand into the Layout Manager.
- Under Modules select Advanced Navigation.
- Under Containers, choose where you want it to appear on the page. (we recommend you add this module to NavLower).
- Then Add Module to Container.
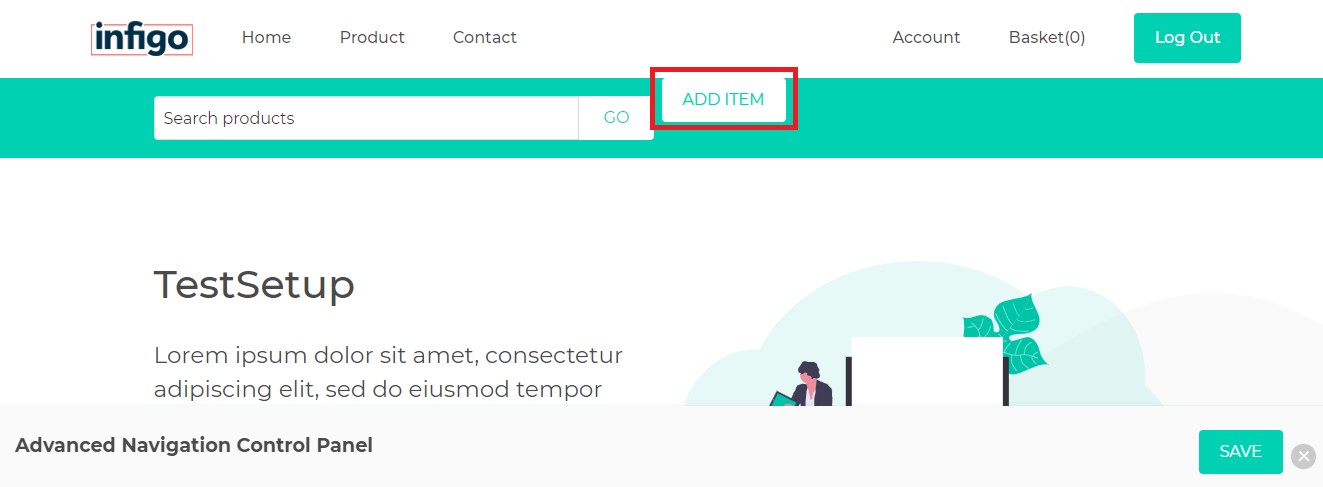
3. This will add the Advanced Navigation bar to your storefront, however at this point it will not be populated and will not be styled. You can populate the navigation bar by reopening the Layout Manager and clicking Enable Nav Builder.

This will now add the Add Item button to your Advanced Navigation bar, as well as change the look of the Layout Manager:
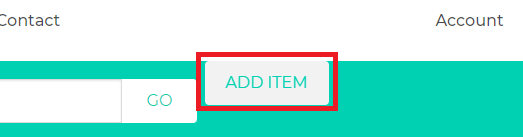
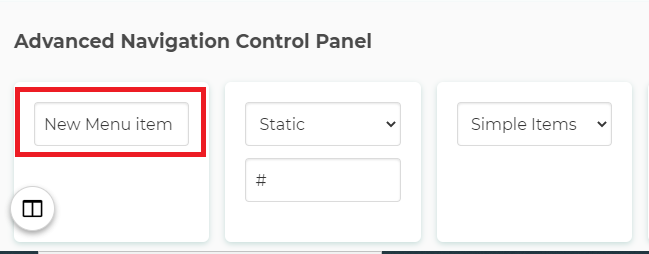
4. Click Add Item to get started.
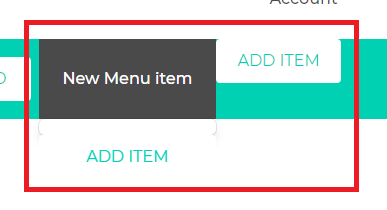
New Menu Item will be added to the navigation bar.
5. At the bottom of the control panel, you will now see 5 new menus, and these will affect ONLY the currently selected menu item.

Below are instructions for each of the five menu items:
5a. Enter Menu Item Title
This is simply the text displayed on the menu item. As you can see in the screenshot prior to configuration, this is currently set to New Menu Item.
For this article, it has been renamed to Business Cards.
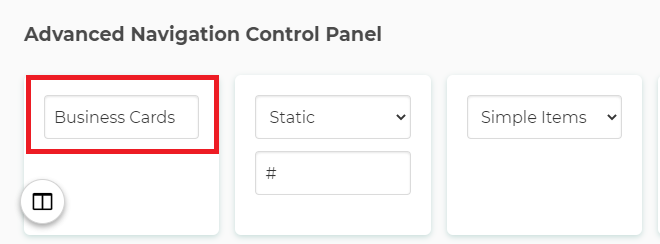
As you can see, it now reflects in the navigation bar at the top of the page:
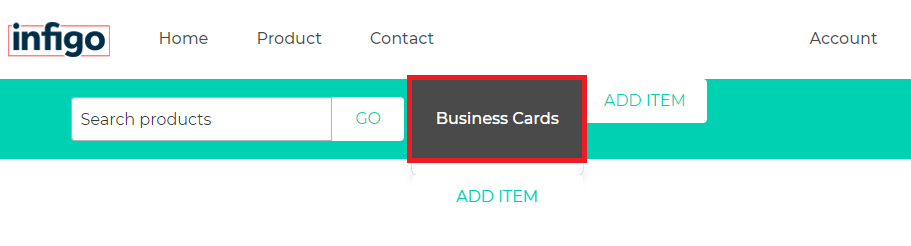
Press Save.
5b. Select Link Type
This dropdown will allow you to change the link type from static to dynamic.
- A static link example would be www.yourstore.com/products, which will always take you to that exact URL. A dynamic link would be /products which will always take you to the location <storefronturl/products>.
- Dynamic links will allow you to make sure that the links do not break under circumstances such as purchasing a new domain name for your storefront, or applying SSL.
Note currently, only static links are supported by this feature.
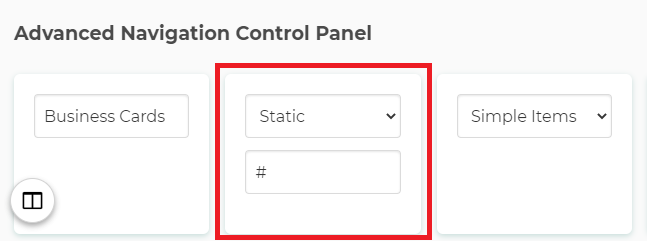
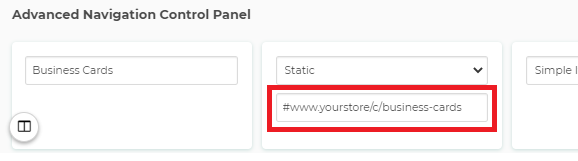
The field below the dropdown is the field in which you can enter your URL, it is pre-populated with a # so that the link does not point anywhere by default.
For this configuration, it is pointed to a Business Cards Category Page:
5c. Dropdowns
This is the default dropdown type to choose from, and it is as the name implies - simple. All this setting will do is display text in the item which serves as the link.
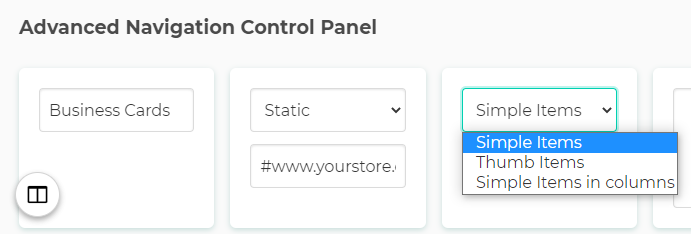
Thumb items are similar to Simple Items, except they utilise the Upload Custom Image setting, allowing you to have a menu item with an annotated thumbnail image instead of some simple text. As stated previously, everything in this module is can be directly targeted through CSS so you can manipulate this image, remove the text associated with it etc.
Please note, you cannot add a thumbnail image to the first item in the navigation, it can only be assigned to children items.
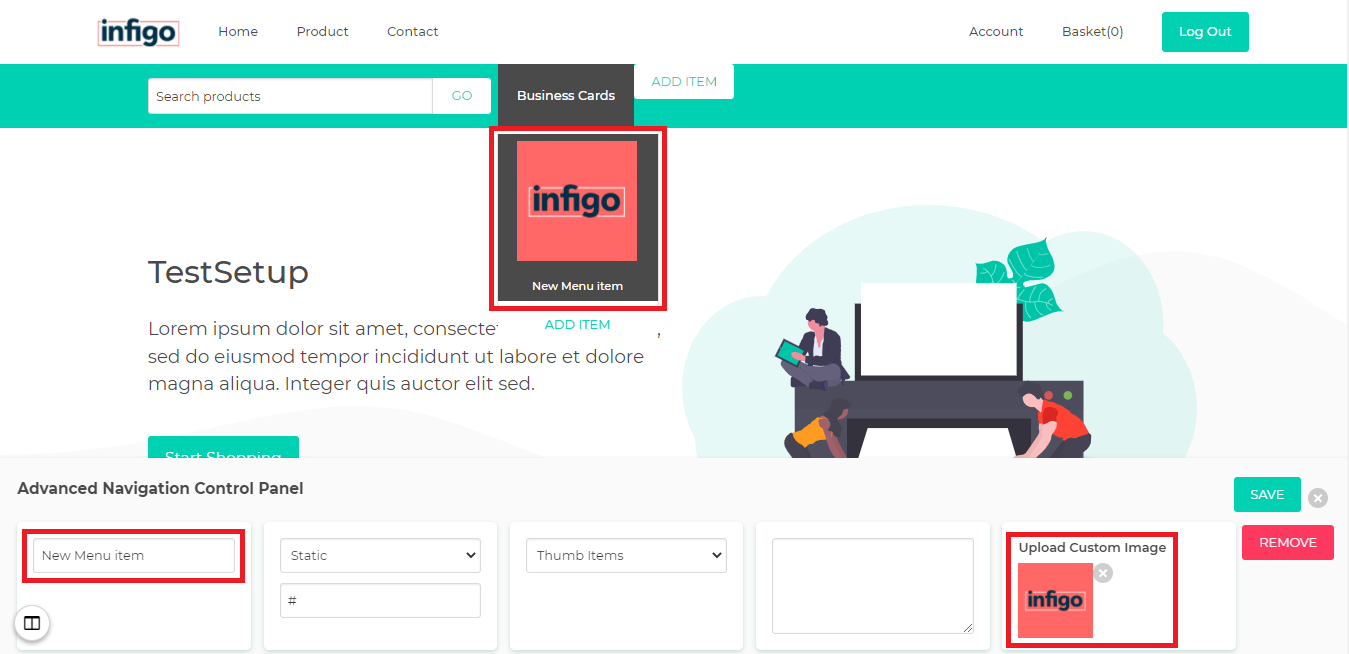
This allows you to upload an image to be used as the thumb image of the menu item. As mentioned in the dropdown type explanation, this will only appear if the dropdown type is "Thumb Items". Like most elements of this navbar, this image can be targeted directly using CSS so you can style it how you wish.
In order to upload an image, you simply click Choose File > select the file from your folders > click Upload > and Save.
You will see the image is now in the dropdown and you can also remove the text if you wish.
- Lastly, there is also a Delete button which will remove the currently selected item, however please note that this will also remove all items which have been added since the Save button was last pressed, so make sure to save your work as you are doing it.
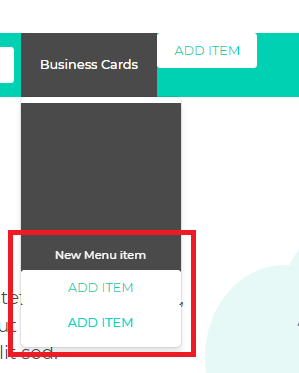
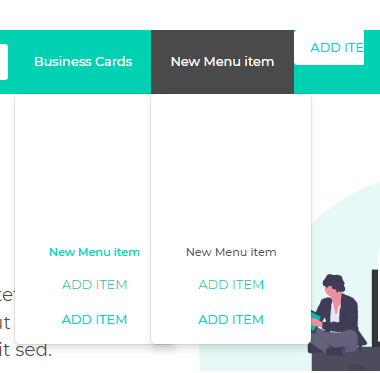
- Simple Items In Columns - Start by selecting your parent item, in this case its 'Business Cards', > set the dropdown to Simple Items in columns >and Save. Now click add new, and you will get a thumbnail selection first, then two Add Items under it:
- You can also make multiple categories align next to each other. First, make your Main Category Simple Items in Columns > click Add Item on the right > make this one Simple Items in Columns > and save.

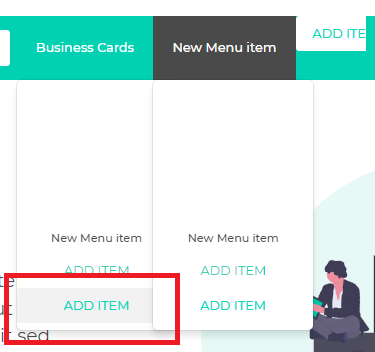
- Now, press Add Item on both of your Parent Categories > click on the second Parent - in this case New Menu Item > and hover over Business Card.
- Press the bottom Left Add Item to combine these two categories:
- They should now be added together:
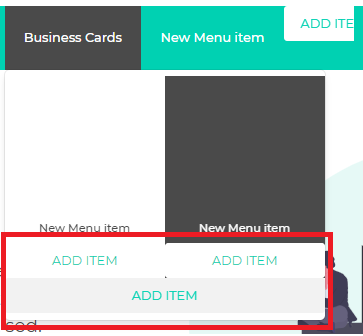
- By pressing the largest Add Item, you can add in another column to the right:
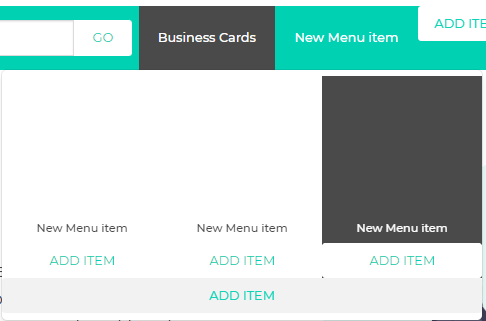
- You will need to delete the second category you created as this was just a placeholder. Deleting it will not remove the work you have done on the first category. Pressing the smaller Add Item buttons will add items vertically.

5d. Item Type Description
Any text you enter into this field will appear in the HTML of the object. This allows you to target each menu item individually through CSS as this setting can be different for each item.
Please note: at this time, the HTML field is not functional.