After you create a NOP Product, you can then make the product an Infigo Variable Product by uploading a valid PDF that has variable fields using the Infigo Designer Adobe Acrobat tool.
Follow the steps below to assign a variable PDF to your newly created product:
1. Login to the Storefront as admin
2. Navigate to Catalog > Product Types > Infigo Editor > Infigo Products . This menu will show you all the variable products you have created

*Search for a product name - this will allow you to quickly search a product by name
3. To add a new Variable Product, click Add New in the top corner.
4. The page shows a drop down list of all Products that have been created on the site that do not have a PDF attached to them.
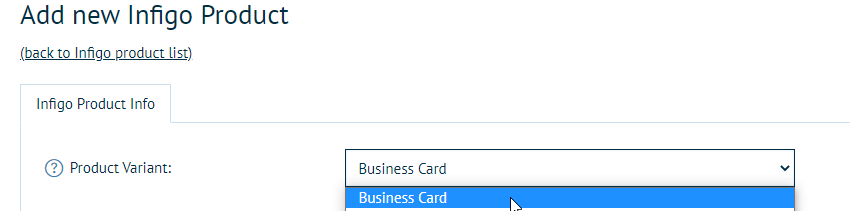
5. Click Create a new Infigo Product with the correct Product showing in the Product Variant list.
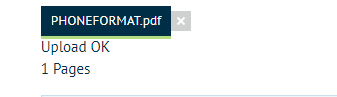
6. Browse and upload the PDF file from your local machine.

7. The system will say Upload OK when the file is valid and ready to be saved.
8. If the PDF file is not valid, you will get an error:

Most times an error in this case means that there are no variable fields from Infigo Designer on the PDF.
9. Press Save and Continue Edit or just Save.
You can also download the current file from this screen by pressing Download.

**Any modifications to the PDF template from your machine will need to be manually reuploaded and saved.